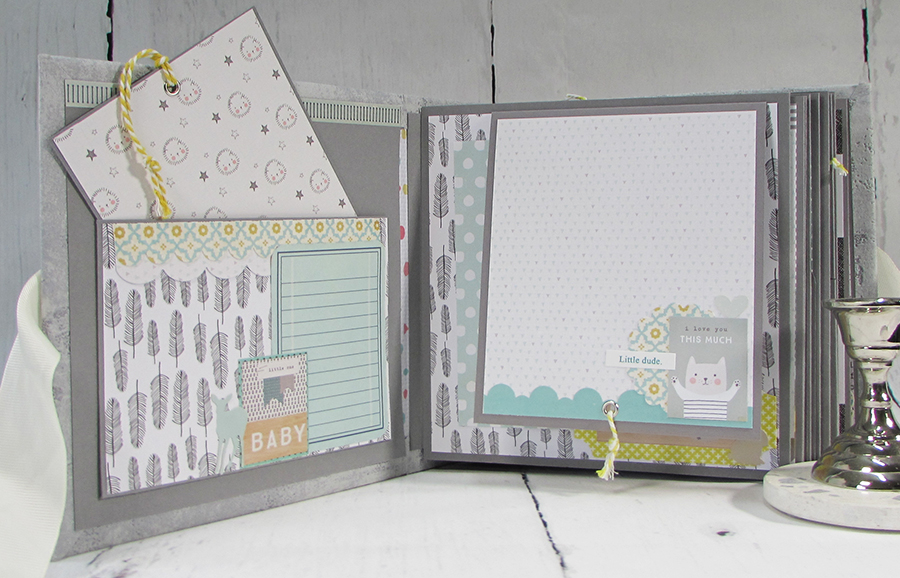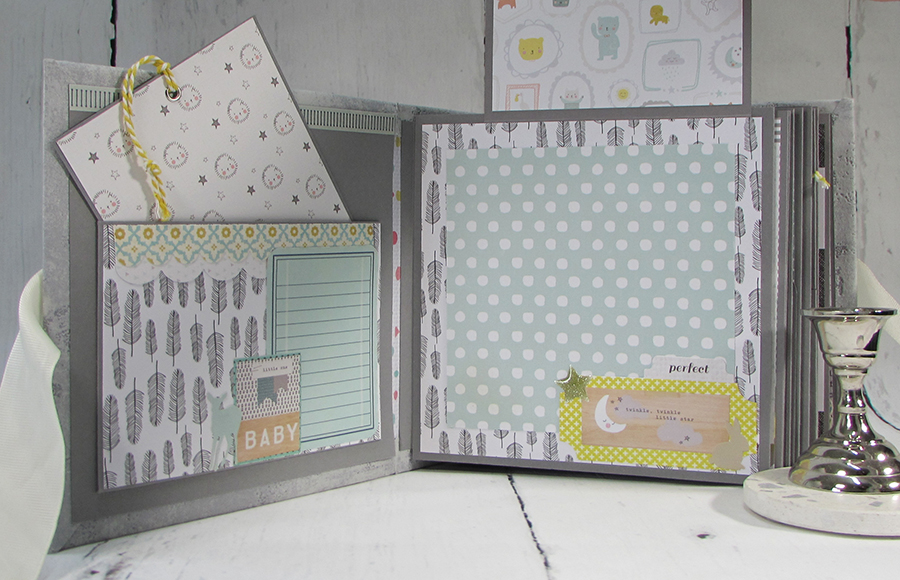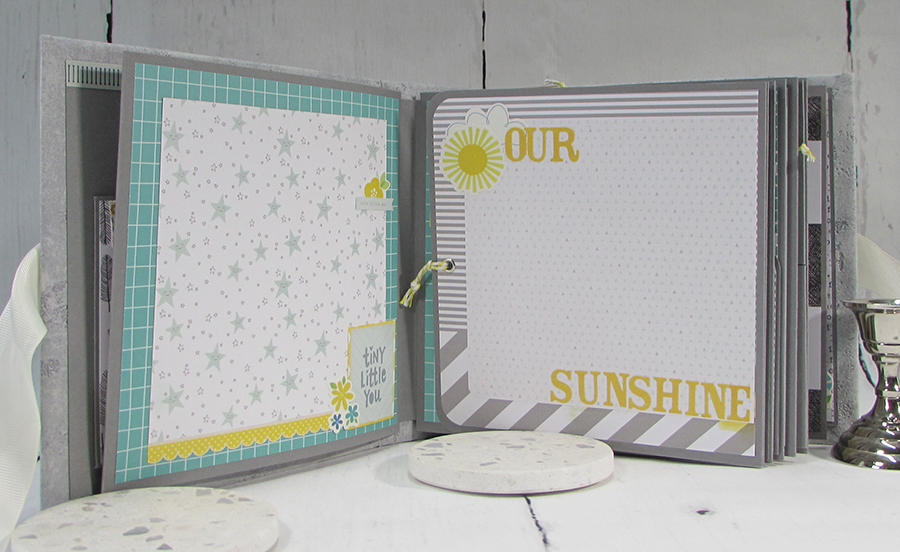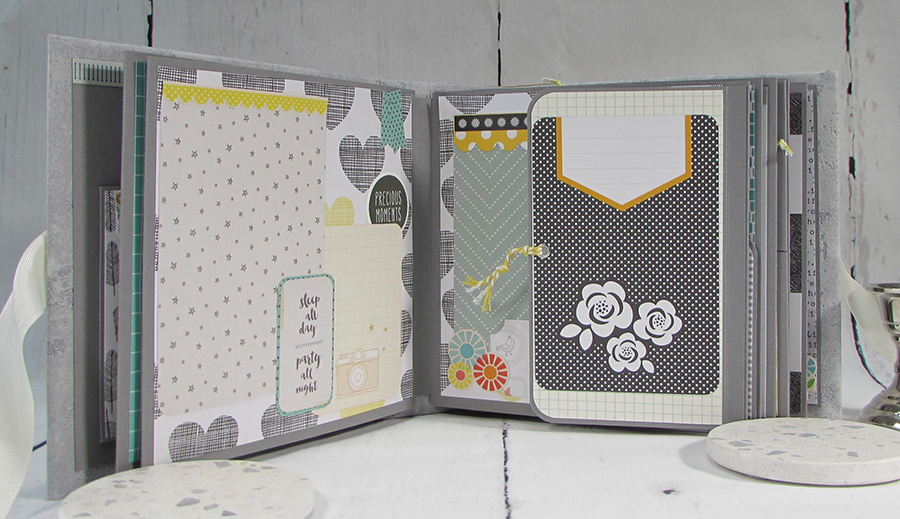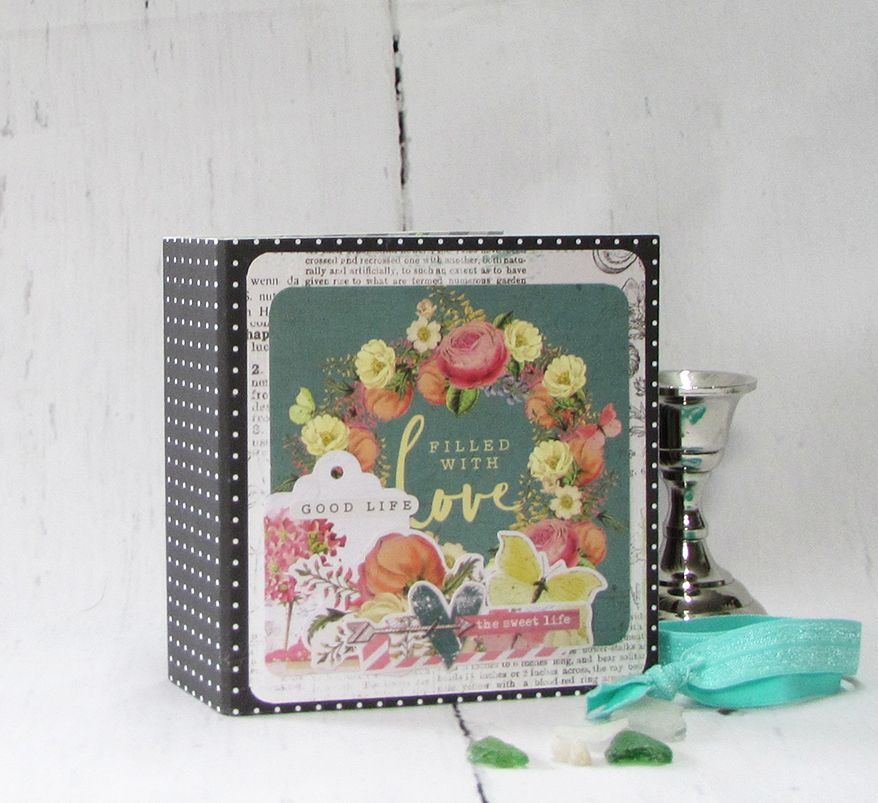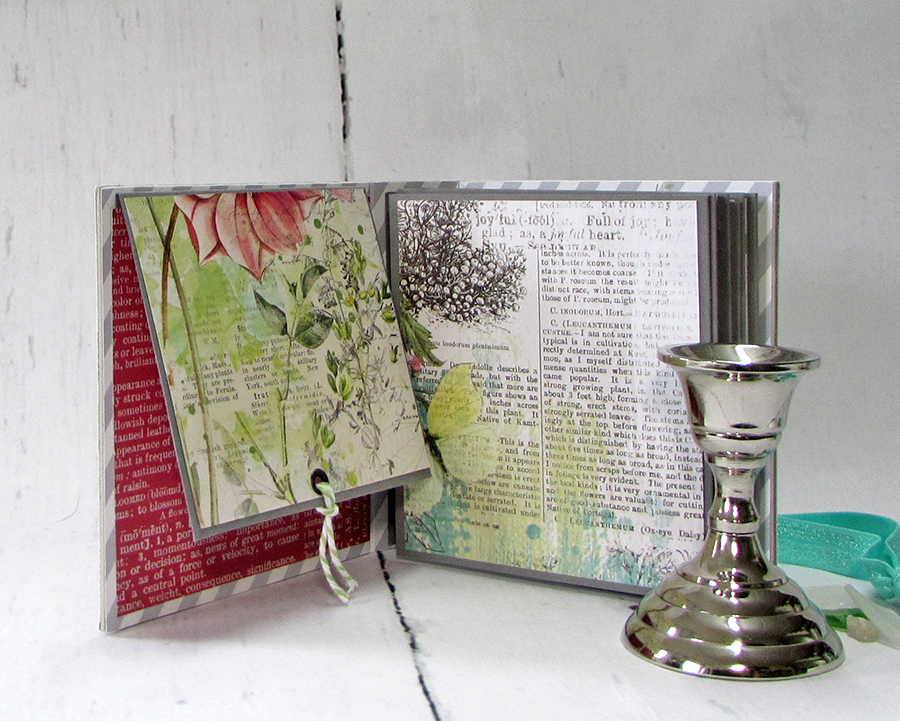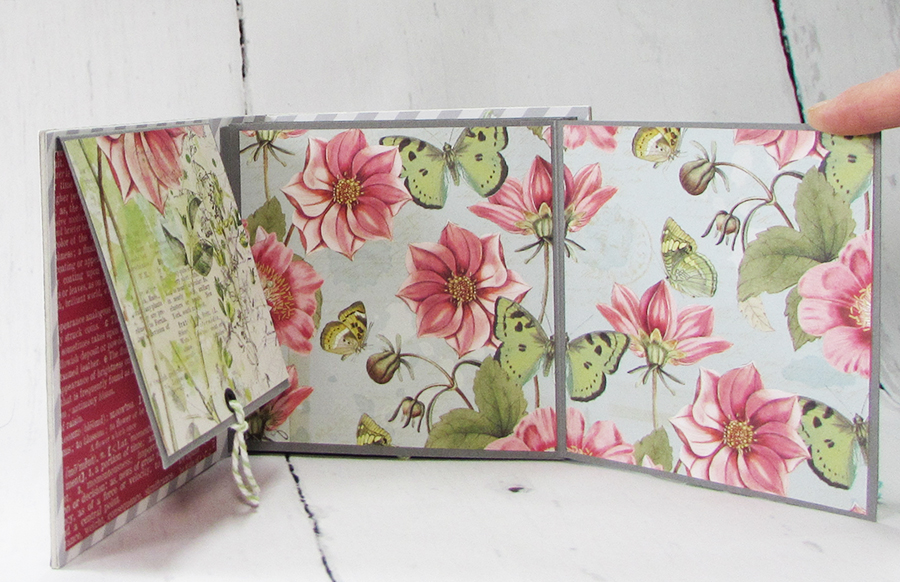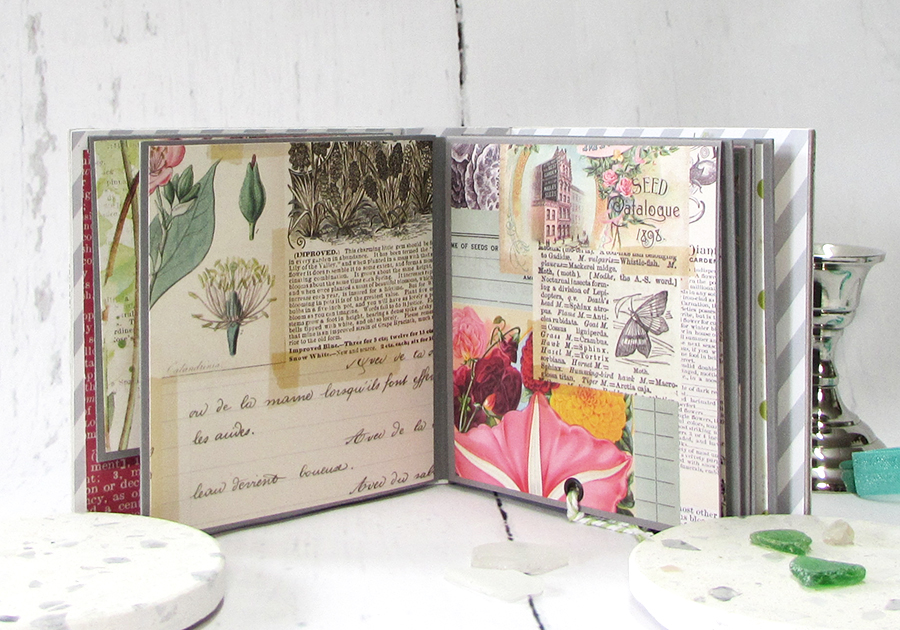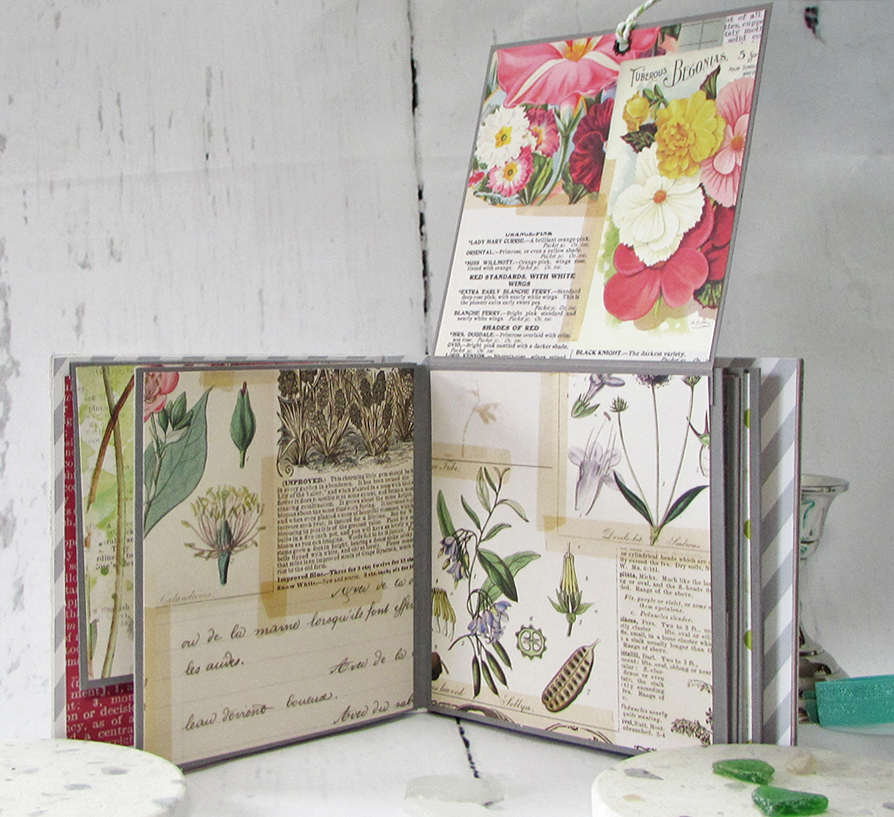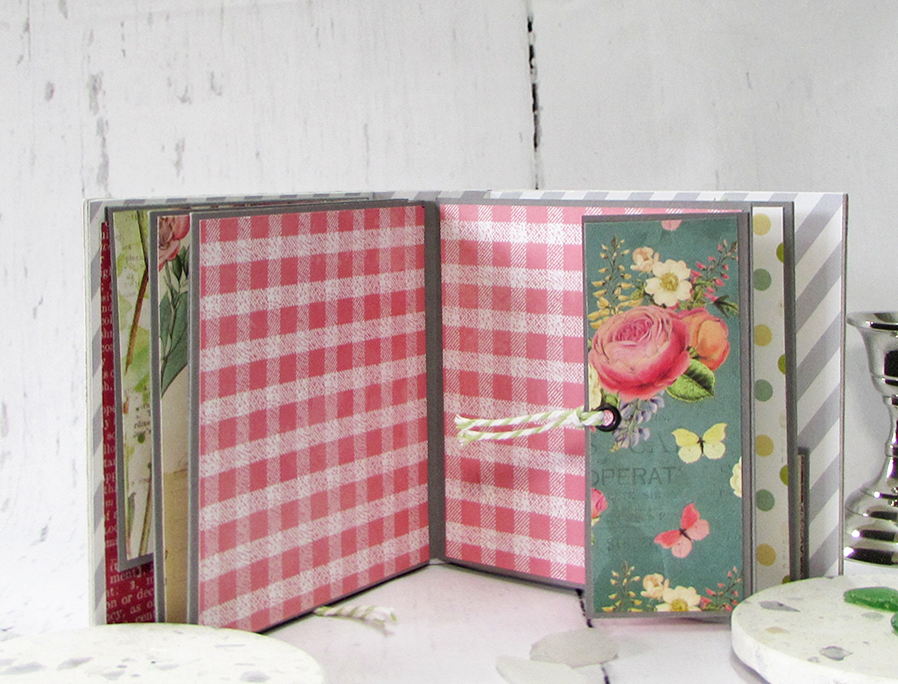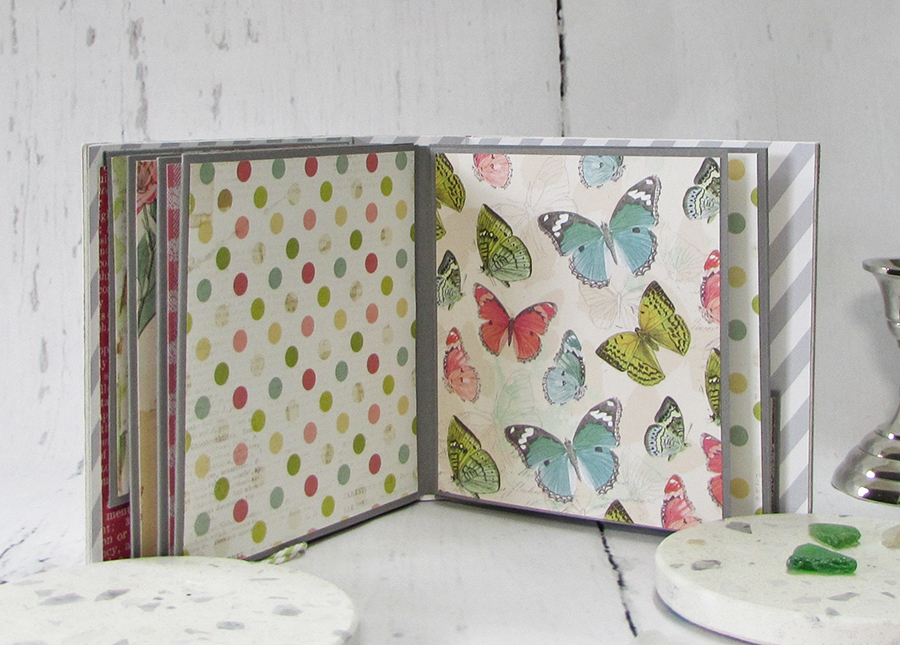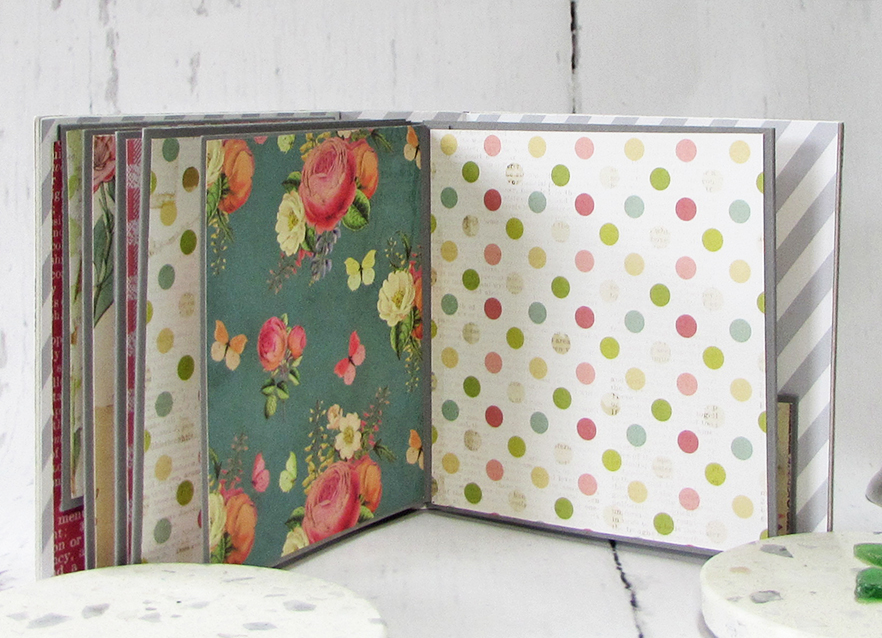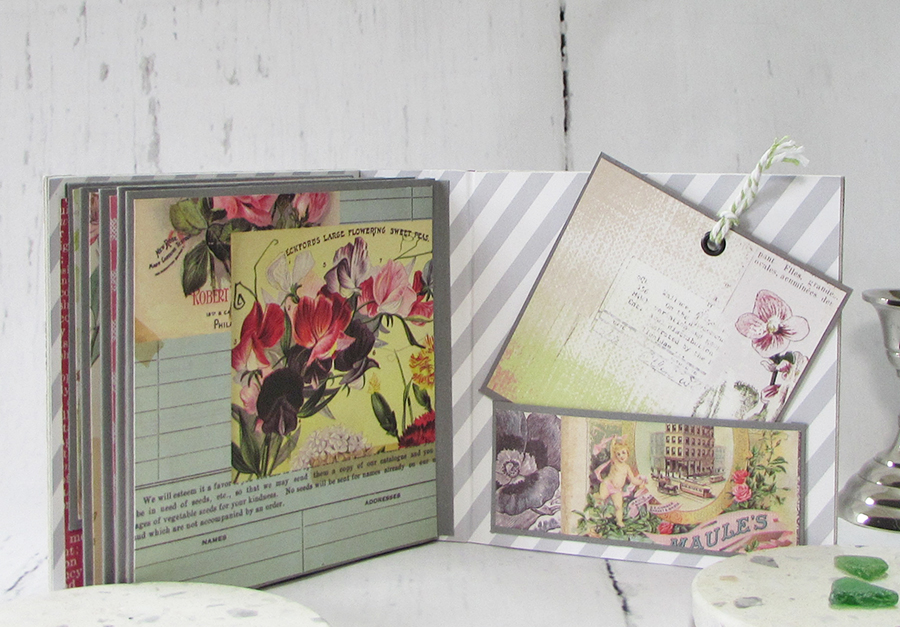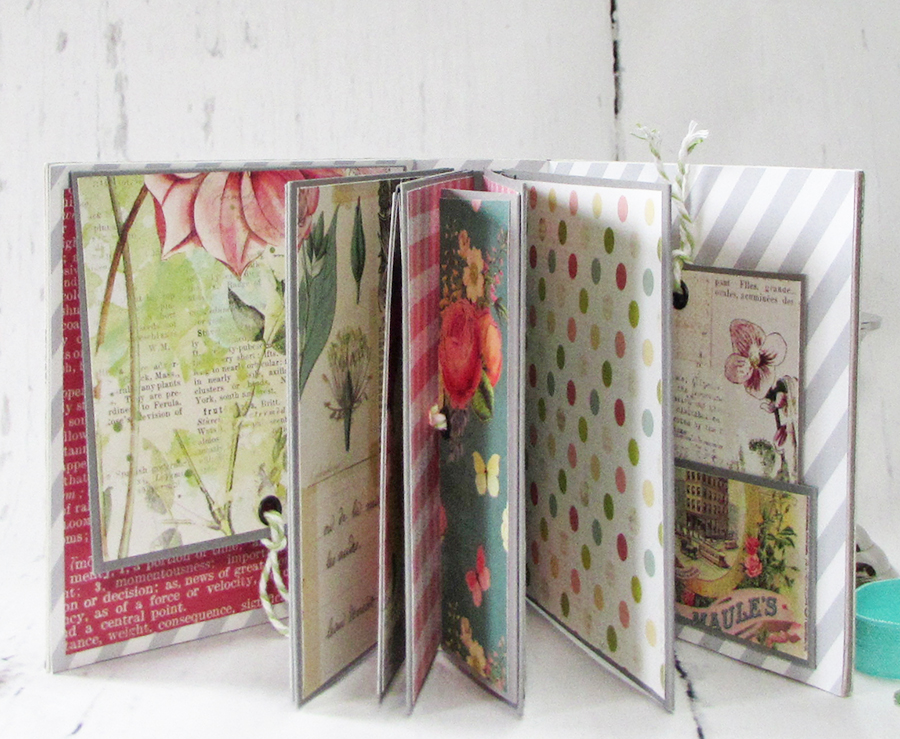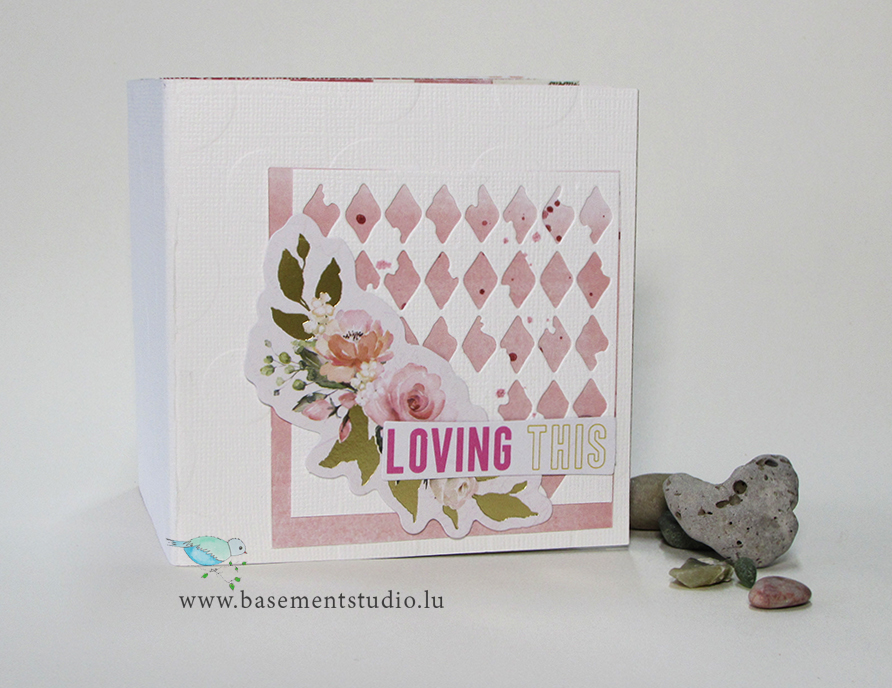
I am enjoying every minute of creating these cute mini albums. Each one holds something special and this one is particularly special.
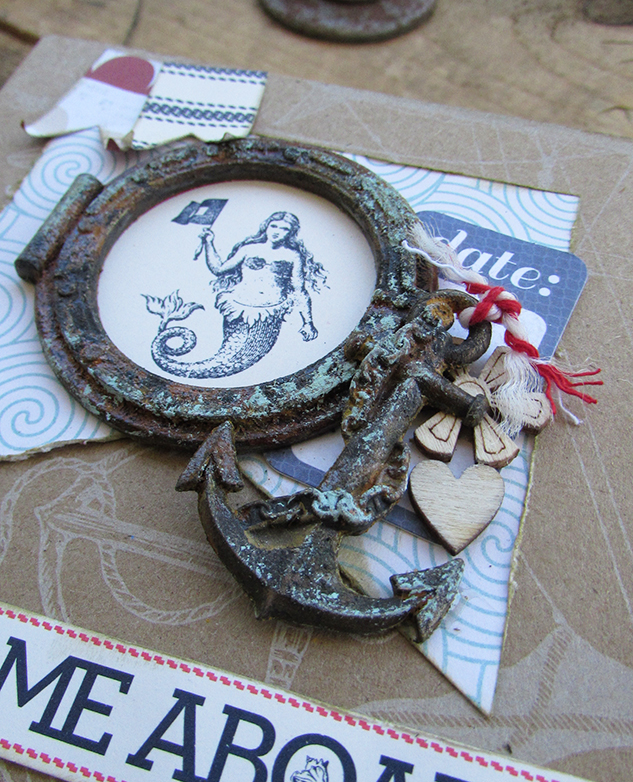
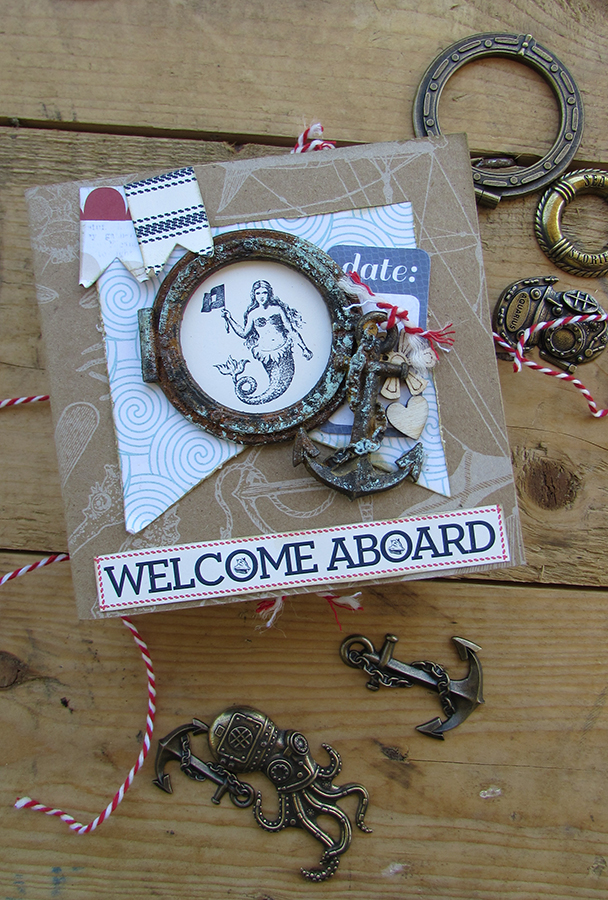
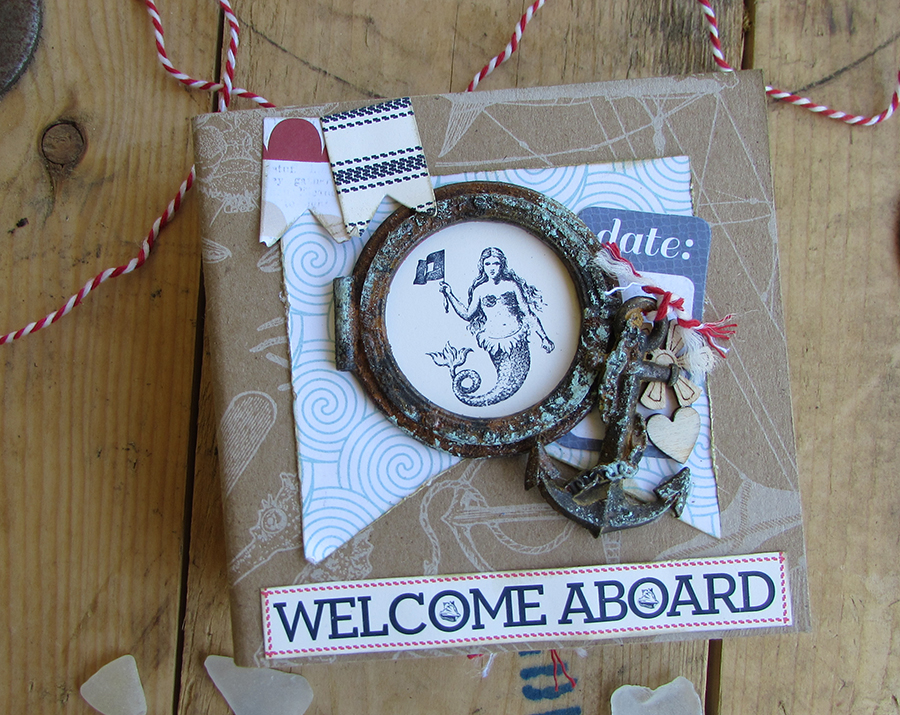
In my work with Craft Stamper magazine I frequently meet some really lovely people, and was recently very kindly sent a packet of amazing embellishments from a lovely company called MITFORM in Poland. They have the most fantastic range of metal castings for scrapbooking covering all tastes and styles. It was this nautical range of castings which inspired me to create this latest mini album.
Even though the castings are beautiful as they are, I decided to give them a more distressed look, as if they’ve been dredged up from the sea bed. I’m very pleased how well it worked.
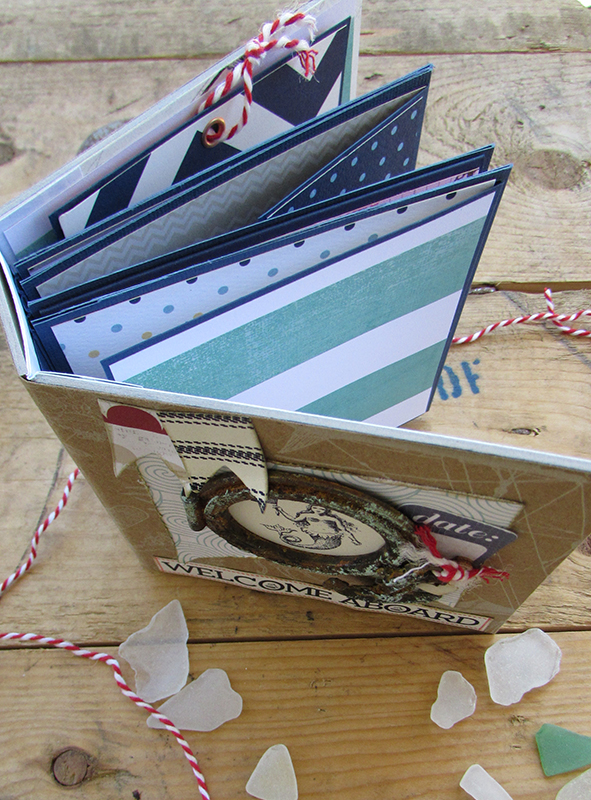
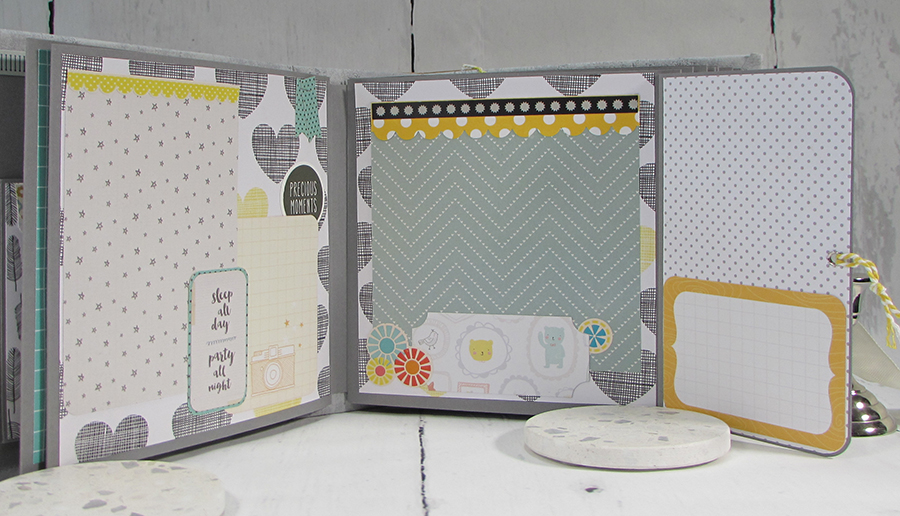
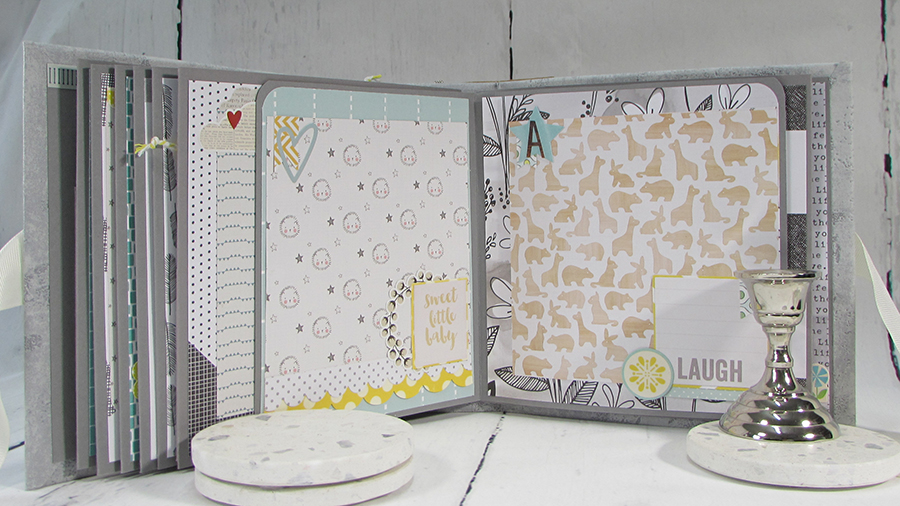
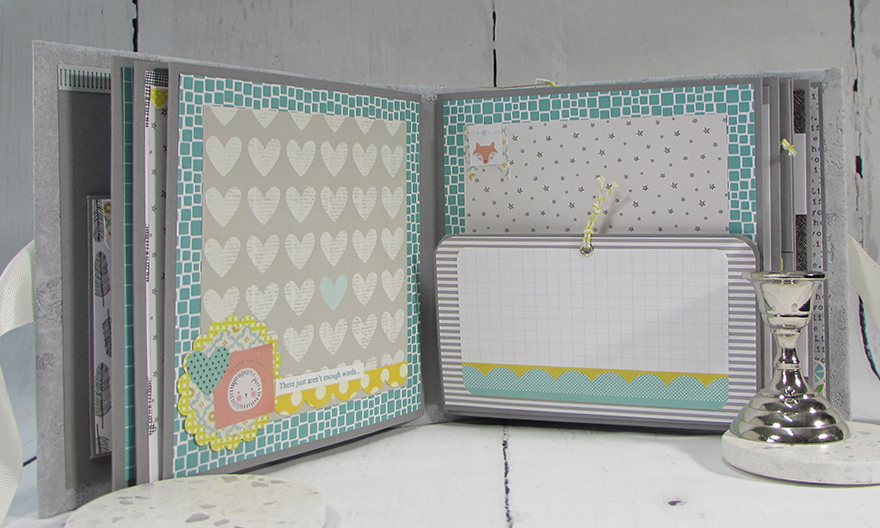
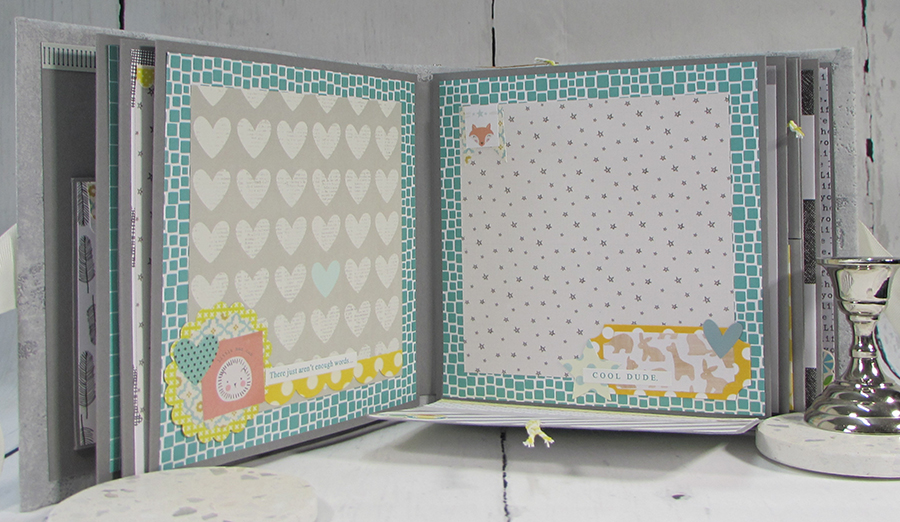
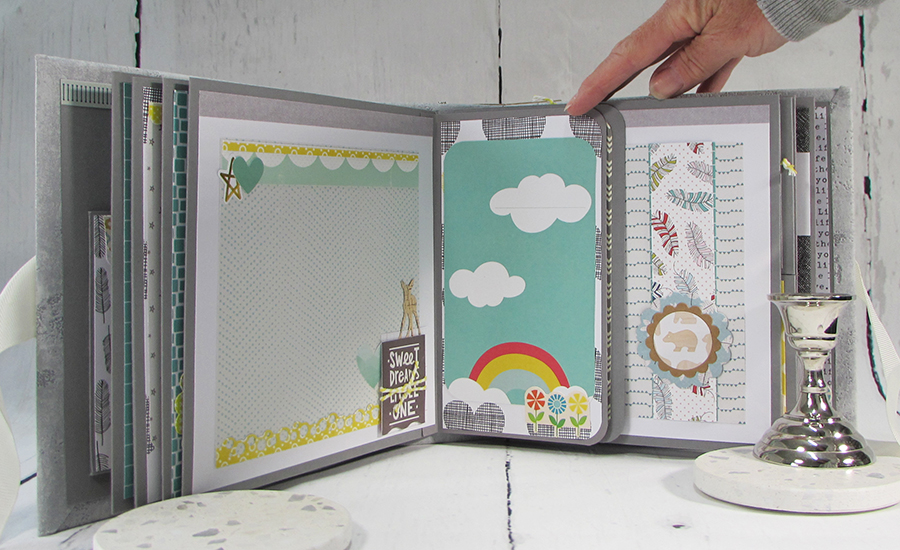
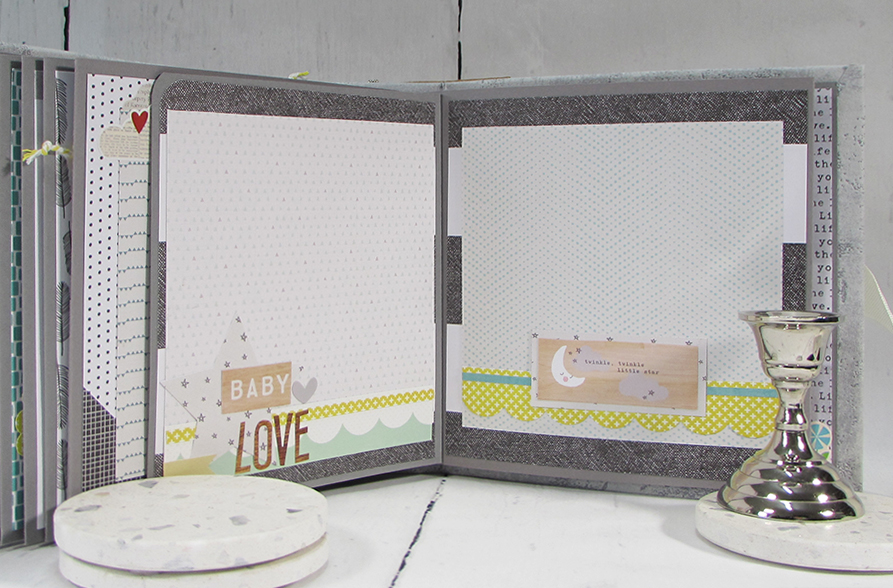
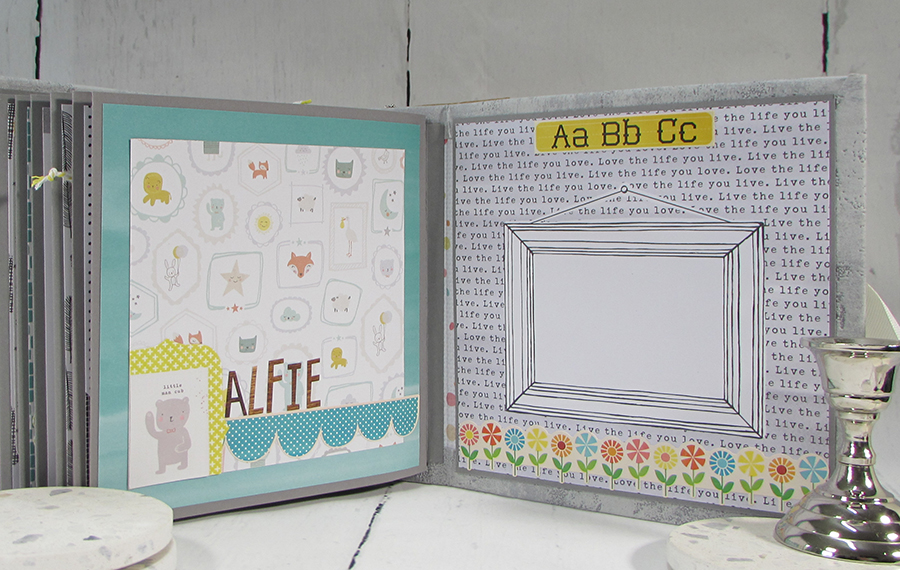
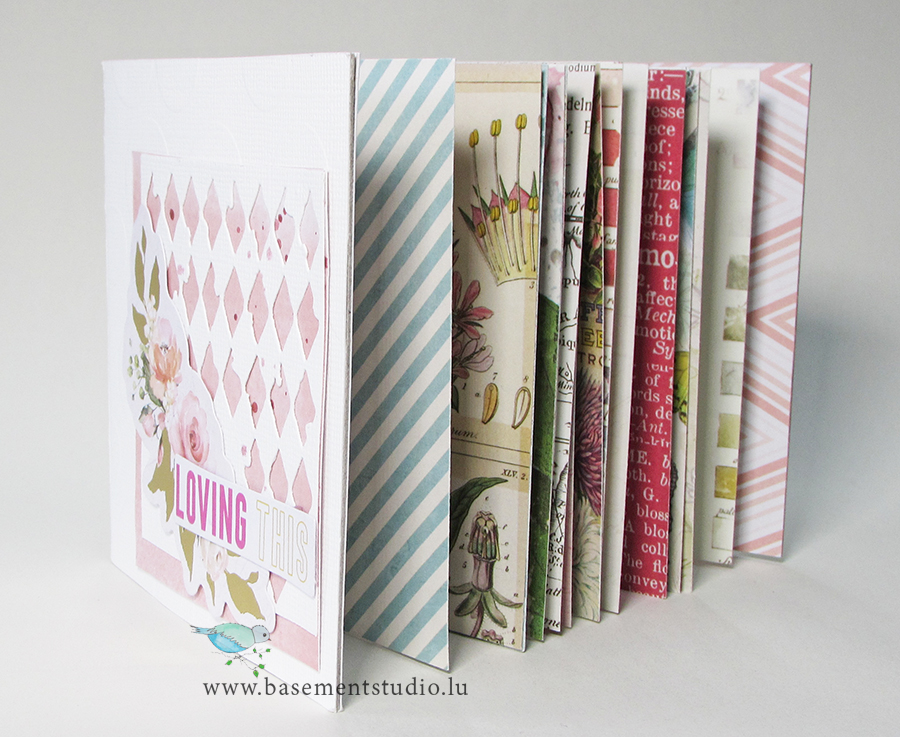
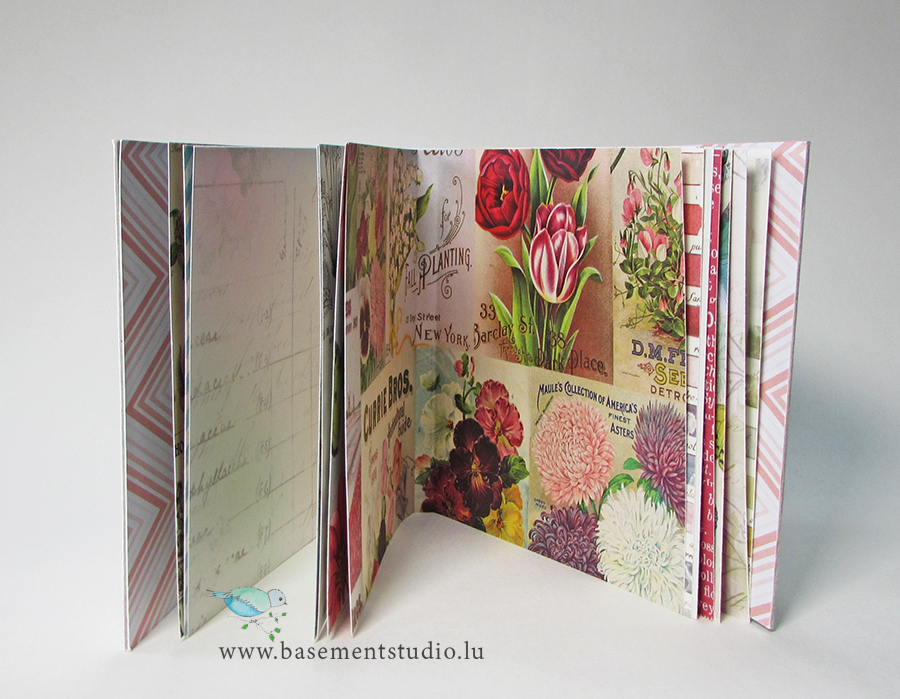
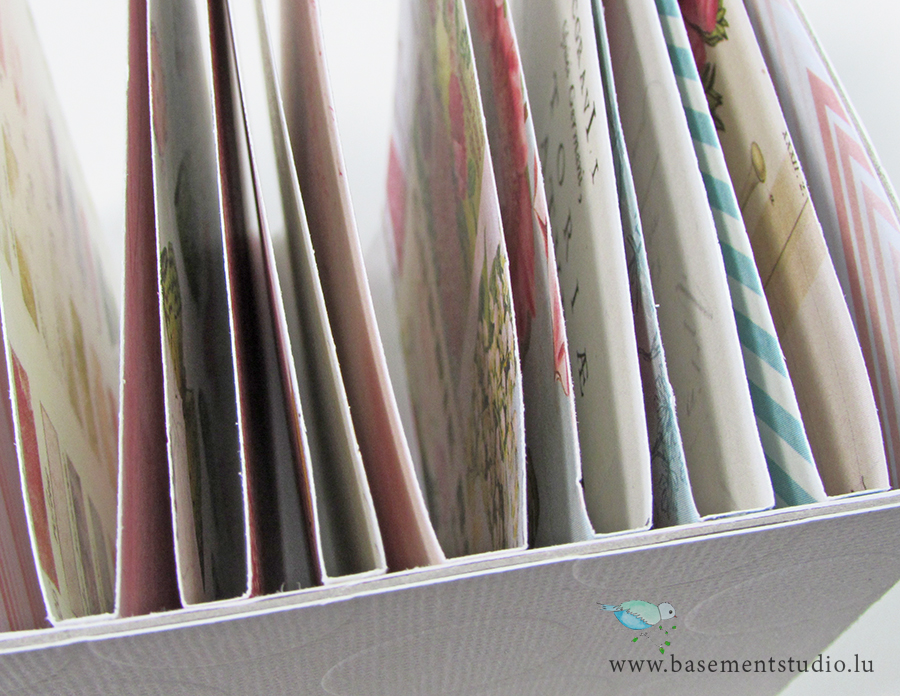
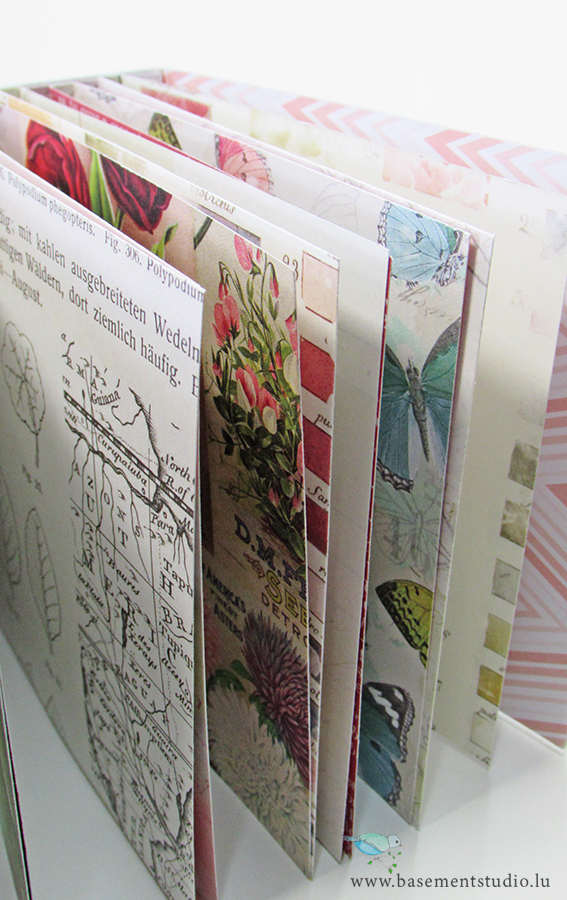
The book inside is filled with pull out flaps and extra pages so for its size it still holds lots of photos.
This little mini will be listed in my shop for sale which you can find by following the link here. MITFORM embellishments can be found at www.mitform.com or Craft Box in the UK.
Have a great weekend and stay safe
Jaine xx

