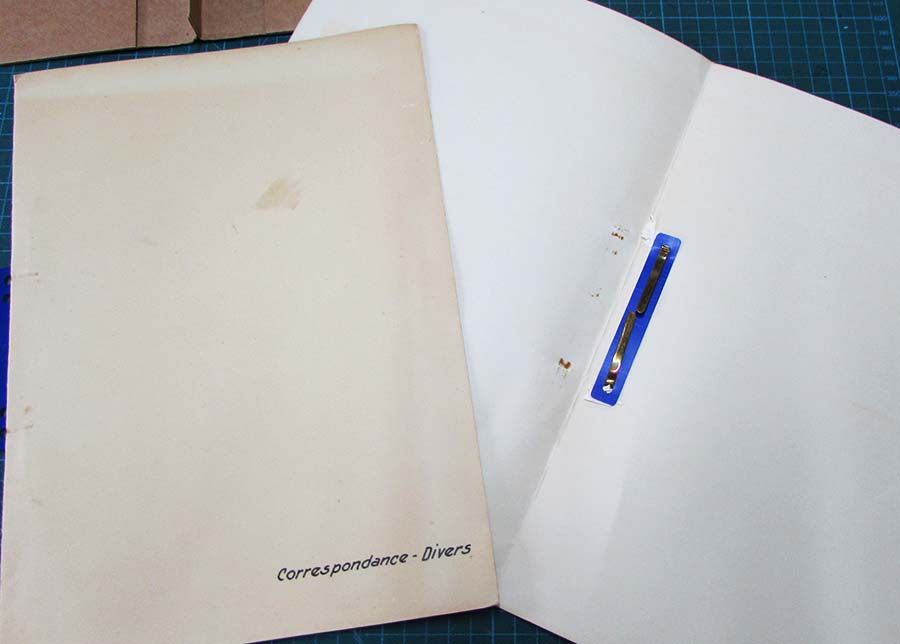
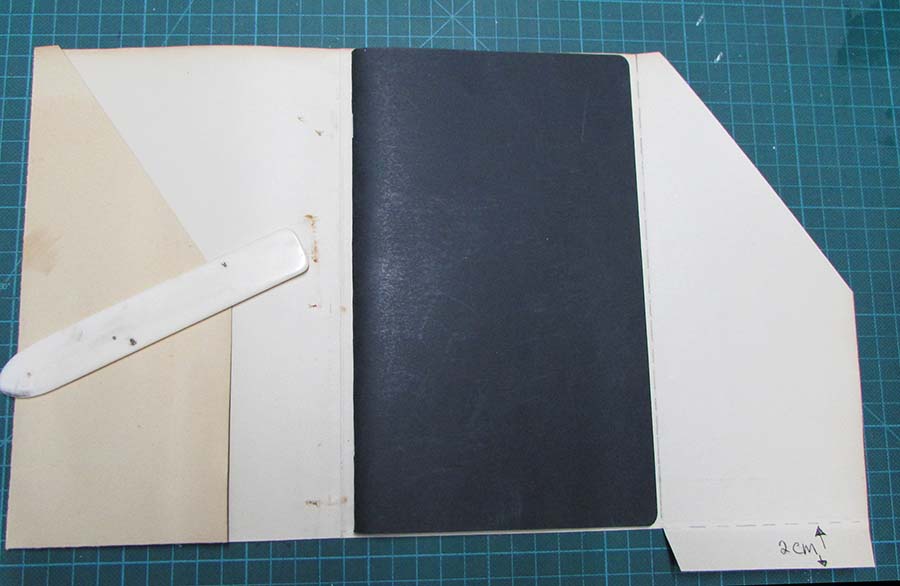
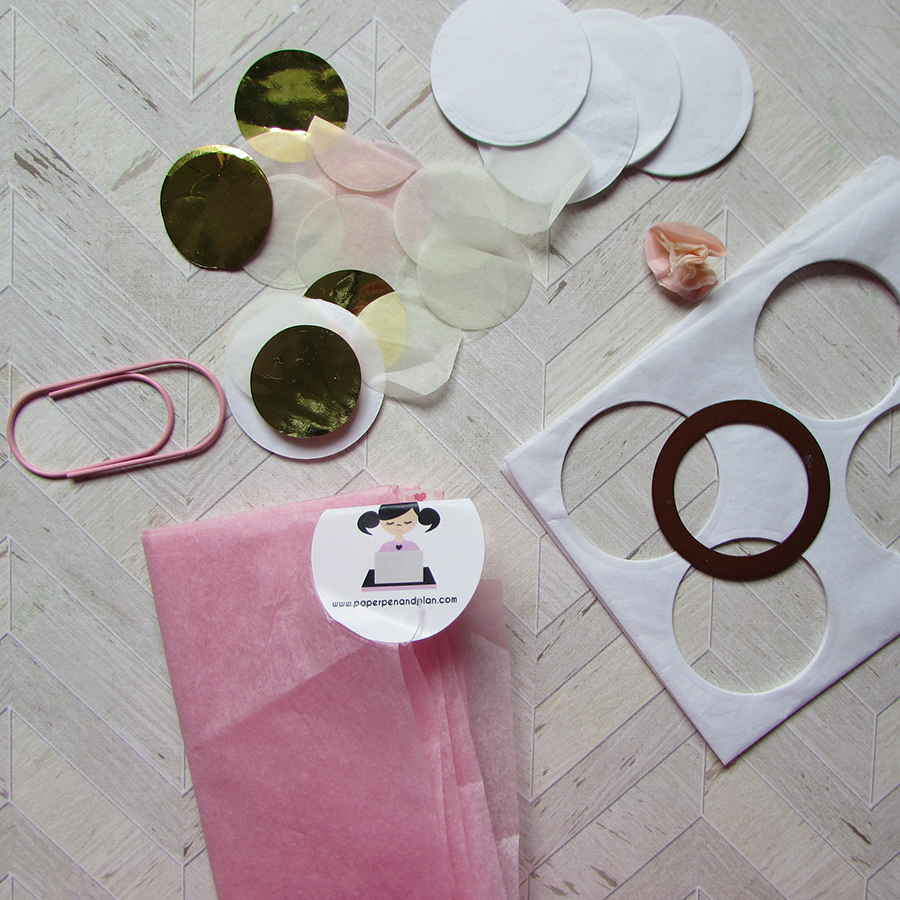
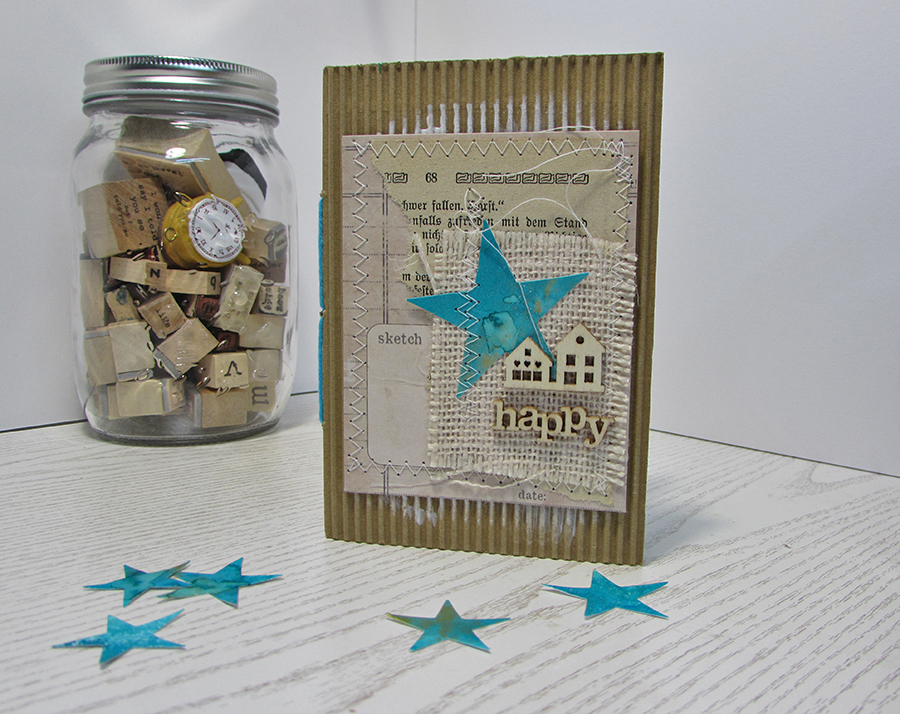
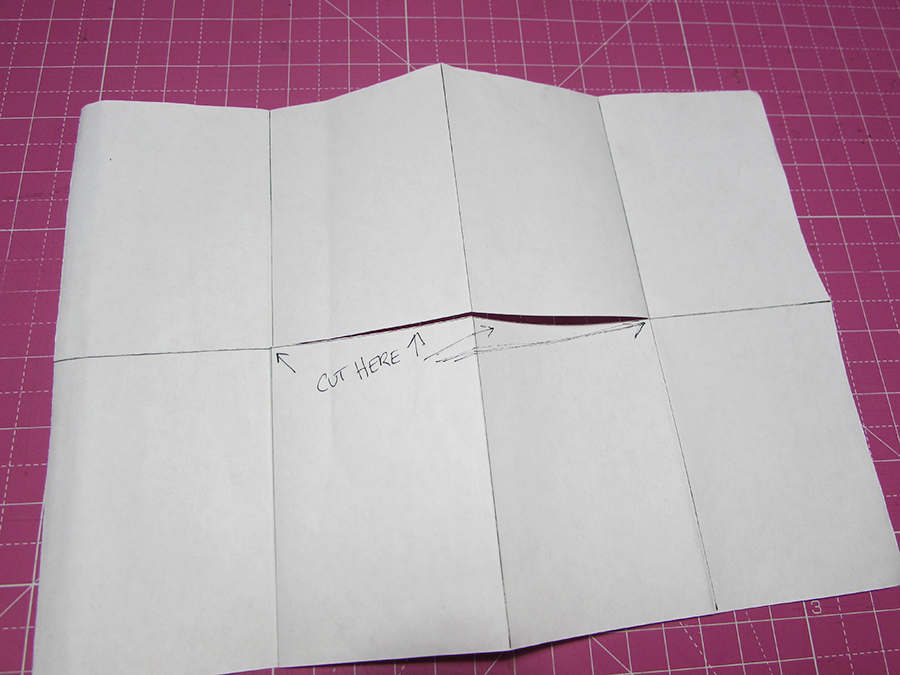
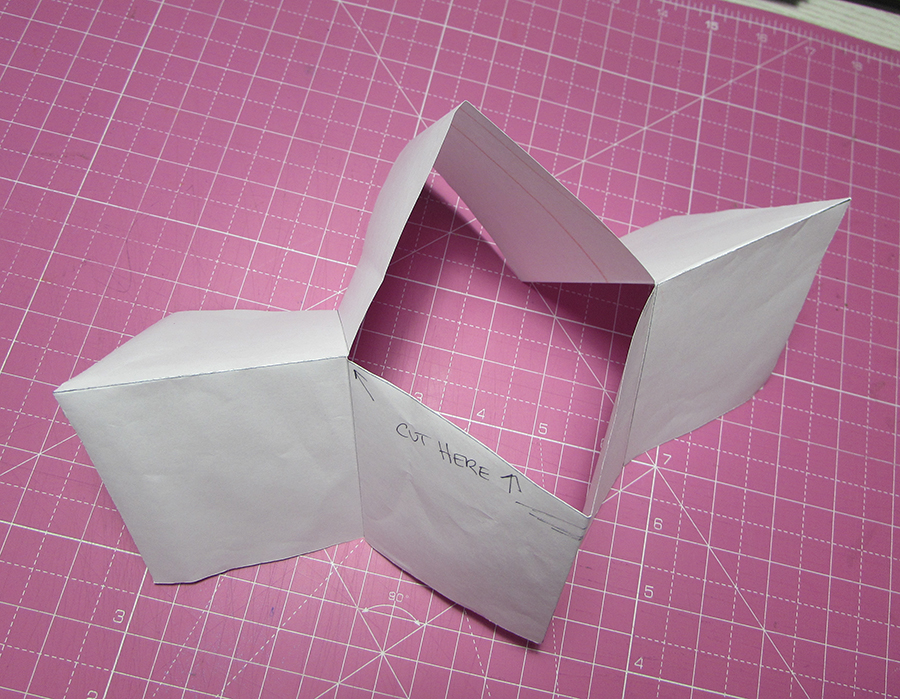
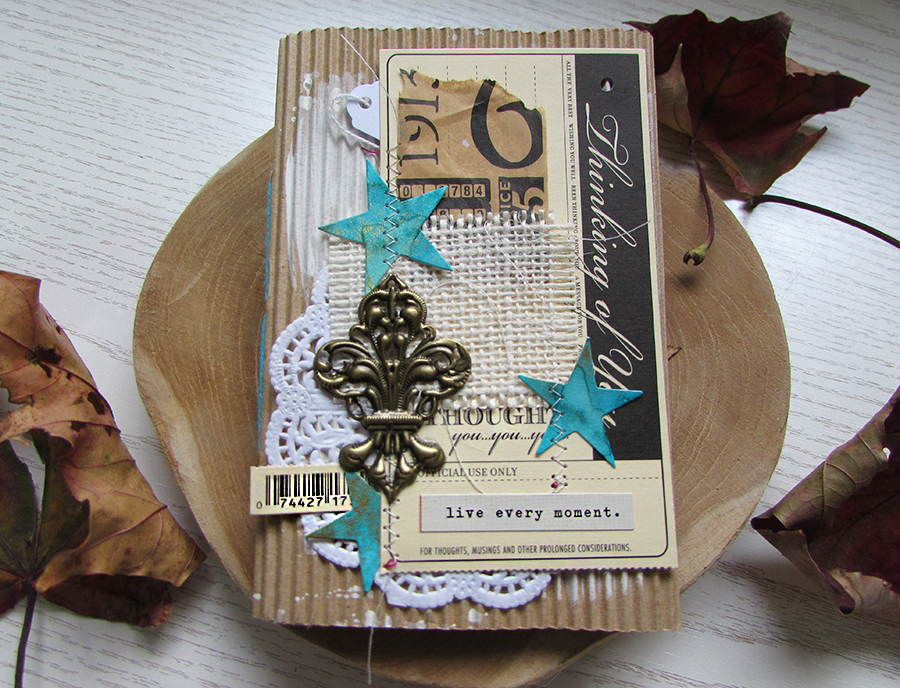
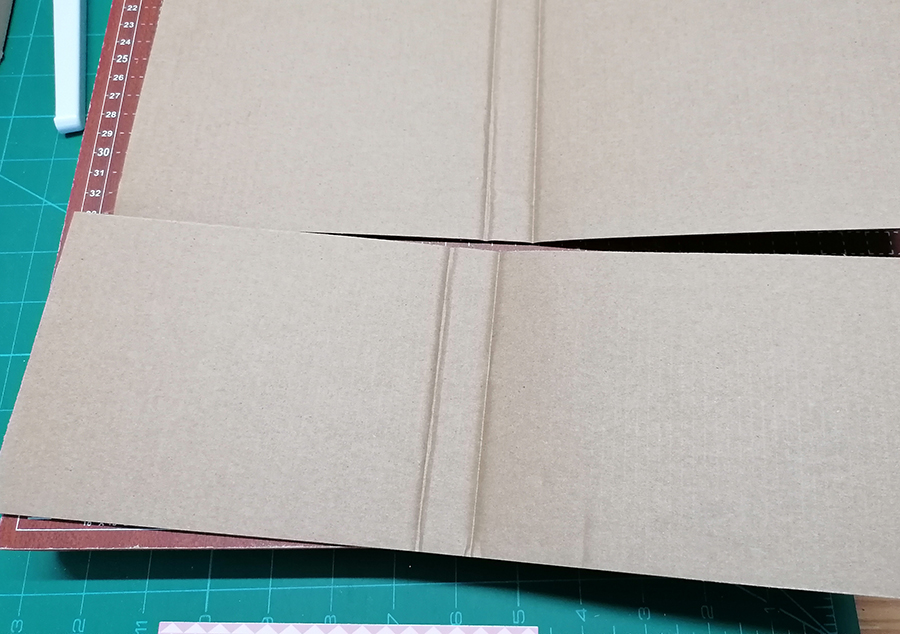
It’s been a while since I actually wrote a tutorial as such so I thought it was about time I made one! The inspiration for this little book came to me as I unpacked my monthly subscription box of goodies from Paper Pen and Plan (on Etsy and Facebook). The contents begged to become a mini book and as they sat there on my table on top of the box they arrived in, I could see the box itself becoming the cover. After taking the box apart I trimmed it to the size I wanted with the side of the box becoming the spine of the book. I ended up with two of these from my Sweet Treat Box so I can use the other one another time.
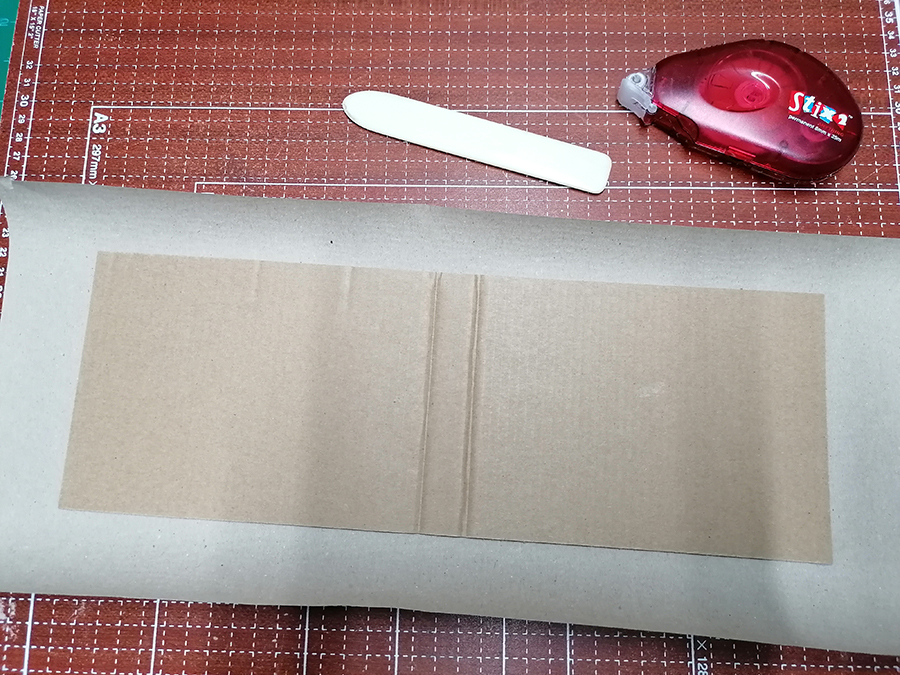
I sometimes use brown parcel paper to cover books. It comes on a roll so is wider than most papers, it’s sturdy enough and I rather like the kraft colour.
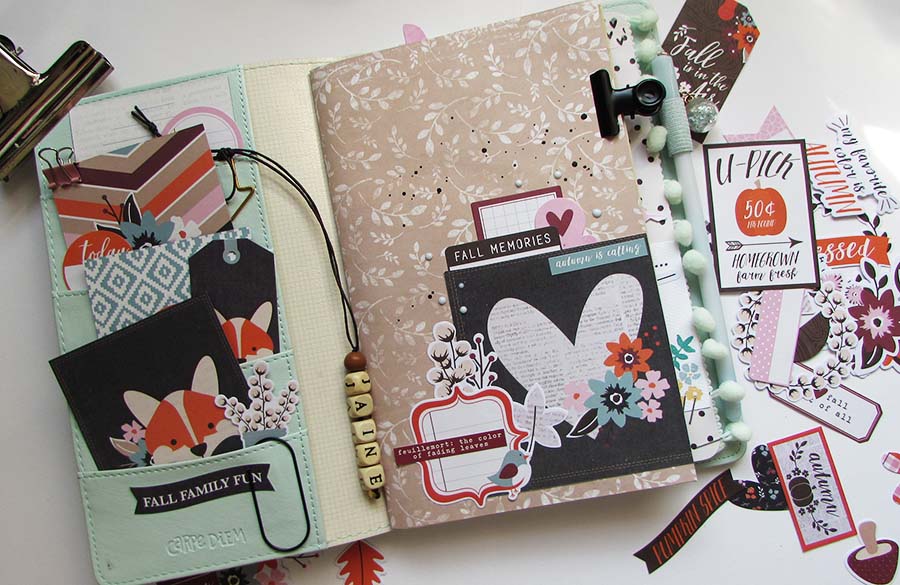
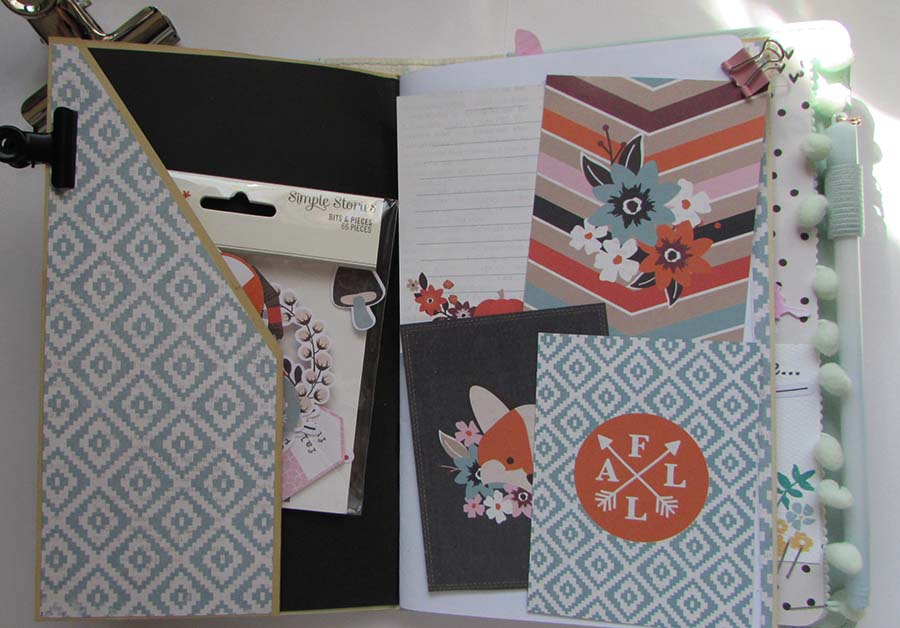
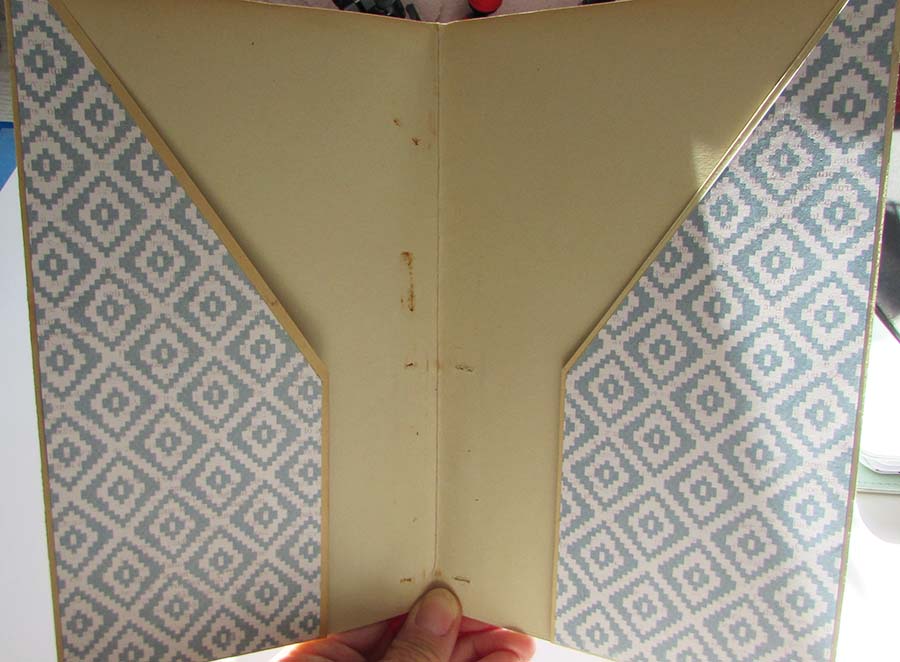
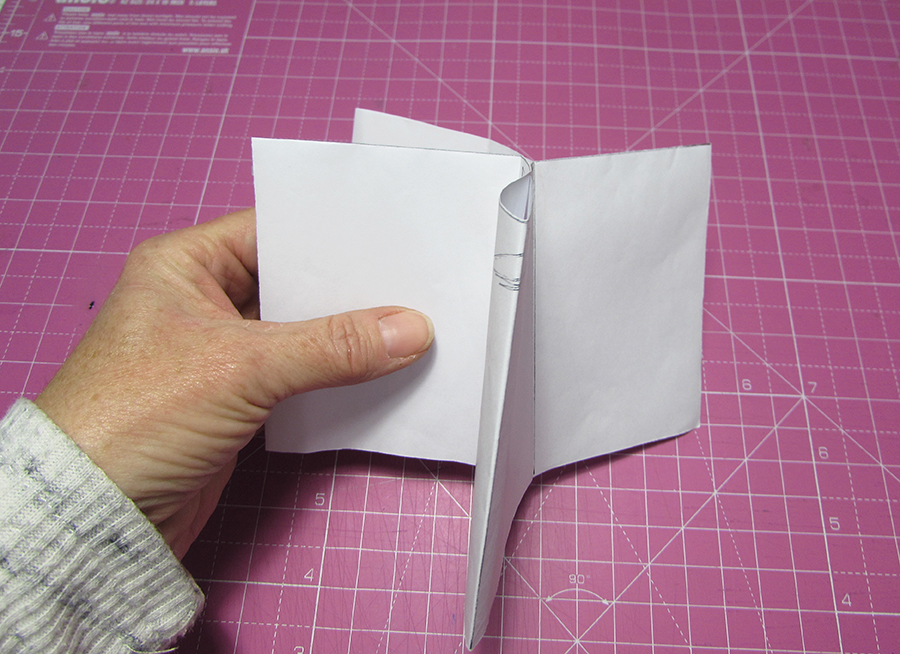
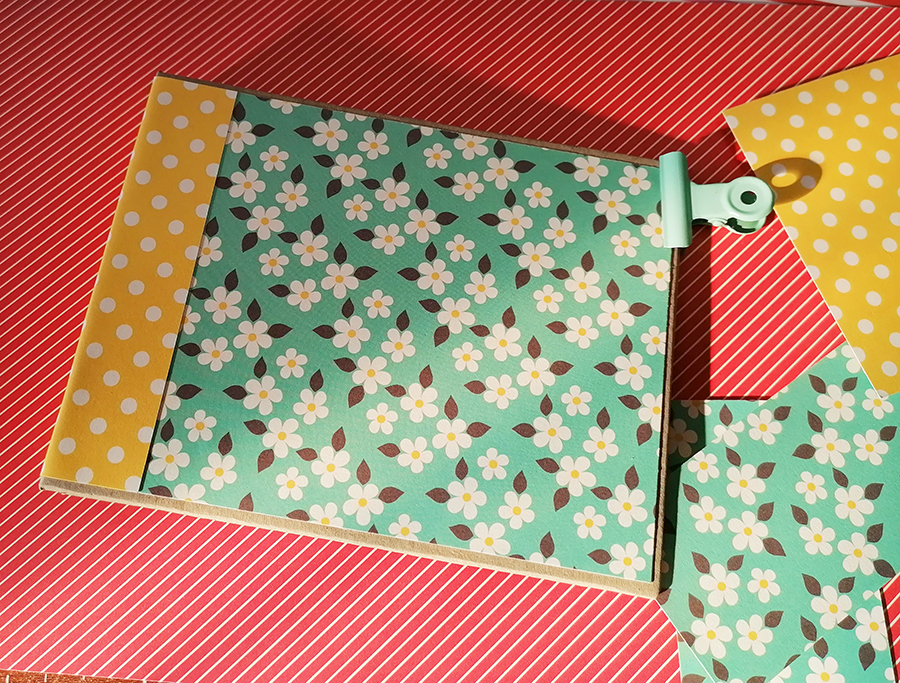
With the cover done, I could then move on to decorating the outside and inside with my patterned papers.
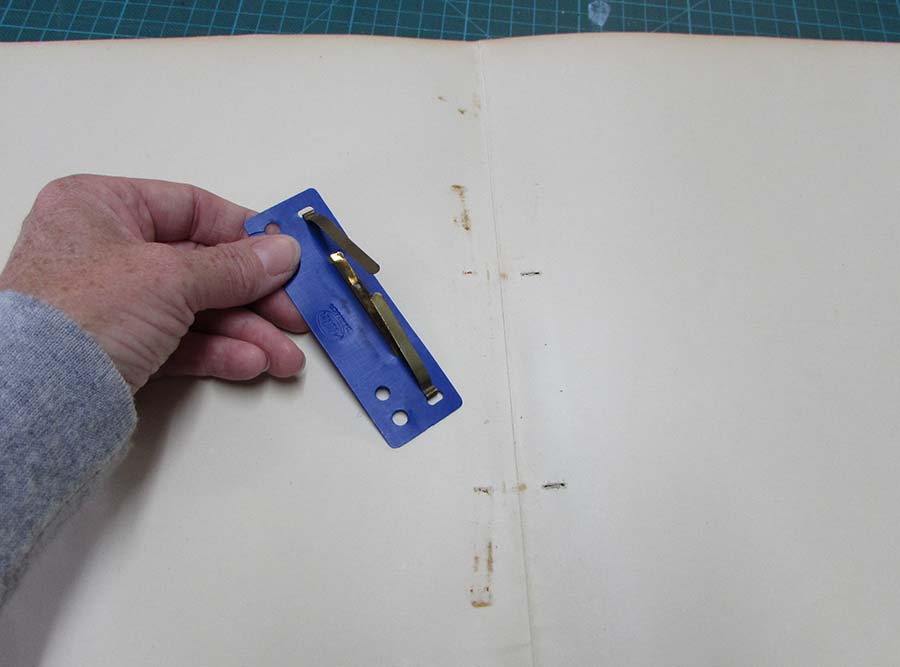
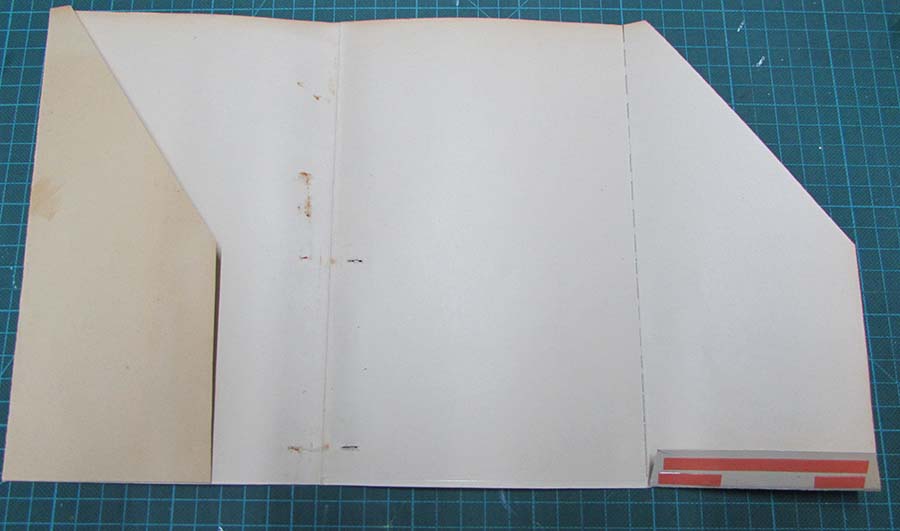
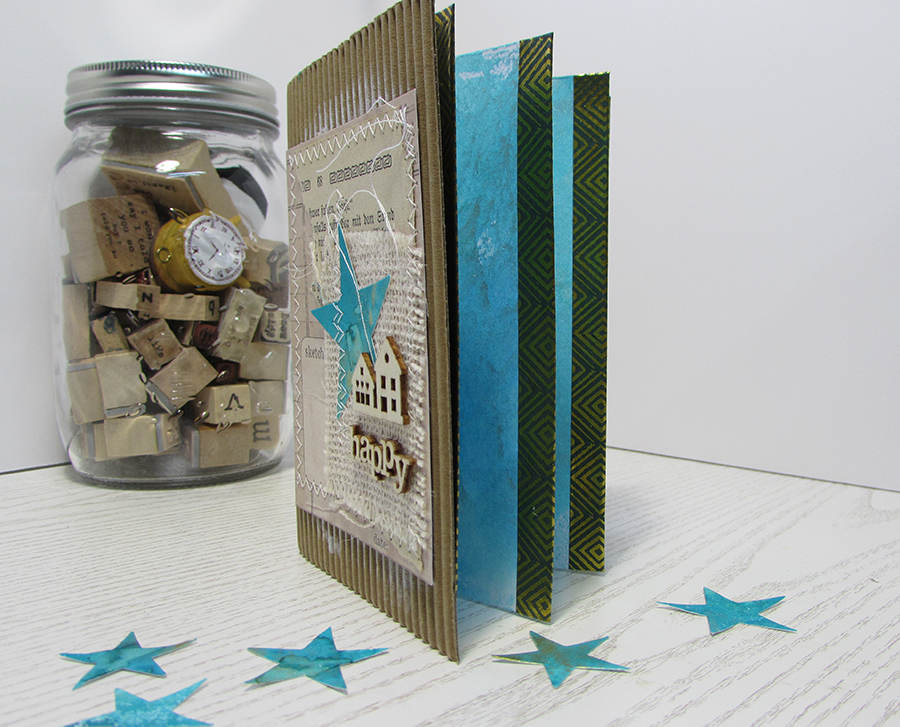
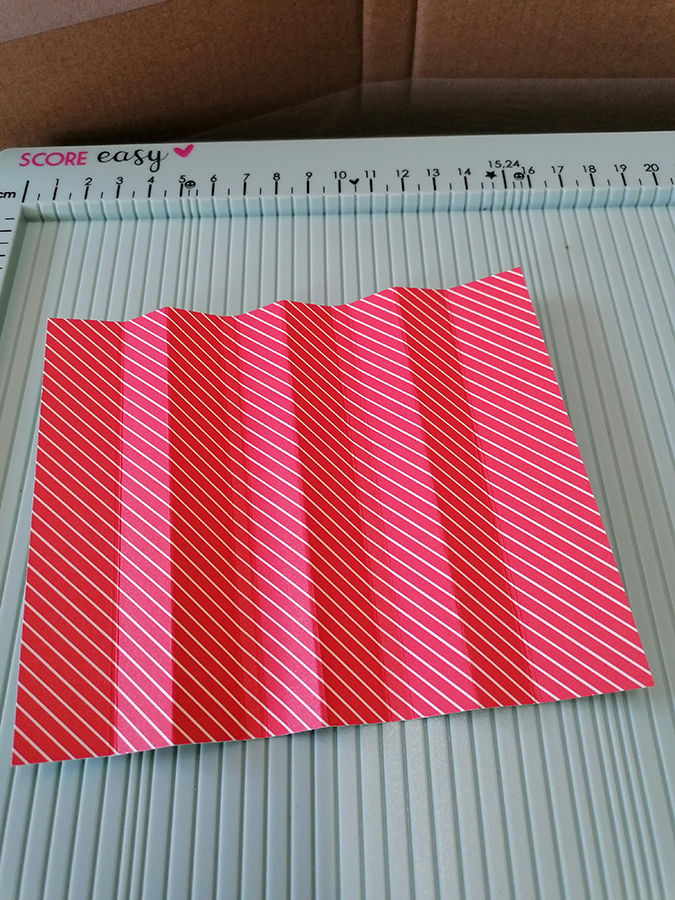
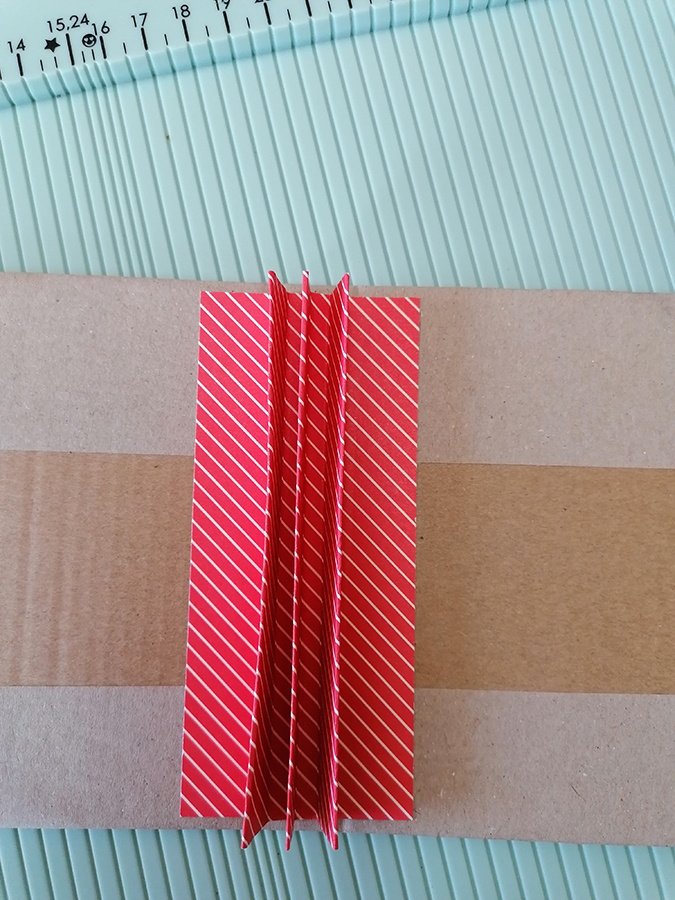
To attach my pages I made a very simple accordion hinge from a piece of patterned card. Slightly shorter than the book itself, I created three folded hinges with a half cm gap in between. So starting with a score at 2cm then 3.5, 5, 5.5, 7, 8.5, 9, 10.5, and 12.
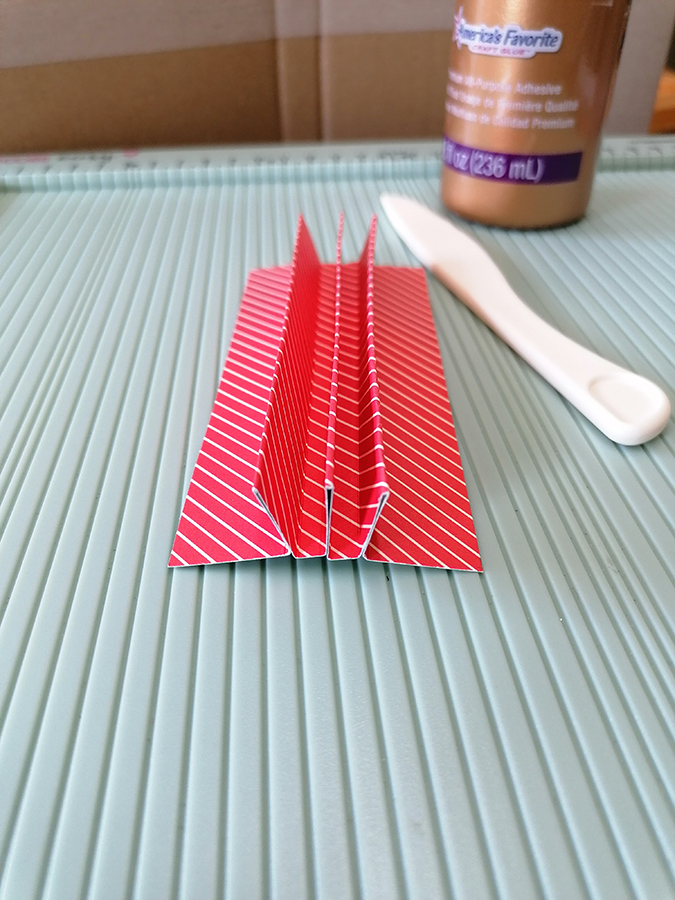
I glued the three mountain folds together to form the hinges for the book,
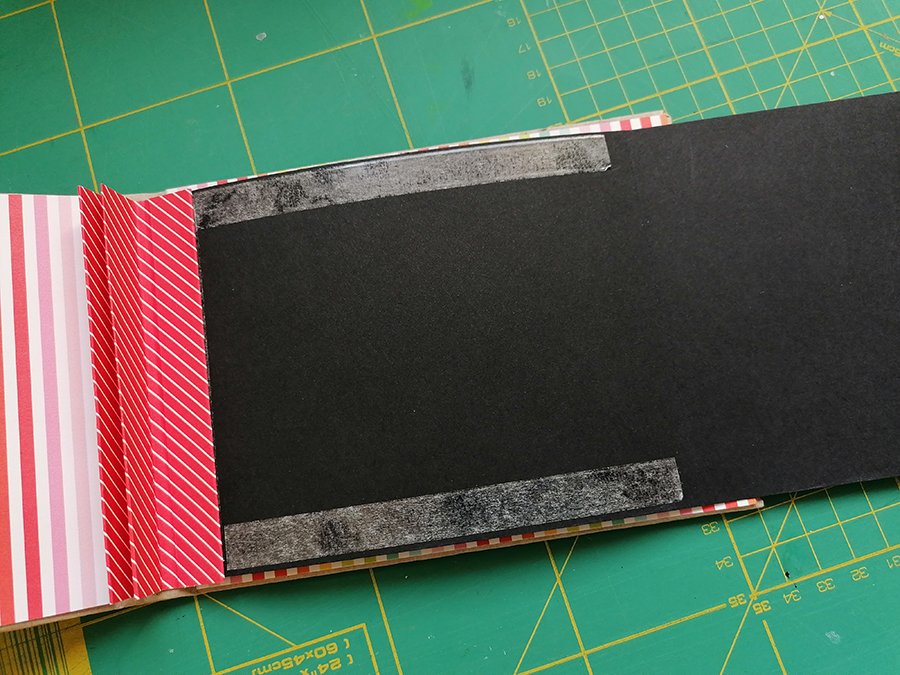
then glued this to the spine of the book. I scored each side where the book would fold and left it to dry.
For my pages I took black card. I like using black card as it really shows off any paper you put on top of it. I measured how big I wanted the page to be and doubled it across the width to be able to fold it in half and added double sided tape on the ends and sides. I only needed to tape one half in actual fact. Laying the taped page under the first hinge I could press the hinge down onto the card. I then folded the page in half and pressed the other taped end down onto the hinge. First page done!
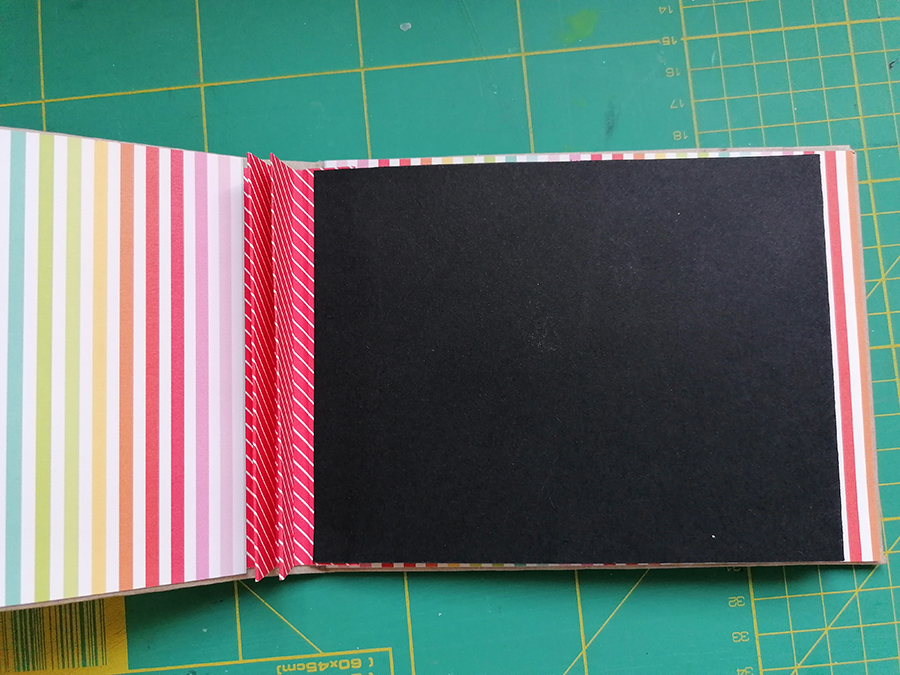
I did the same for the remaining two pages.
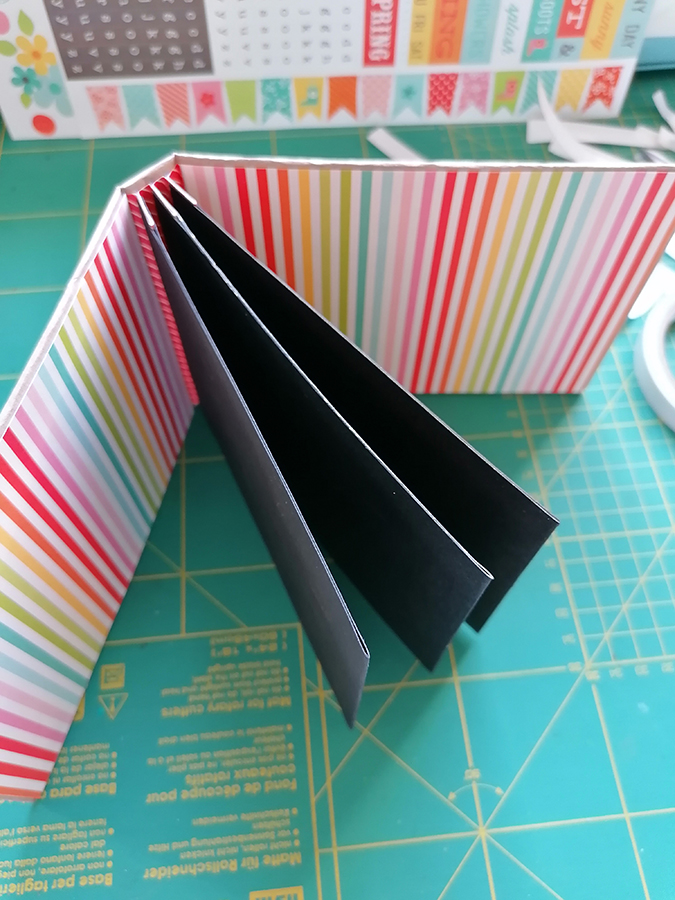
I think it’s cute. Now to decorate… For that one you’ll have to come back next week to see how it turned out.
Have a great weekend
Jaine xx