December 2nd is here already and I know lots of you have been making cards and decorations weeks in advance but, here in the studio, I’m only just starting to think about it which is totally like me. I’m so last minute, why change now?
Anyway, I thought I’d make some tags and show you a couple of ideas for firstly finding inspiration which, let’s face it, is sadly lacking at times and, secondly, making it quicker to make multiples of things. So lets get on with it.
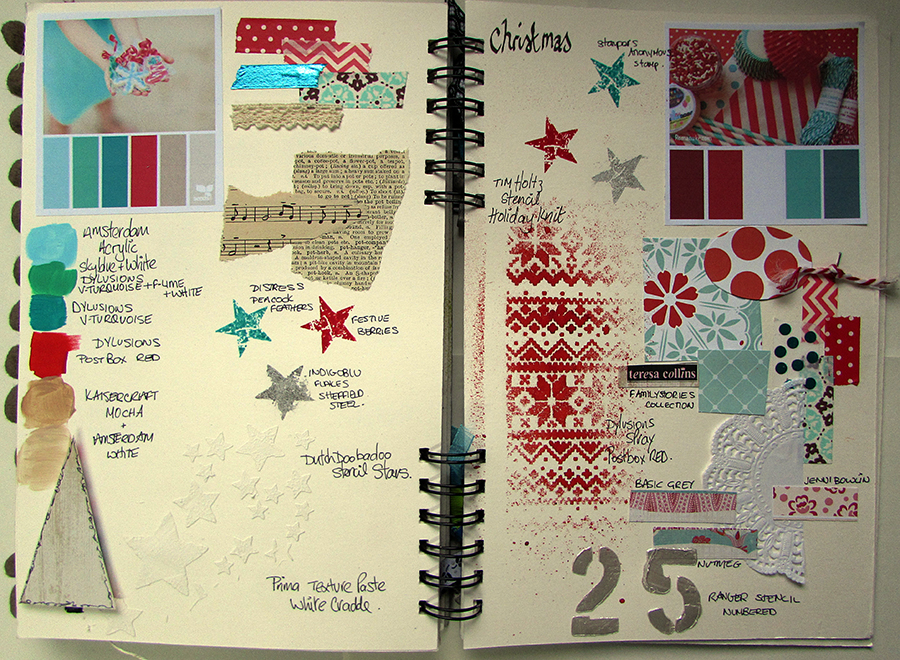
For some time now I’ve kept an Inspiration Journal. If I see a picture in a magazine or on line which I think has a lovely colour combination or creates a style I really like, I paste it into a page in the journal. I’ll then go through my stash to find things which match the colour or theme. Here I was inspired by these two colour combinations which I found on Pinterest. Both of them are beautiful colours for Christmas and I thought it would be a great starting point for my tag projects.
Once I’d found the colour scheme, I went through what I have in my stash that might match and made a note of it on the page. Doing this exercise is actually a brilliant way of discovering things you’ve had hidden for so long you’d forgotten about them. It can also throw up a few surprises too. On the right hand page I found a few papers from a paper collection which I would never pick out for Christmas, but it turned out the colours were spot on.
Anyway, once I’d got the colours and the materials sorted I was ready to start.
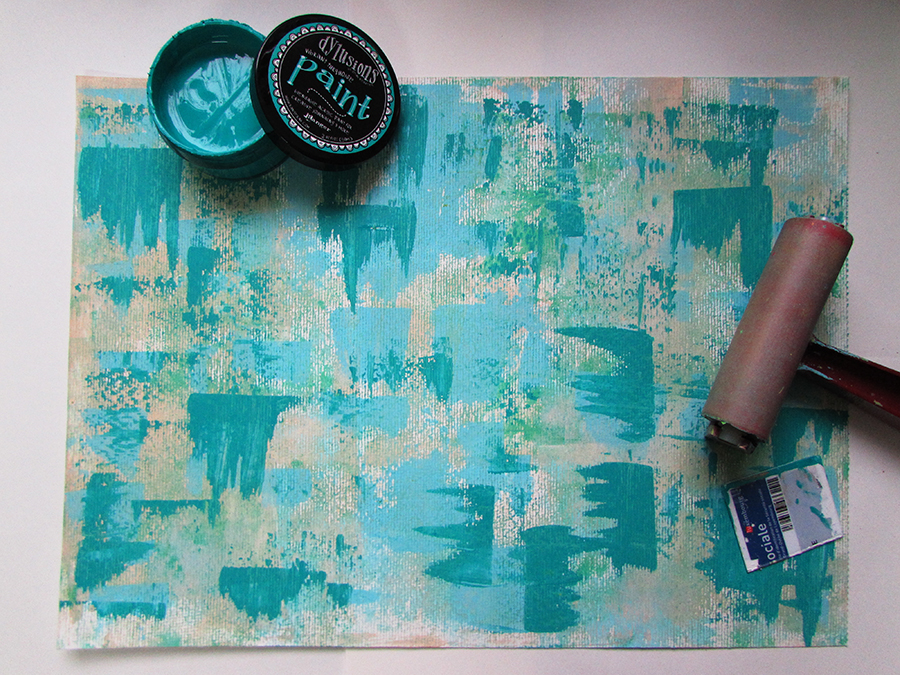
As I wanted to make lots of tags at once I started out by creating a masterboard. I took a large A3 piece of 300 g/m² mixed media paper which is pretty sturdy and capable of standing up to lots of paints and inks.
My first paint layer is made using Dylusions paints brayered and scraped across, building up the layers and colour bit by bit.
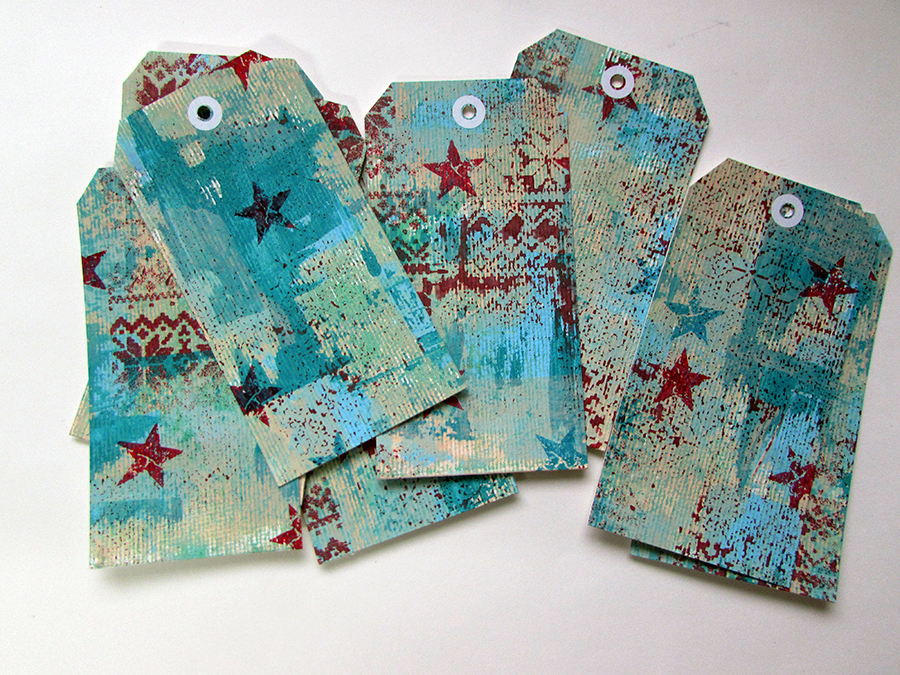
I sprayed Dylusions Postbox Red ink (what else?) through a stencil and stamped some stars across the page using Festive Berries Distress ink.
It started to look more like it once I’d cut the sheet up into tags, not forgetting to add a small hole reinforcer.
I could not resist using a Dutch Doobadoo stars stencil with some White crackle texture paste. The paste actually sucked up the ink from underneath but I don’t mind that, after all it’s mixed media and unpredictable.
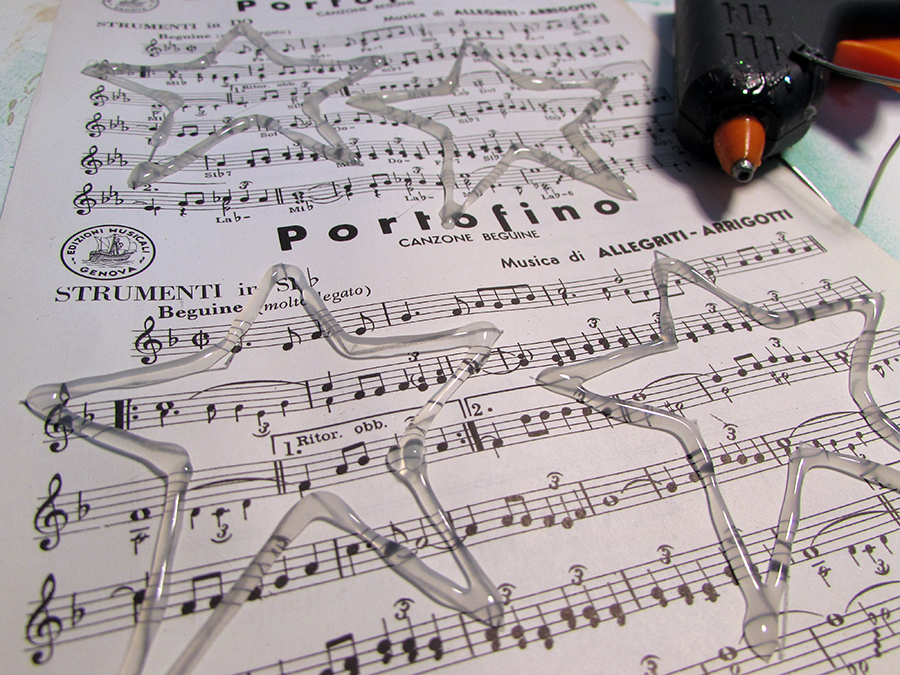
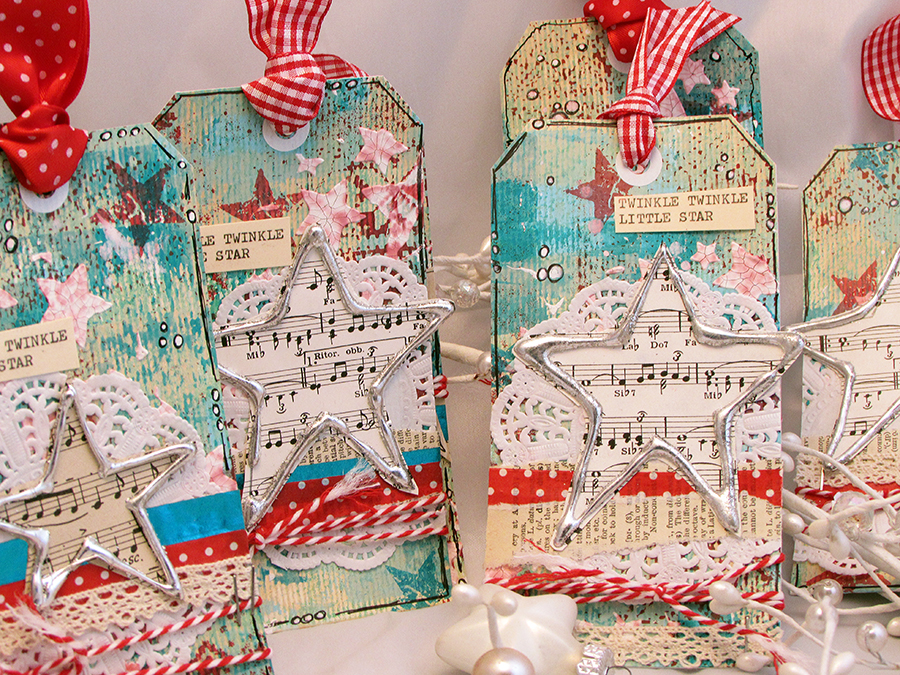
After a conversation with Clare last week where we were talking about creating shapes with a glue gun, I thought I’d make a few stars for my tags. I did draw them out first, I’m not that good!
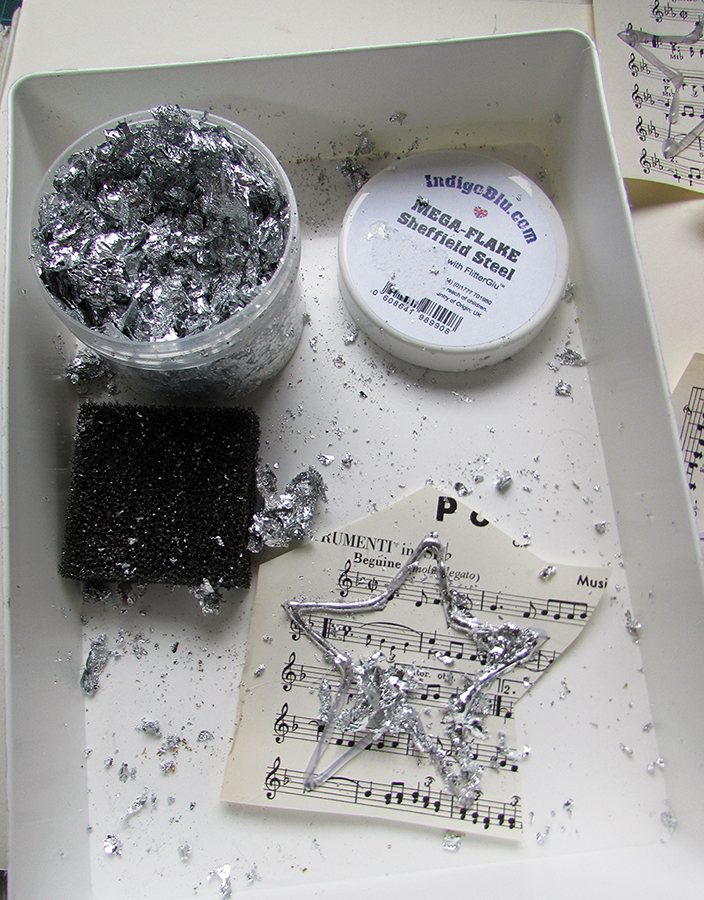
The next part of my idea was to turn the stars silver and I wondered if I could get some Mega Flakes to stick to them. I was extremely surprised and happy to find they stuck and I didn’t even need to use the glue which goes with the flakes.
Just a bit of a rub and it was like magic. Just don’t do what I did and blow off the excess flakes before you’ve put the lid back on! Just sayin’.
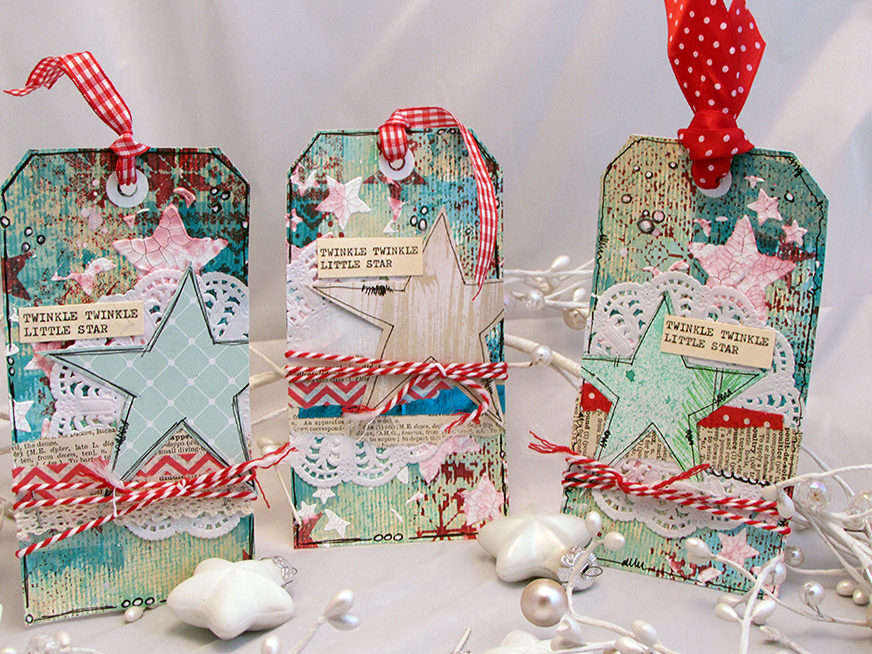
I finished off by layering the stars on a doily with some washi tape and book page strips and doodled a border and typed a little sentiment out on my typewriter.
Happy December 2nd
Jaine x





These are gorgeous. I love the artsy feel and the xo,our palette is perfect for the season. Tracy x
Thank you very much. xxxx
Brilliant tutorial Jaine. You really are a mixed media guru!!!
Thank you Jaine the idea journal is such a fabulous thing. That is now something I am going to do in the New Year as I often see particular images or colour mixes that really inspire me and think I must remember that and then I forget lol! I also love the glue stars and how you created them – something I need to try too. TFS Karen x
Wow these are gorgeous Jaine…..mad Monday was awesome!