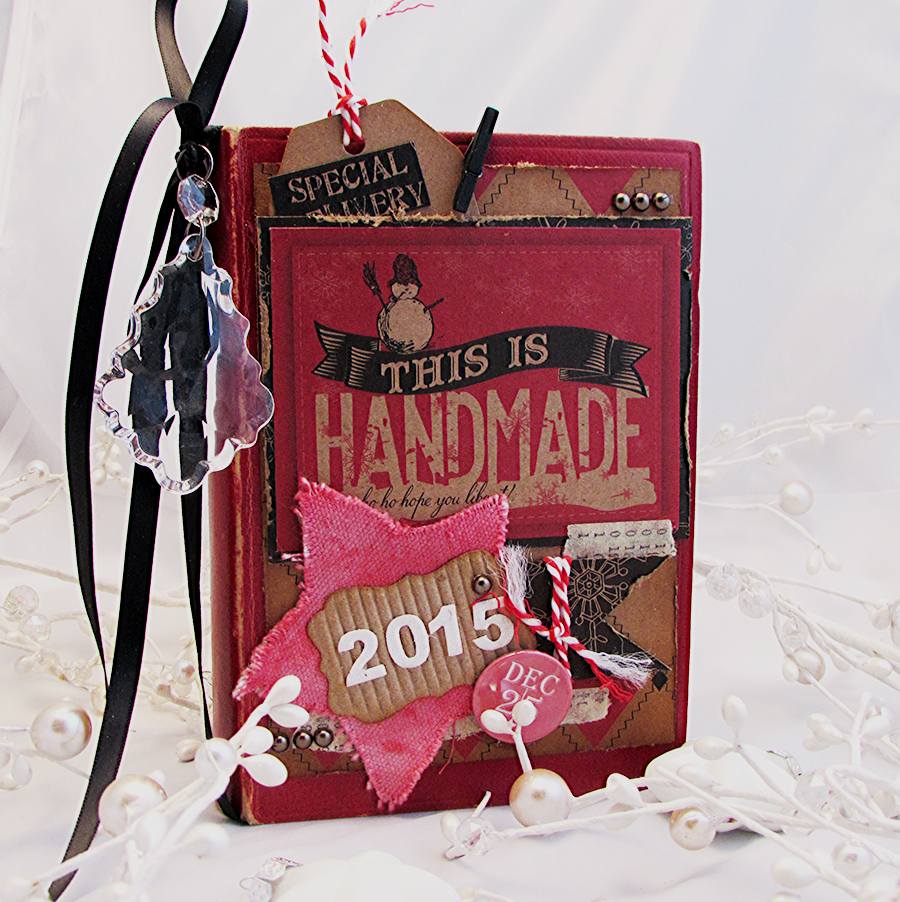
Friday In The Studio, Small Is Beautiful

Oh bother, I’ve missed a few posts, I’ve not been well so I’m afraid my best of intentions went right out of the window.

I’m having a good day today so I can catch you up on the good stuff which did happen last week.

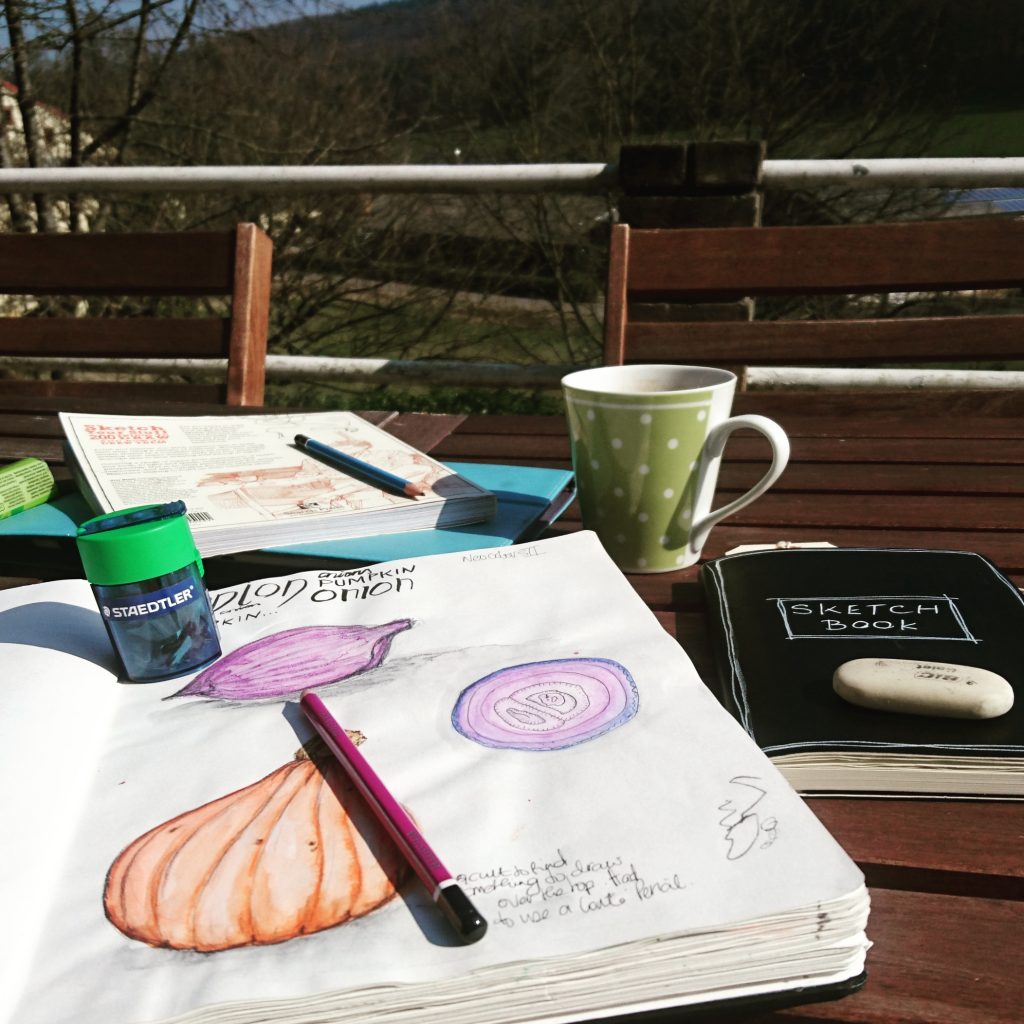
Well for starters the sun came out and made us all feel really Springy. As much as could be done outside was done outside and a spot of sketching was right up there. By the end of the week it started pouring with rain and I  ended up with a jumper on again which goes to show we shouldn’t take these moments for granted.  As I said I wasn’t feeling well so I ended up watching my neighbours digging over their plots ready for the new season and all I can do is imagine their thoughts as they look over at mine, destroyed by the dog and full of weeds.  Hubby and I have got a plan up our sleeves though which will knock their socks off!!  Maybe.  This week the sun came back and we were treated to some truly warm days.

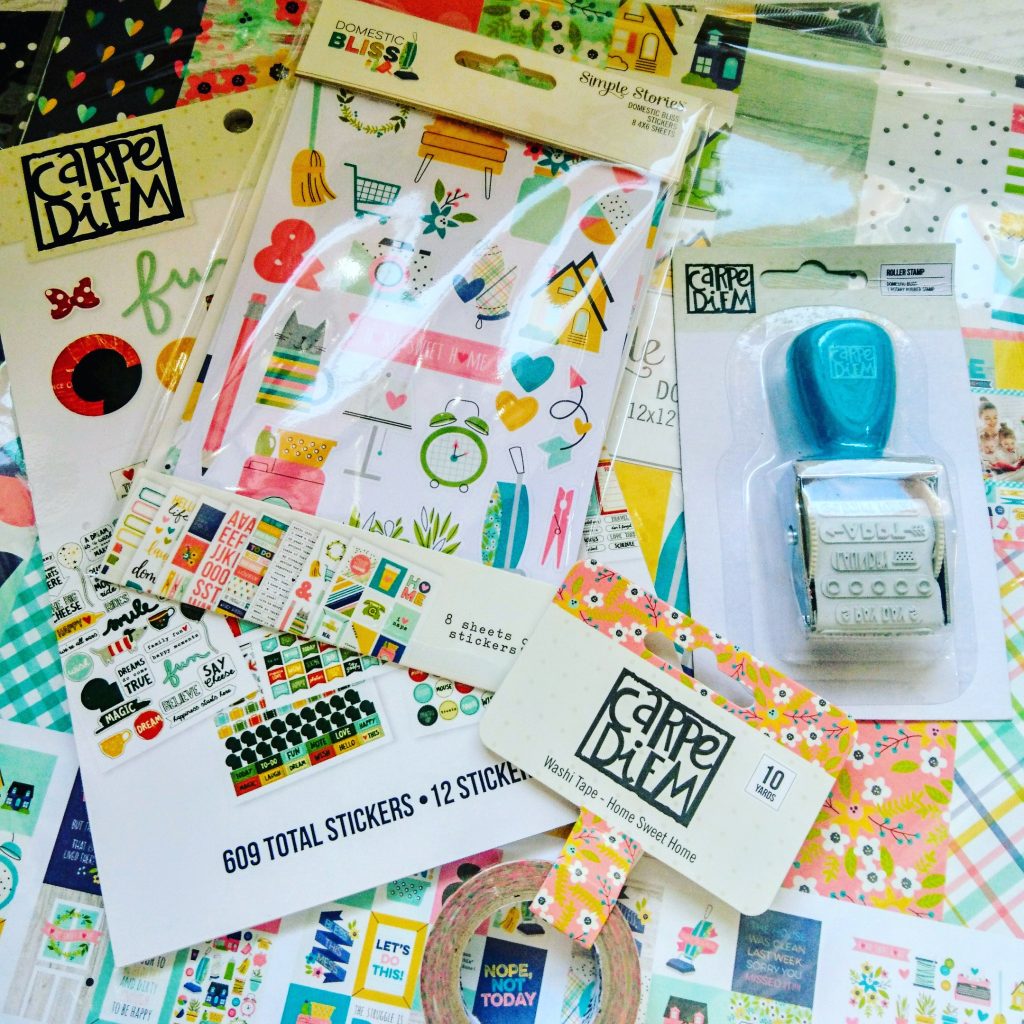
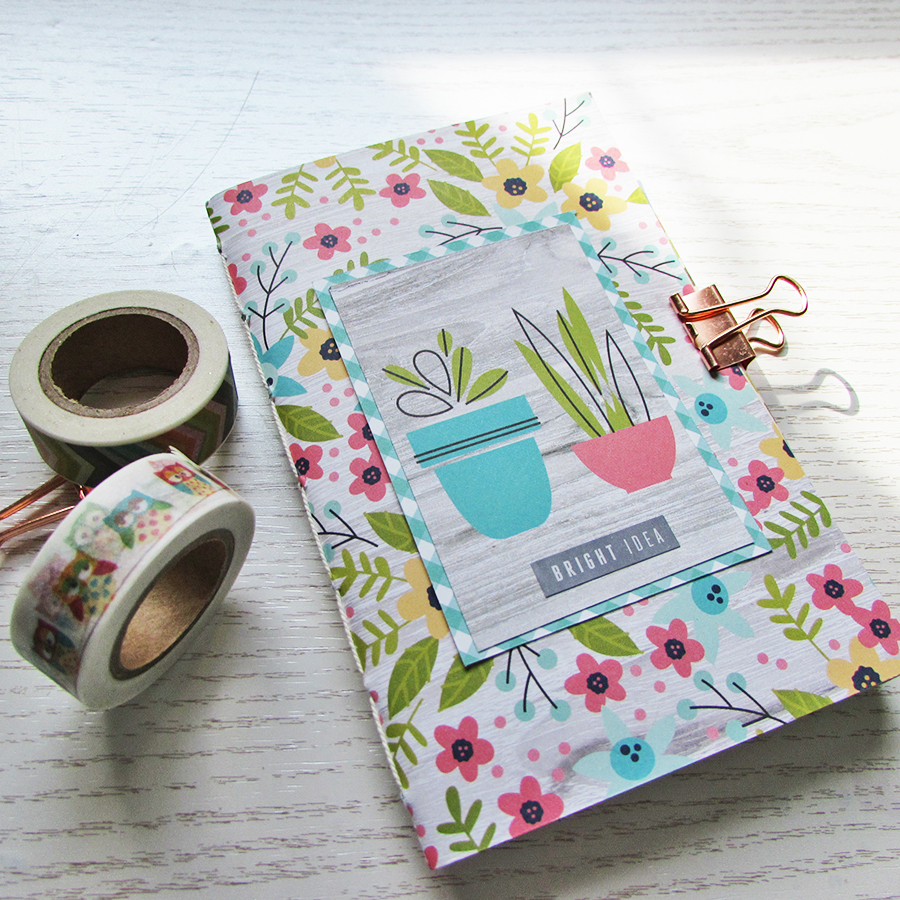
I did receive a very welcome package from Paperpenandplan just over a week ago containing some Simple Stories goodies. Planner stickers, stamp, washi and paper pack. I couldn’t wait to open and use it.

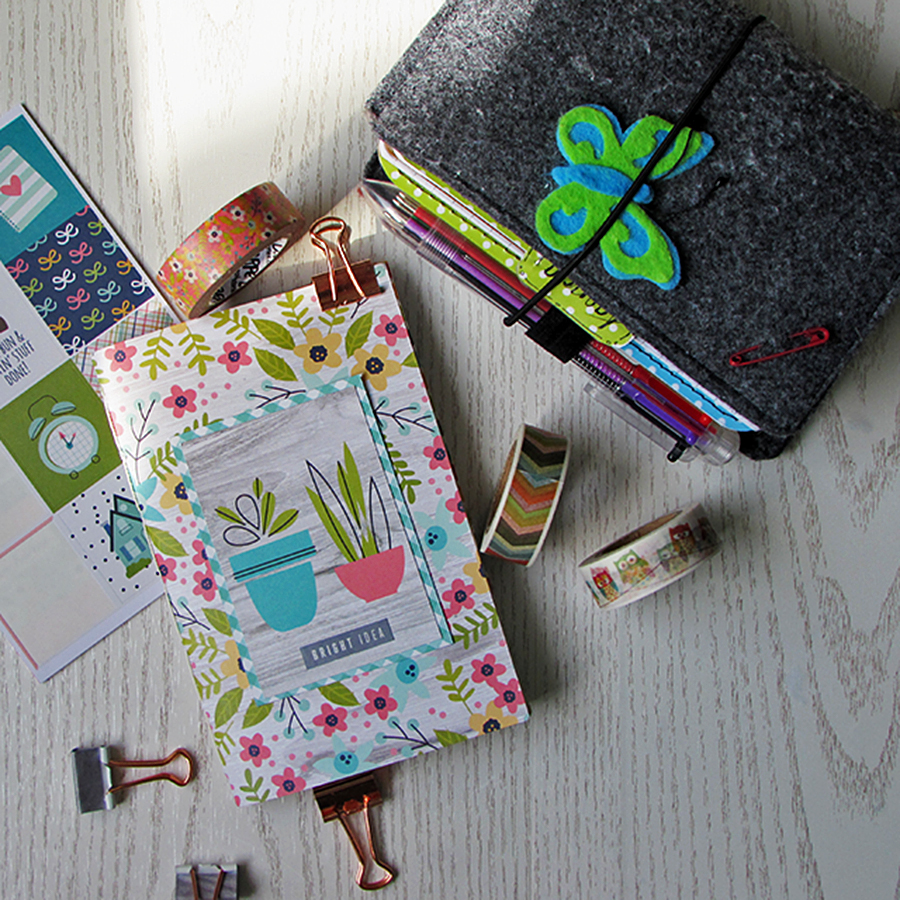
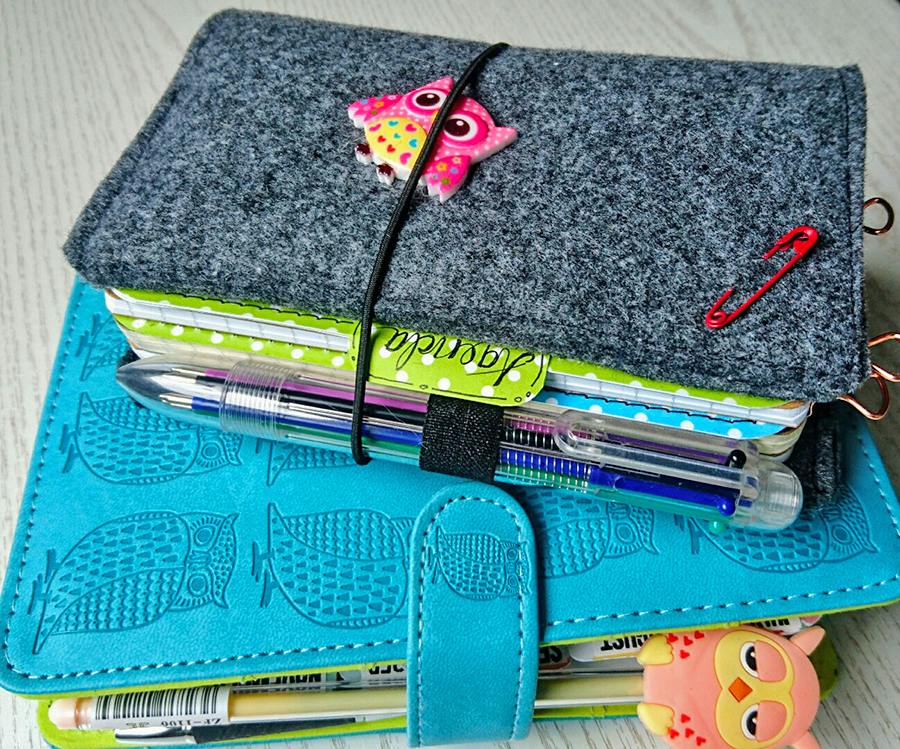
As the title suggests, small is indeed beautiful to coin a cliché and my passport sized Travelers Notebook is fast becoming my absolute favourite planner of all time.
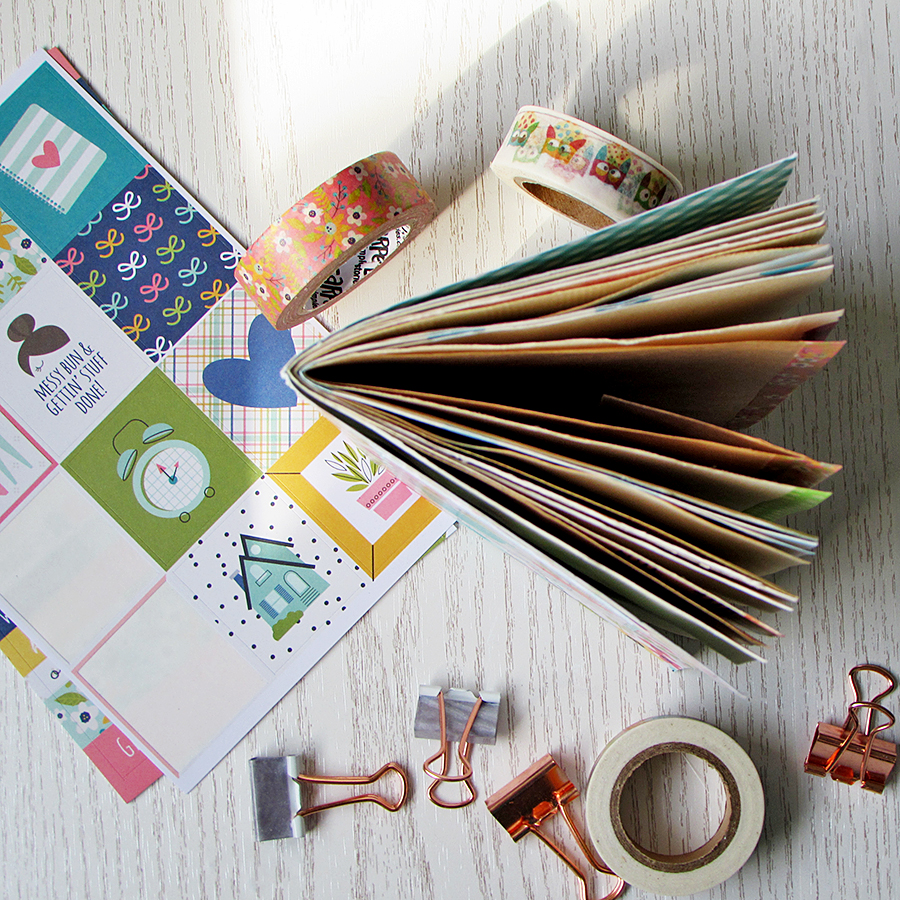
I decided to make a mini insert for it using some of the Simple Stories Domestic Bliss papers which arrived from Paperpenandplan.

As before the binding is hand sewn as that’s my favourite method of binding.

I love it.

Have a good weekend and for now Happy Friday.

Jaine x

 

Messy Monday is back

Well, almost back anyway. Clare and I had a bit of a session making Travelers Notebook inserts but sadly Clare had a paper cutter crisis and ended up binning it for something else. She promises to get back to it next week so I’ll hold her to that.

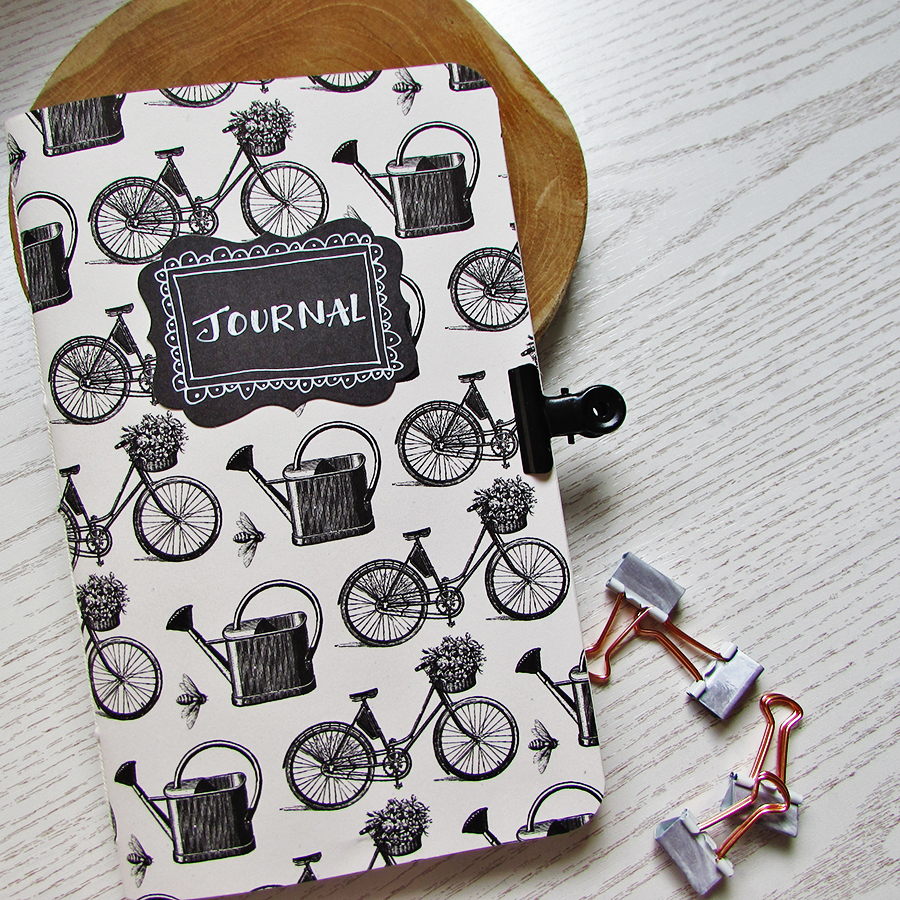
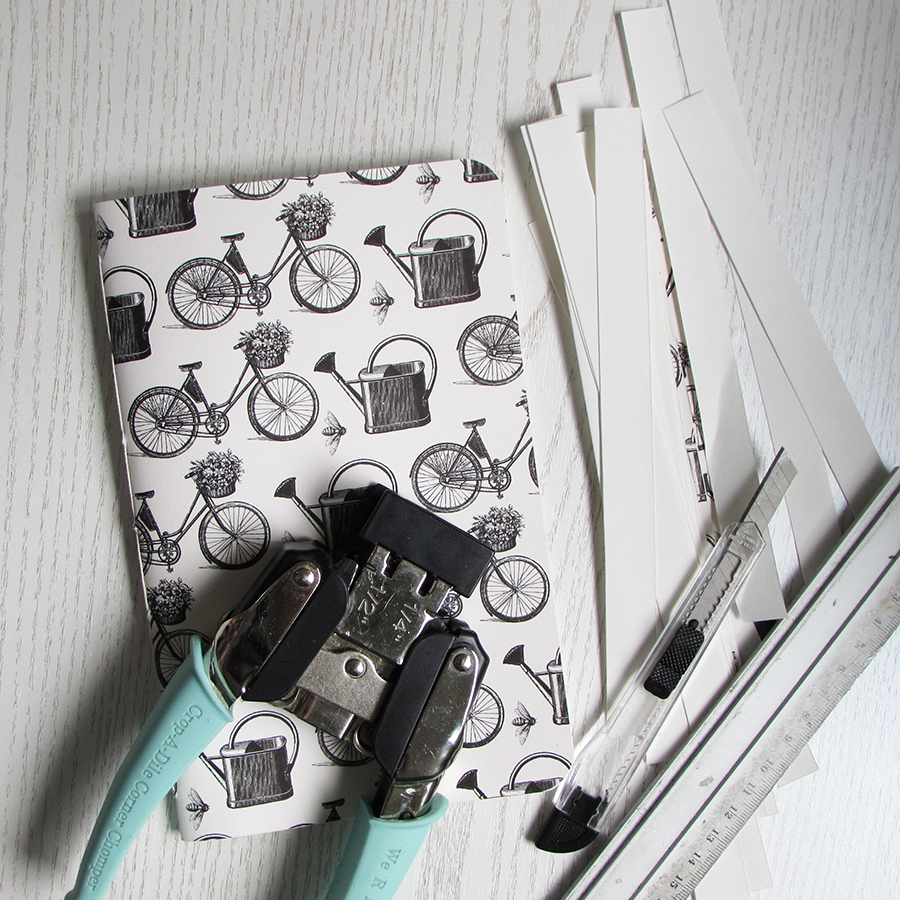
I turned it into a tutorial for Clare to follow next week and anyone else who wants to know how to hand sew a binding.  This is the finished booklet. I think uit looks quite smart. I used a piece of Canvas Corp paper called Bikes And Baskets for my cover.

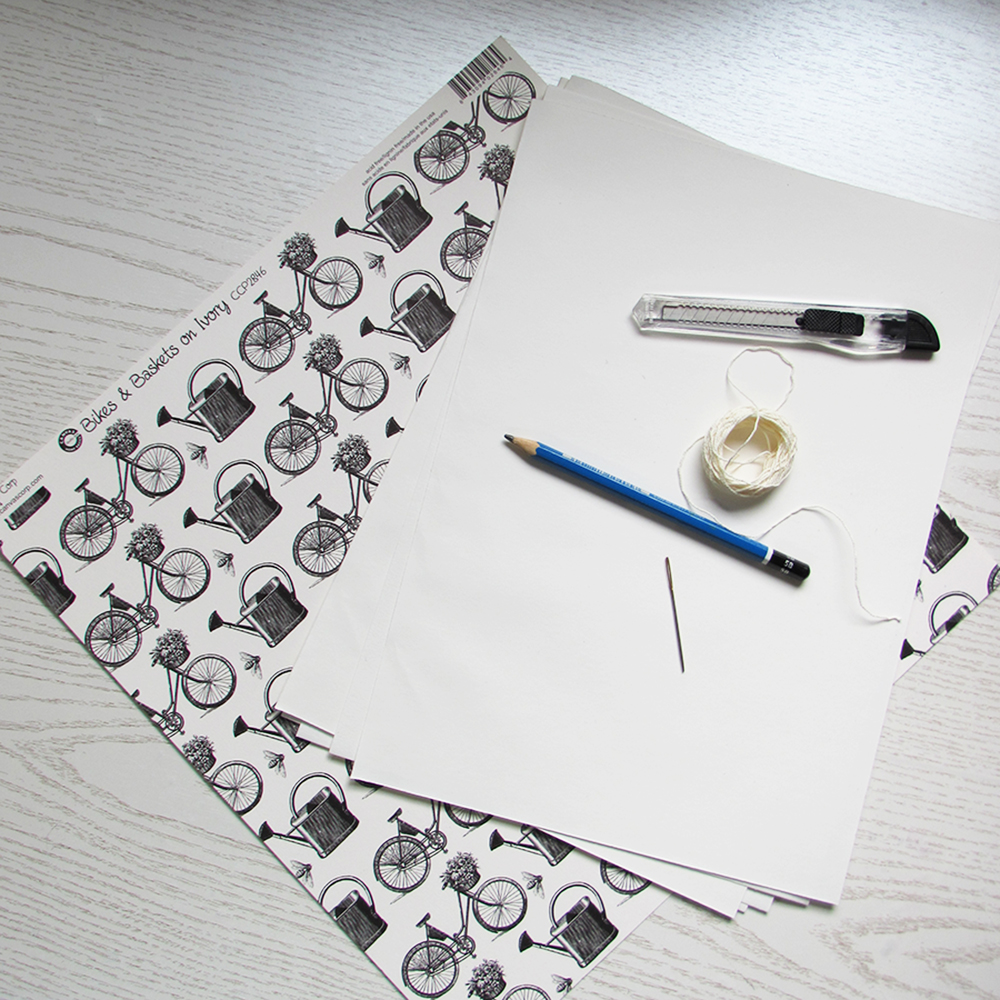
To make my notebook you’ll need a piece of scrapbook paper for the cover and I used 14 sheets of A4 watercolour paper at 125gsm.  I find this perfectly adequate for what I want to do with my journal, any thicker and it’s hard to fold. You’ll also need a knife and ruler, pencil, cotton thread and a needle.

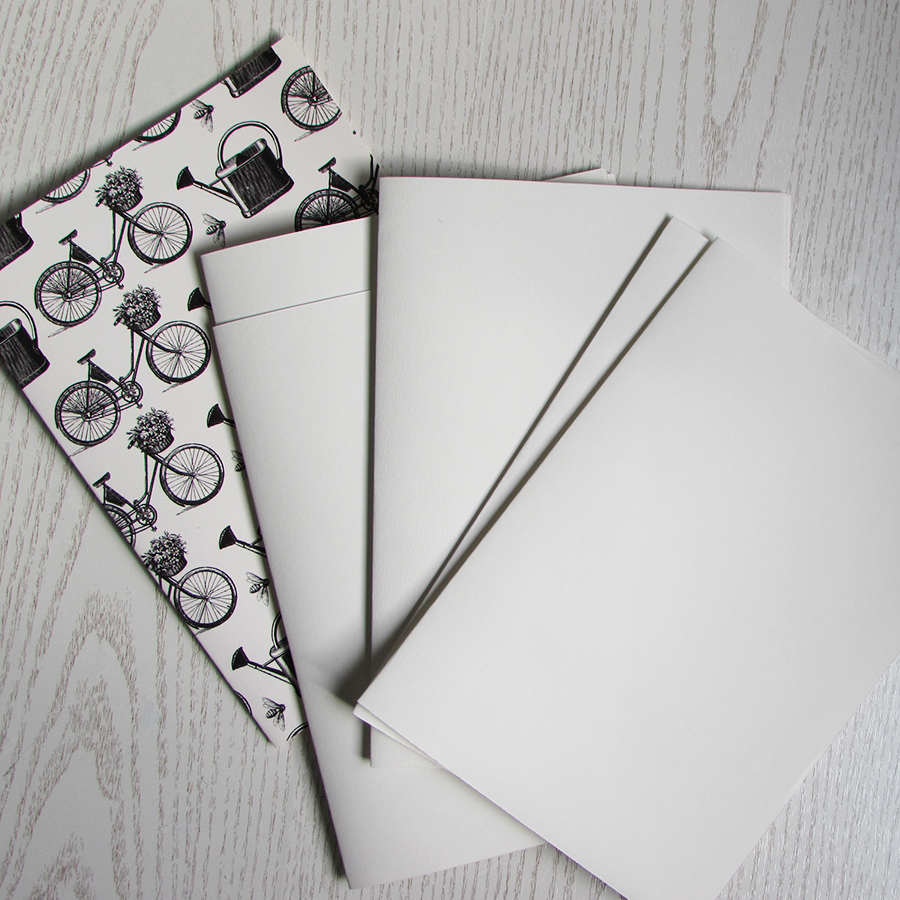
Fold all of your papers in half and place them all inside one another.

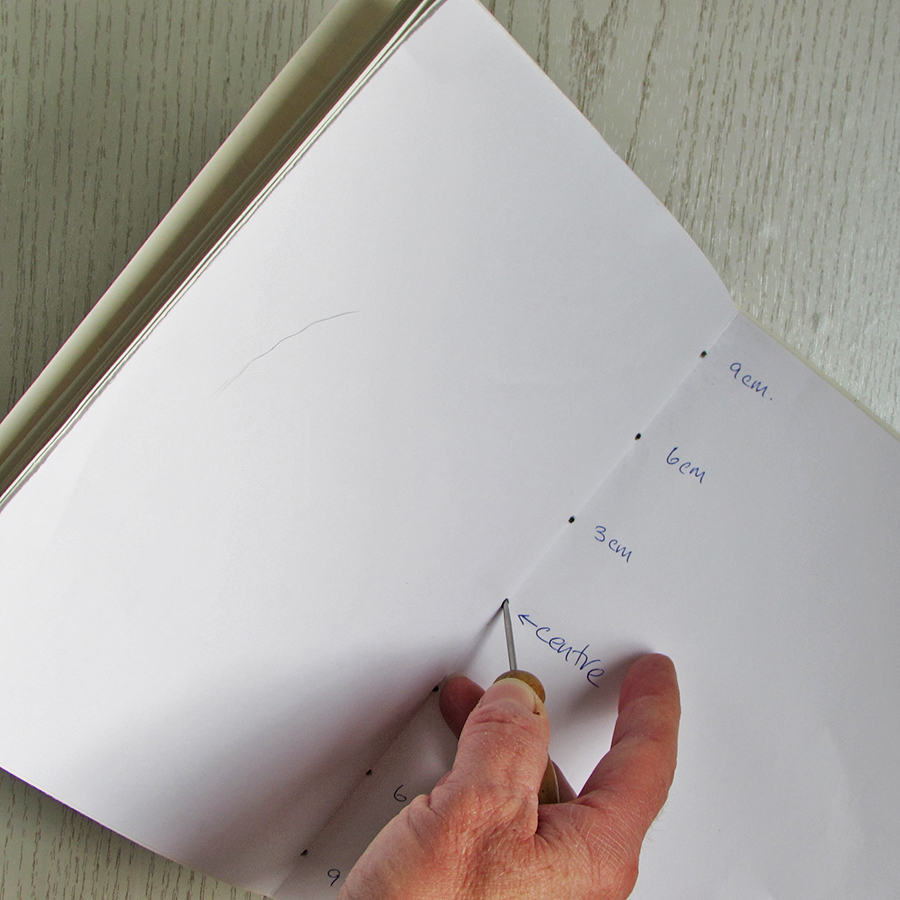
It’s easier if you make a stitching template before you make your holes, you can use this again and again. I used a 7 hole stitching method (you always want to have an odd number of stitching holes). Find the middle of the page then make three marks either side of the centre hole at 3cm, 6cm and 9cm.

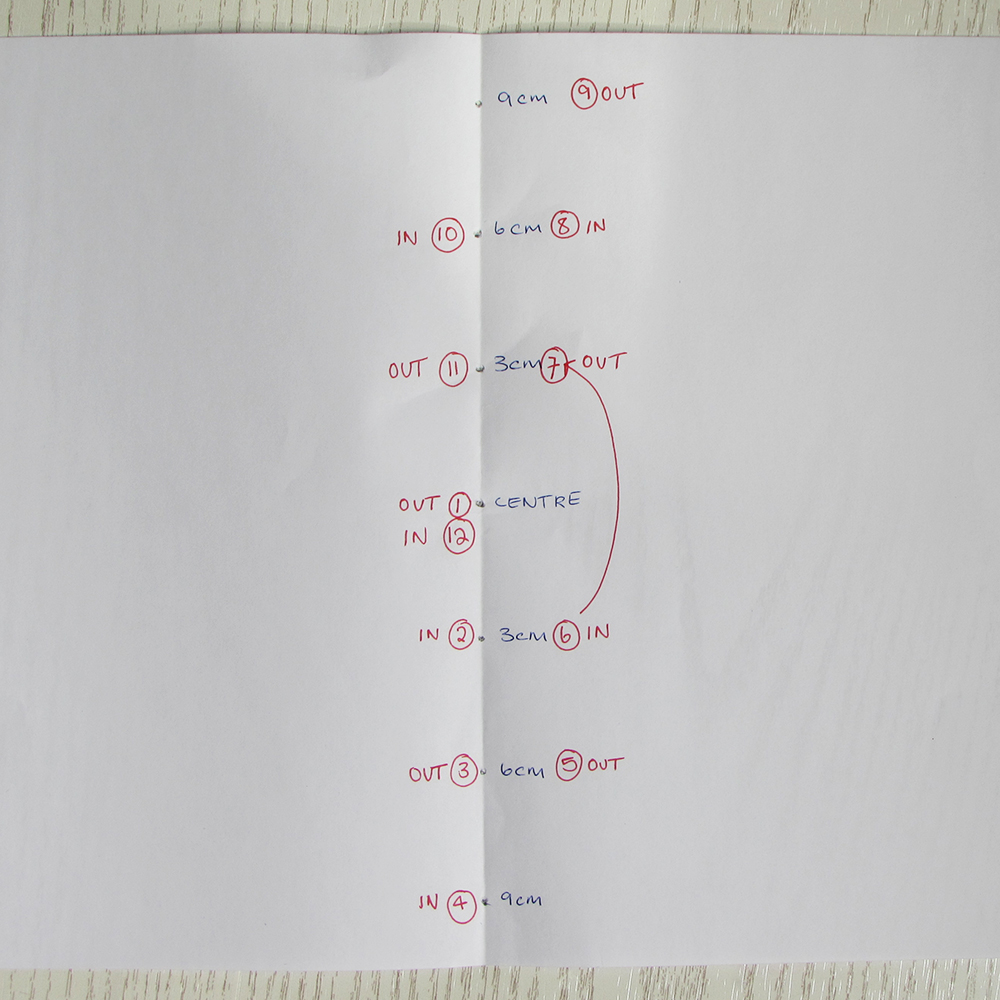
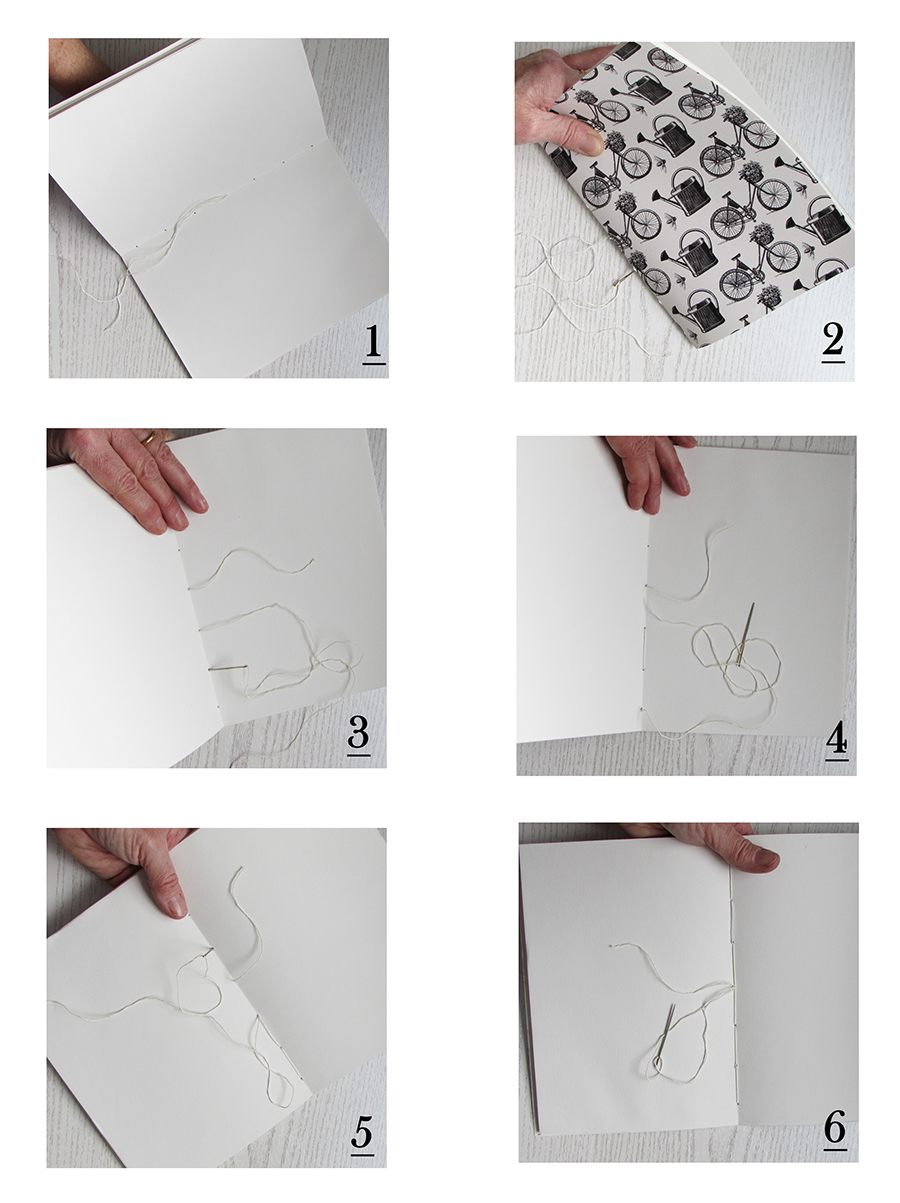
This is my stitching chart if you can follow it. So basically starting with the centre hole stitch from inside to out leaving a small tail of thread on the inside. then it’s back up through hole number 2 and out through 3 etc until you’re back in at number 6 where you jump over the middle hole and go out through 7. Continue going in and out until you’re back in the centre hole again.

If that’s a bit confusing here are the picture steps.

When you’ve finished sewing, trim the sides and round the corners and you’re done.

I’ll be back again on Friday from the Studio.

Have a good week

Jaine xx

Confidence Art Journal Page

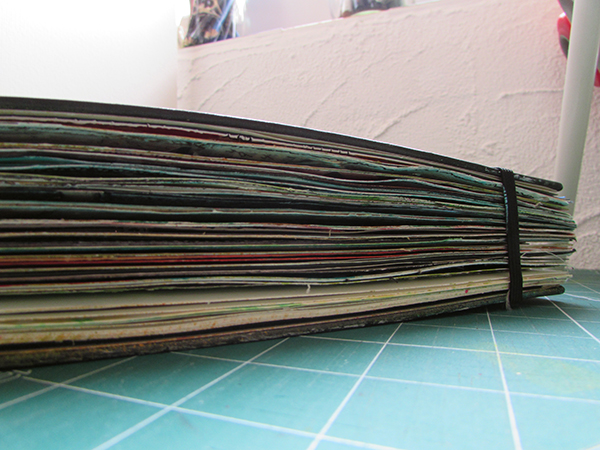
At the end of last year I posted a photo of how my Moleskine journal looks now it’s at the end, since then it’s become even fatter and is bursting at the seams, so it’s definitely time for a new one. This time I’ve bought myself a Strathmore to see how that stands up to my beloved Moleskine.

moleskine

While I was waiting for it to arrive I created a new page in my much smaller Dylusions journal and as usual it was while Facetiming with Clare who was also testing out a new journal, her first Moleskine.

journal dyl

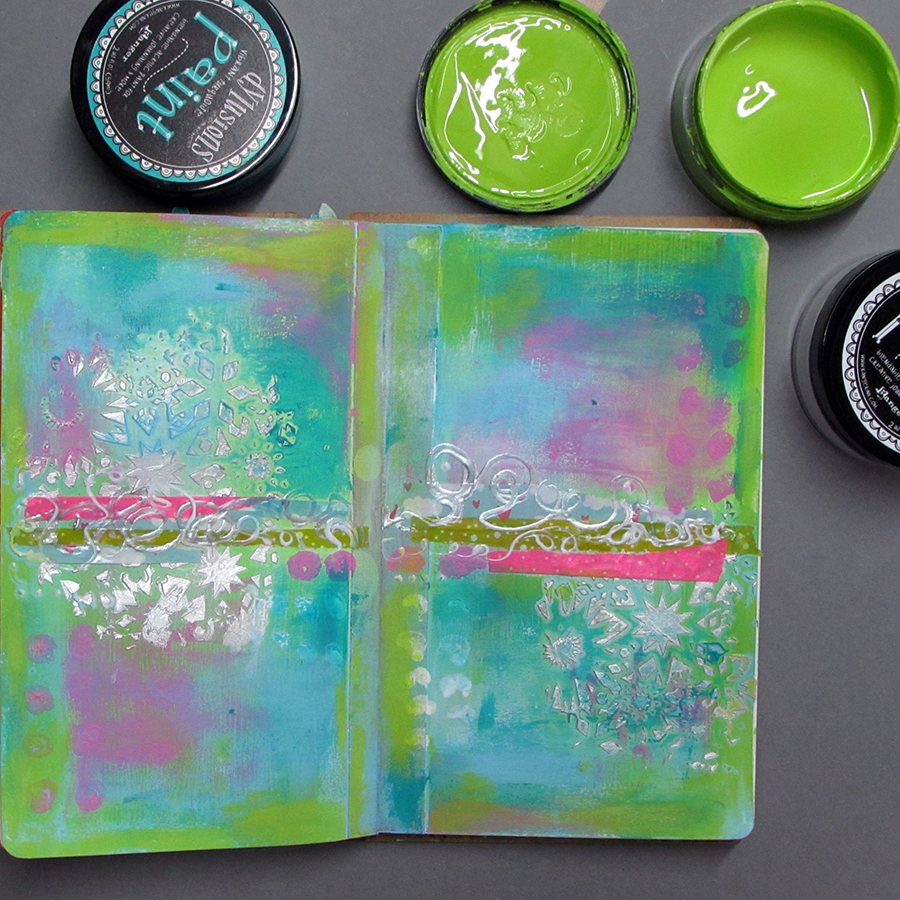
I got out the Dylusions paints and as usual I reached for my favourite colours, turquoise and green so to try and push myself out of a colour rut I thought I’d go for something I don’t normally do and put on some pink. As you can see I wasn’t so confident and didn’t slap it on too much but I was happy to know I’d broken out of this colour funk.

journal dyl2

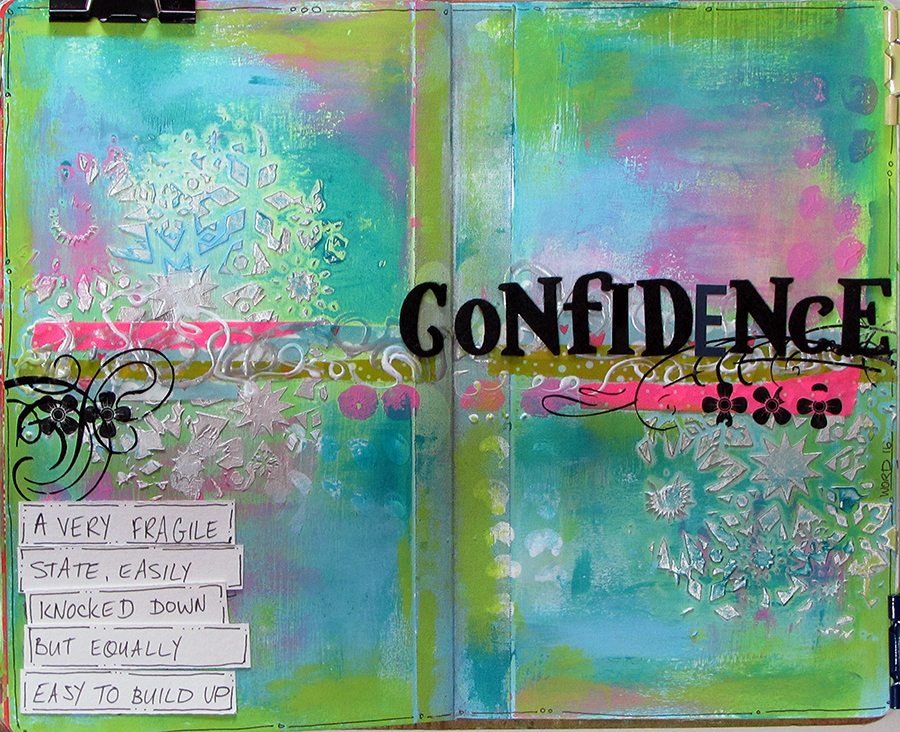
I thought I’d put the word Confidence on the finished page as it was the word of the moment. Confidence to try something new, confidence to believe in yourself and how quickly it can be taken away too with just one word.

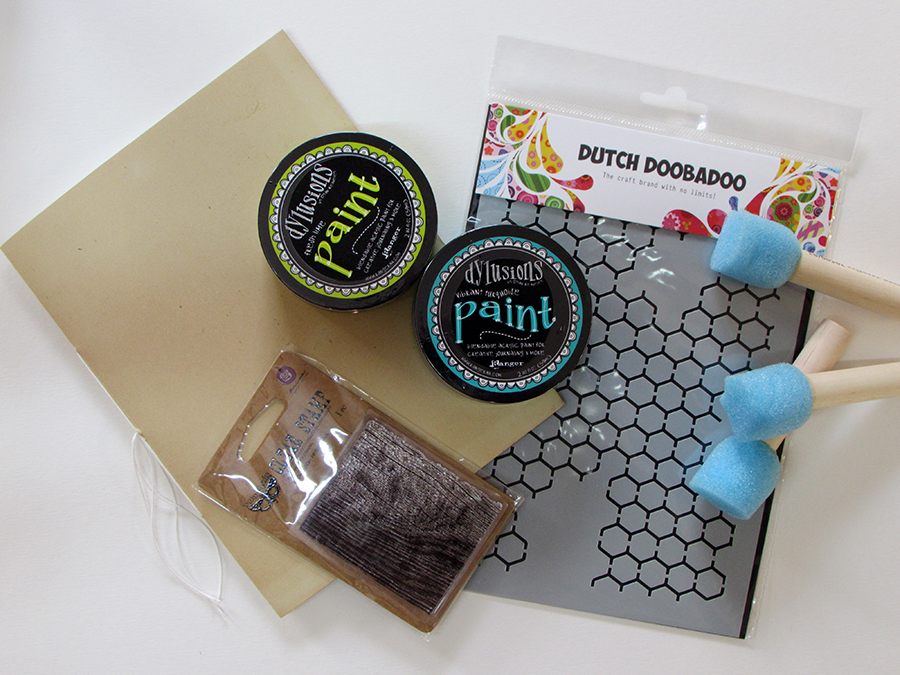
I think it’s important for me to remember that not everyone has the confidence to slosh paint around and mess make in a journal like I do and there are people who would very much like to get started in journaling but have no idea where to start. So in the shop I’ve put together a series of kits which include a hand made A5 journal, two Dylusions paints, a stencil and stencil sponges and a stamp. The journal is 8 pages of 300gsm mixed media paper so well able to stand up to paint and wet mediums and is bound with a vintage manila file folder as a cover. There are 4 kits Spring, Summer, Autumn and Winter, each one with different stencils and paint colours.

journal kit spring

My motto for the year will be “Try something new this year” so I hope you will.

Jaine x