A Valentine Mini Book

I’ve spent quite a bit of time recently sorting out some of the hand bound books from market and art fairs so I can add them to the shop. This meant photographing and numbering each one before uploading to the site. It’s been a while since I made a mini book and this process made me curious to try out something new.
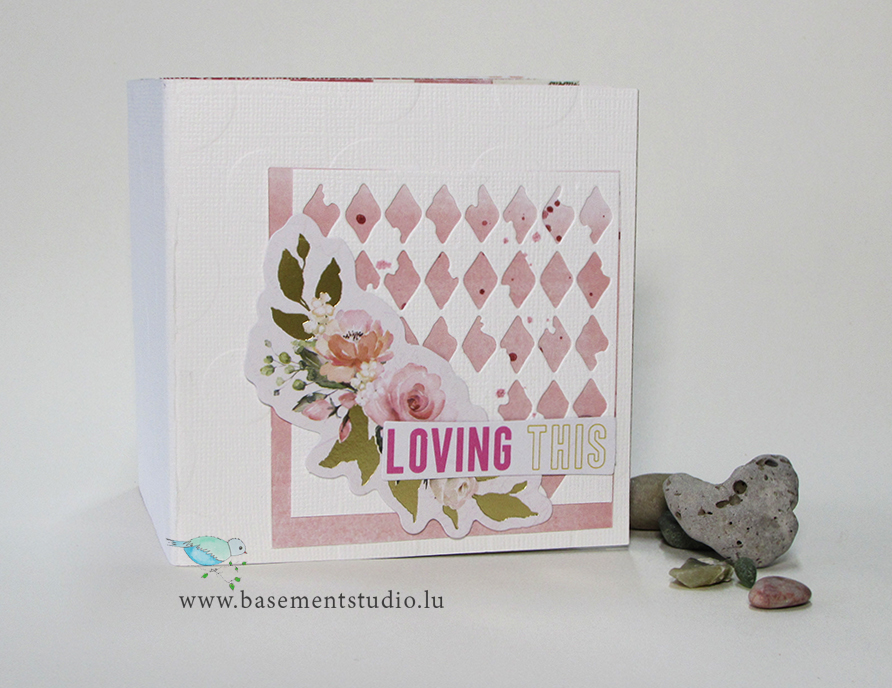
Square

Meet the Square album. It’s a dinky little size at 10.5cm and the inside pages (all 14 of them) are made using Vintage Botanicals double sided patterned papers, originally bought from Paper Pen and Plan on Etsy. If you check them out they’ve lots of paper packs on sale and with my code JAINE10 you’ll get 10% off too! The cover has been covered and decorated with paper and embellishments from the February Sweet Treat box also from Paper Pen and Plan.
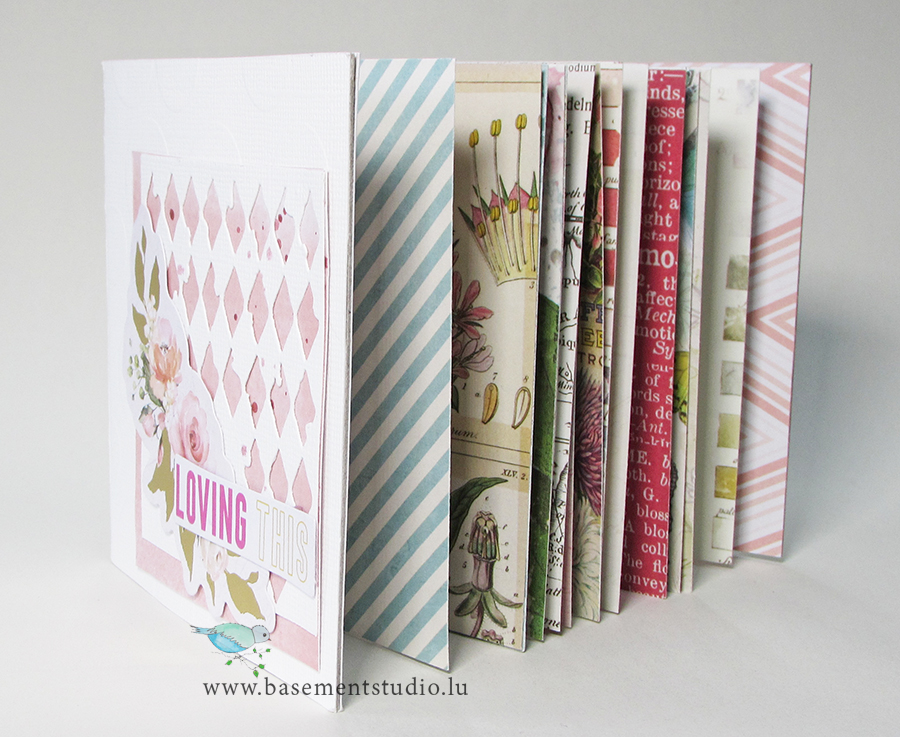
It would be perfect for a few Instagram photos and some journaling, personally I wouldn’t want too much to cover up those gorgeous pages.
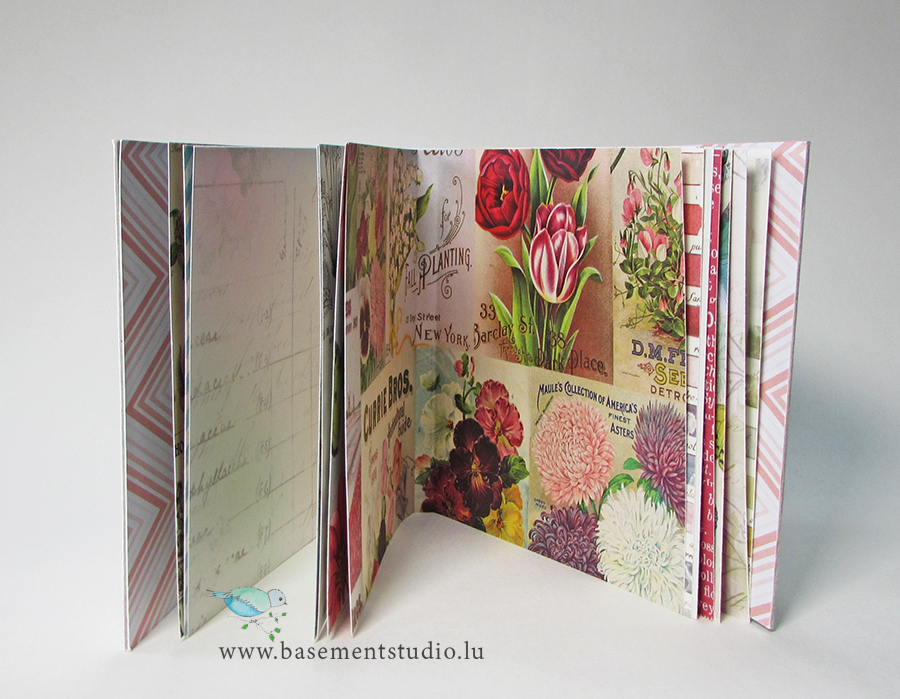
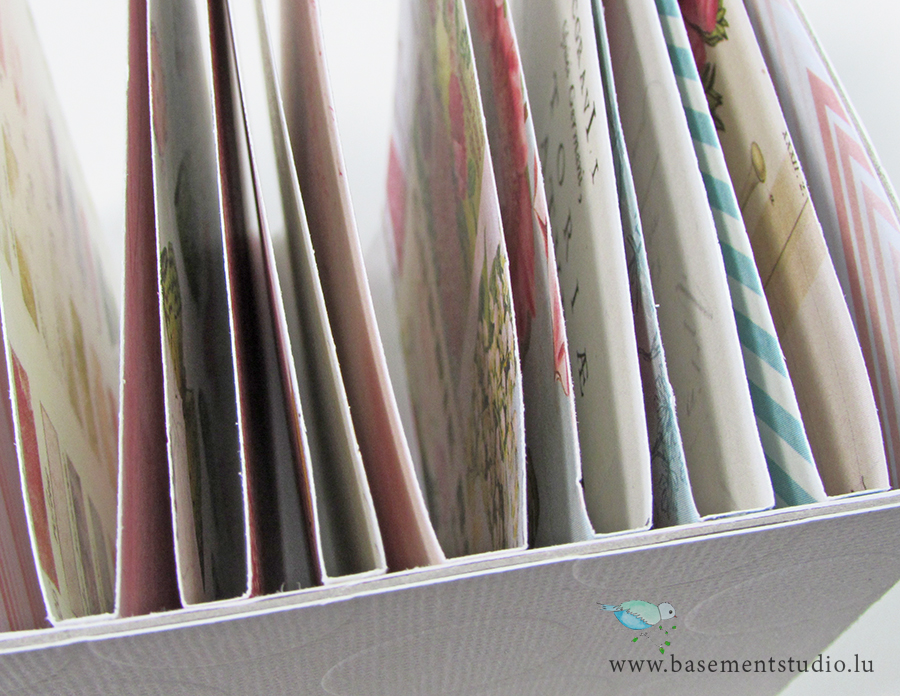
This is a new binding method for me but I’m now inspired to create something on a bigger scale perhaps.
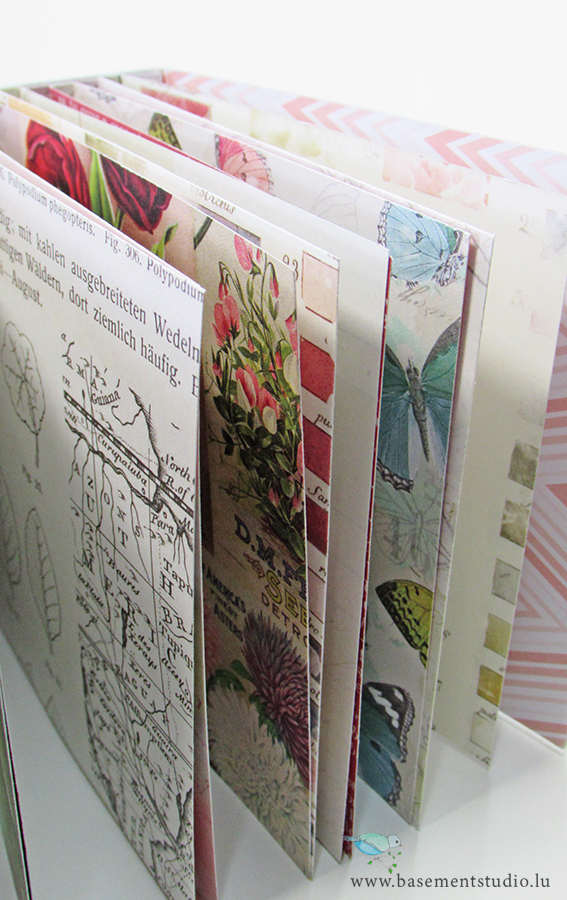
It sits on a shelf perfectly out on display rather than being tucked away between other books so in that respect it’s more of a decor piece than a simple album.

I haven’t decided yet if I want to keep it or add it to the shop but what ever I decide I’ll be adding to the family.

Happy Valentine’s day,

Jaine xx

New Autumn Term From The Basement

Even though I no longer have school aged children (just one at uni), I love the start of the new term. It reminds me a bit of new year and a fresh start. It must be all the shiny new things in the shops, especially the pens and pencils, I want it all!

Lots of things have been happening over the summer, including holidays away, and there have been lots of projects in between. I’ll recap a few here.

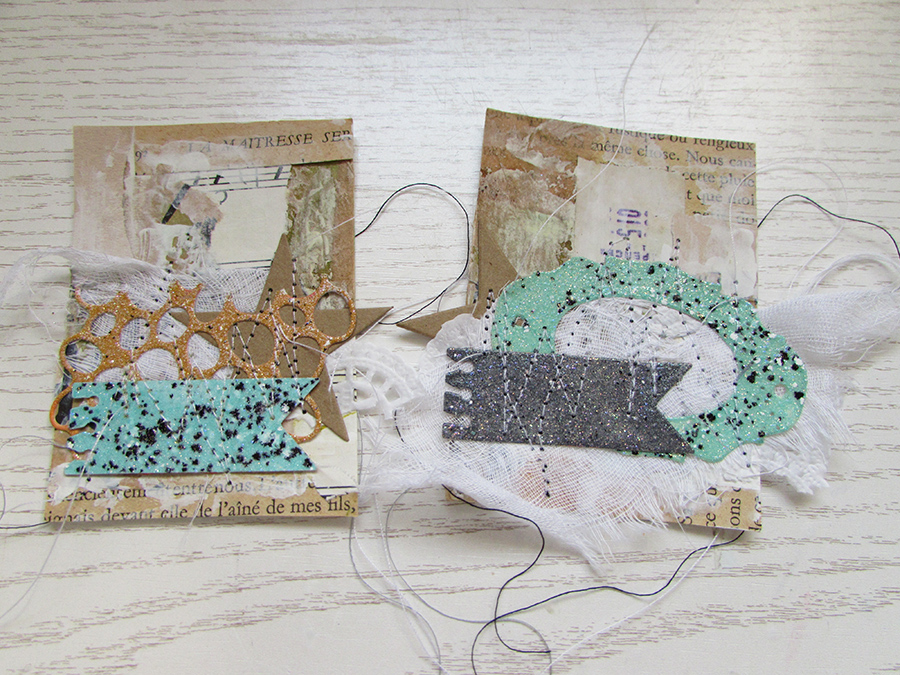
First up, there have been quite a few projects for WOW! including these ATC’s. The theme for September is Embellishments which opened itself up to so many possibilities. Here I chose to create little embellishments from die cuts and embossing. A bit of sewing and they’re done! 

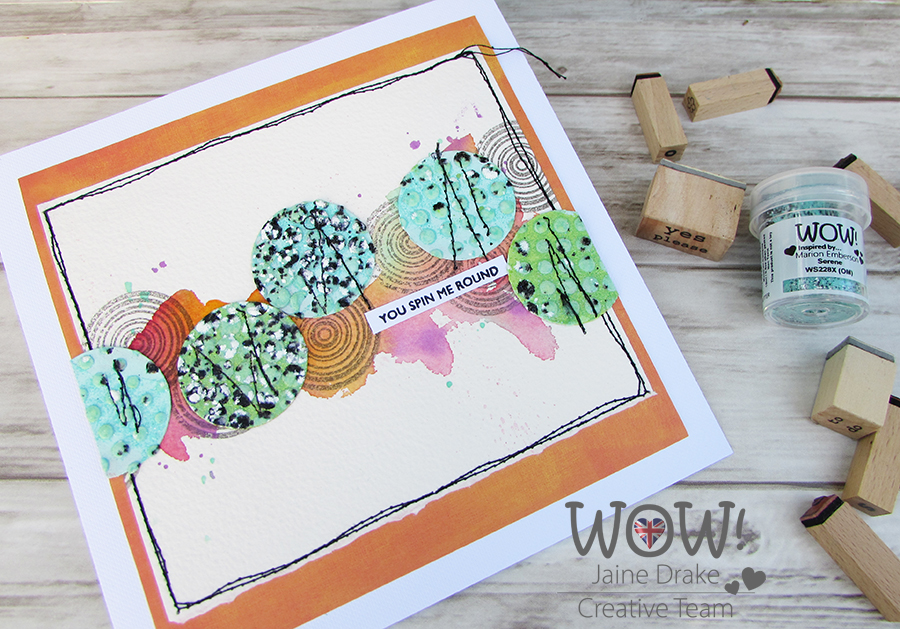
The same powder from the Riviera Trio was used on these circles and again sewn onto for extra texture. The powder was set onto texture paste for much deeper dimension and heating it with a heat tool created bubbles too. I love that finish!

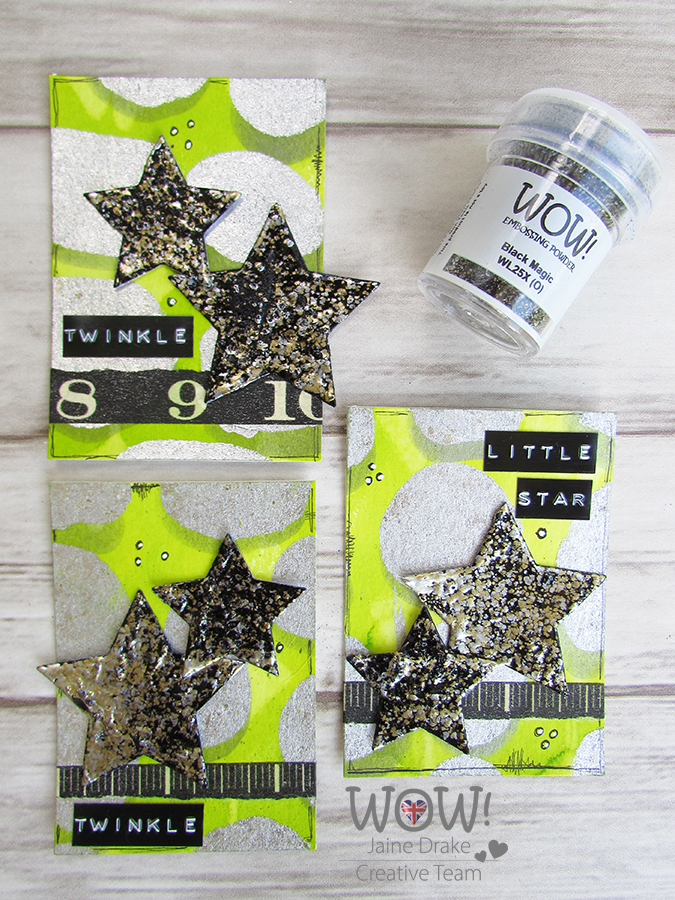
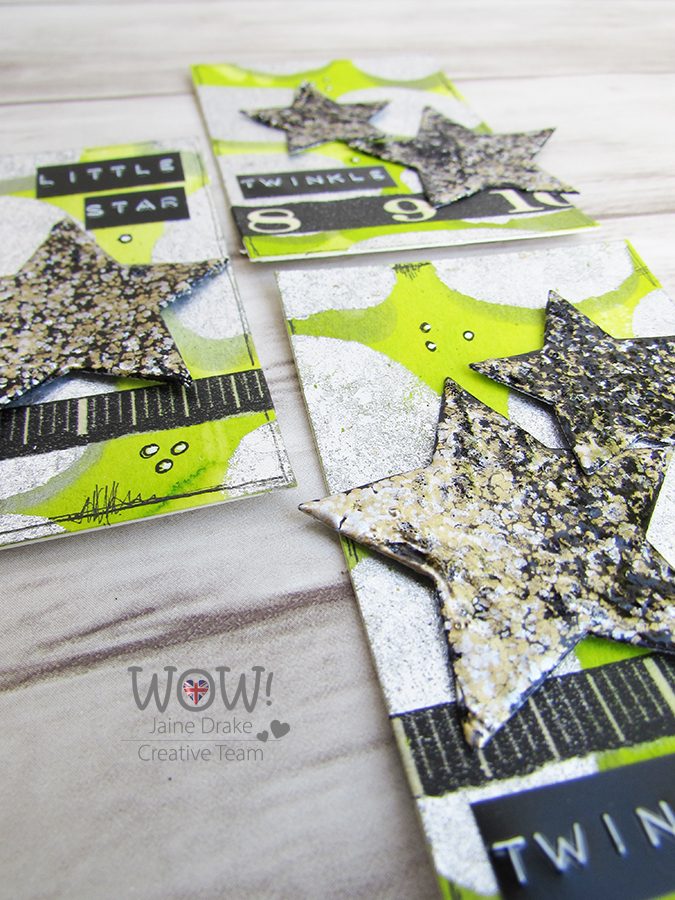
For this one again I used a die cut but covered it with gel medium and embossing powder. Heating the powder over the gel medium created some wonderful texture which adds to the magic!

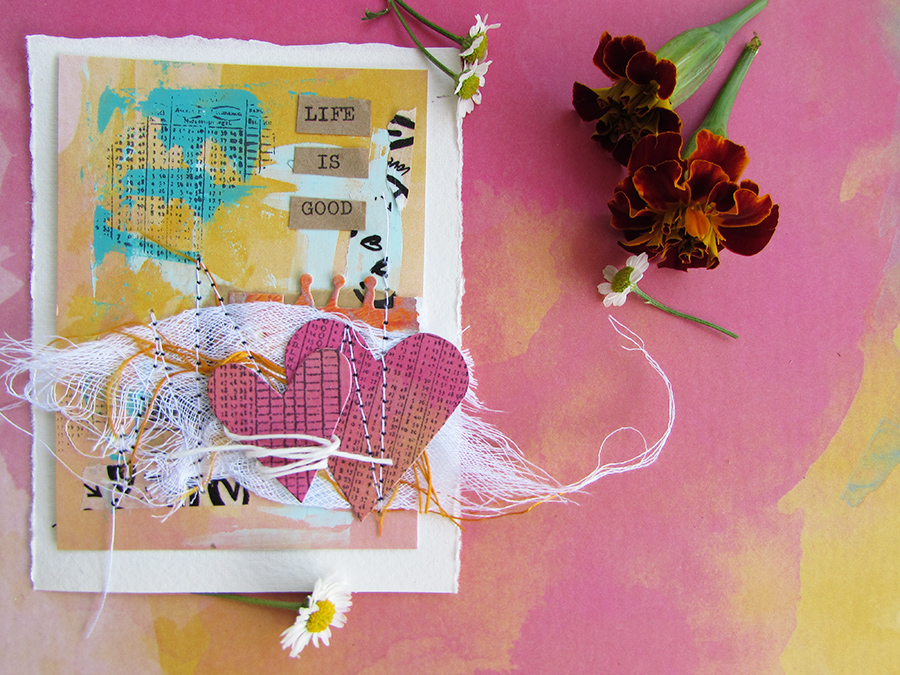
I’ve rediscovered how brilliant ATC’s are again after falling out of love with them for a while. This little one was made for Paper Pen and Plan and even though it looks as though I painted the whole background I’ve actually only used a small amount of paint smeared over this already painted scrapbook paper. A good trick if you have little time or inclination to wait for paint to dry!

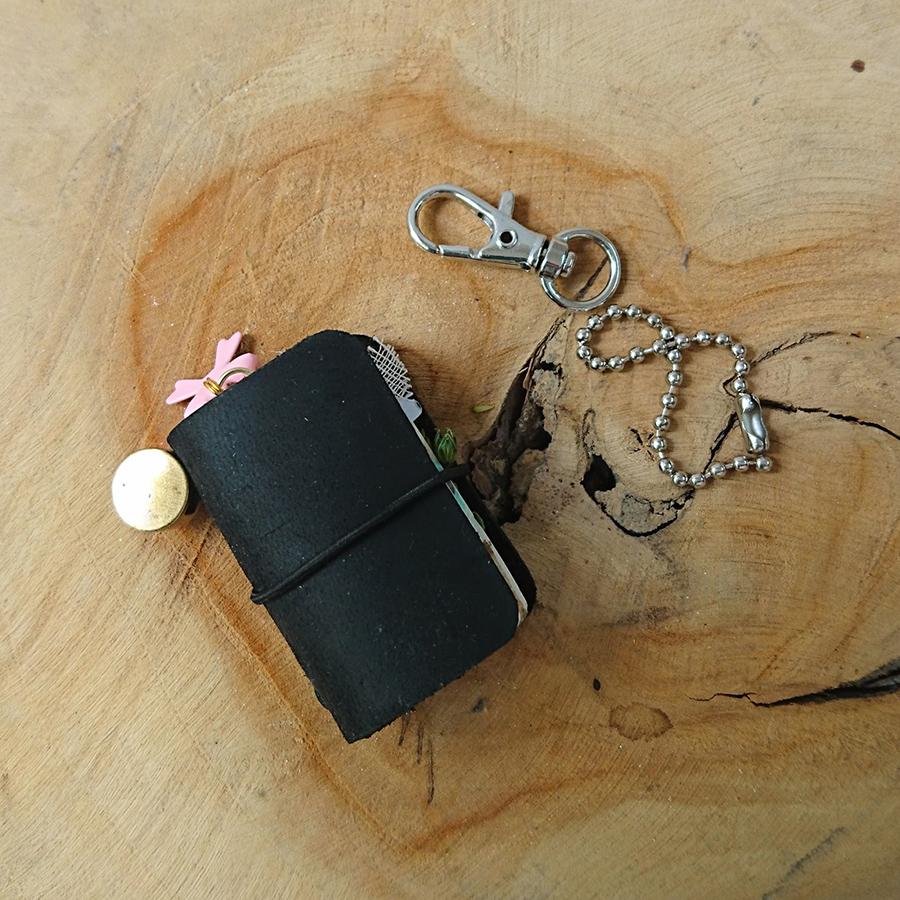
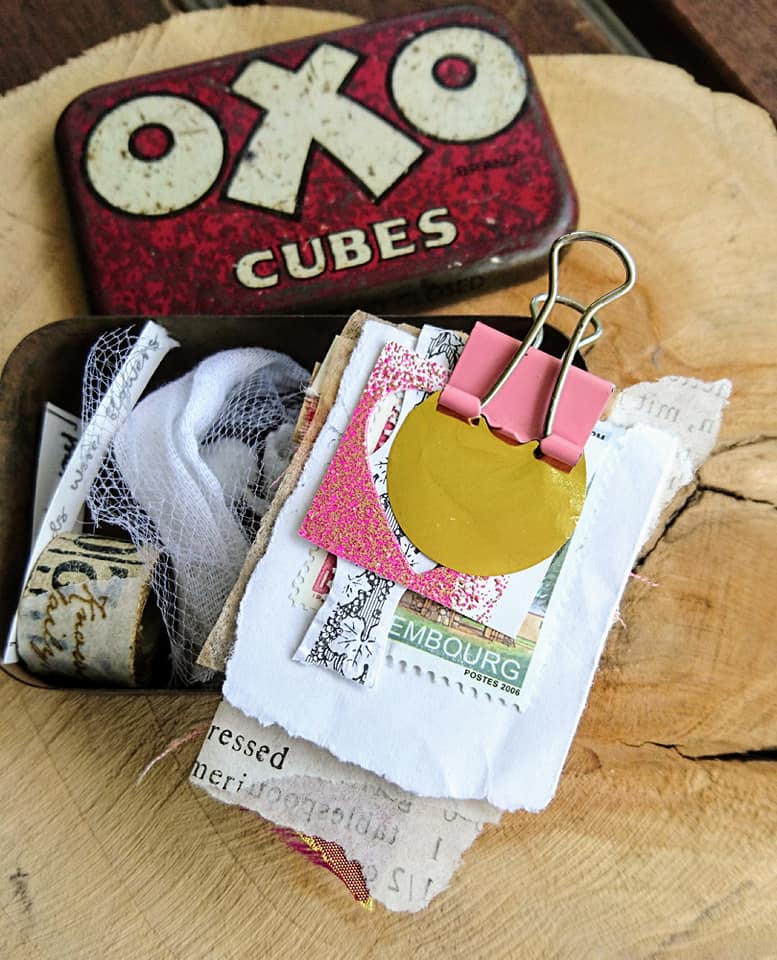
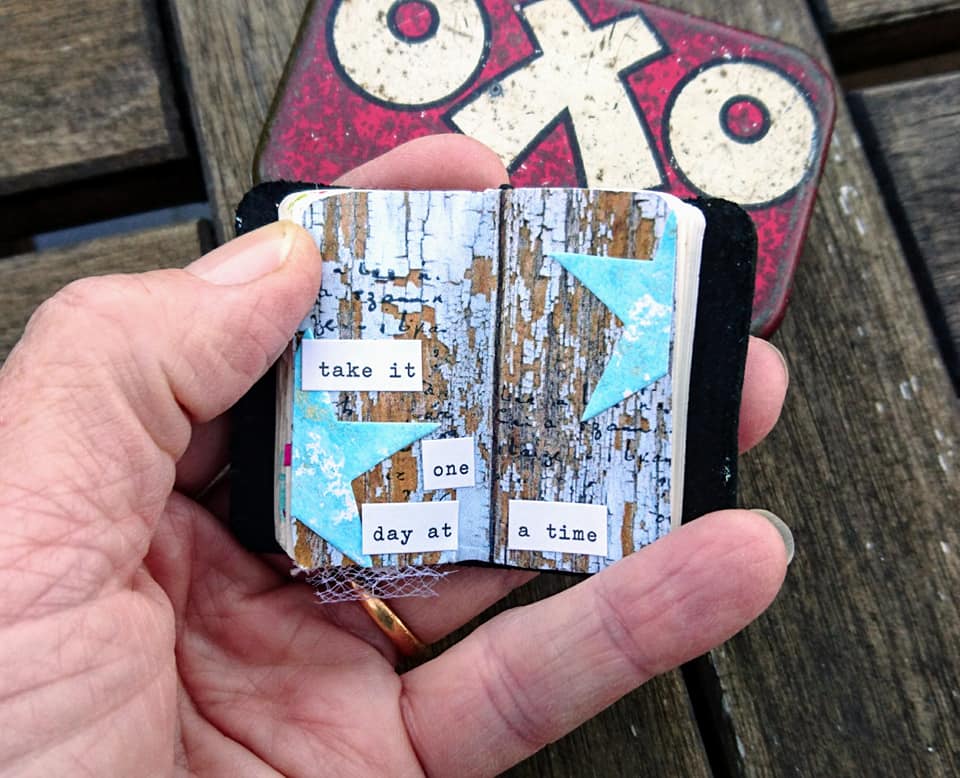
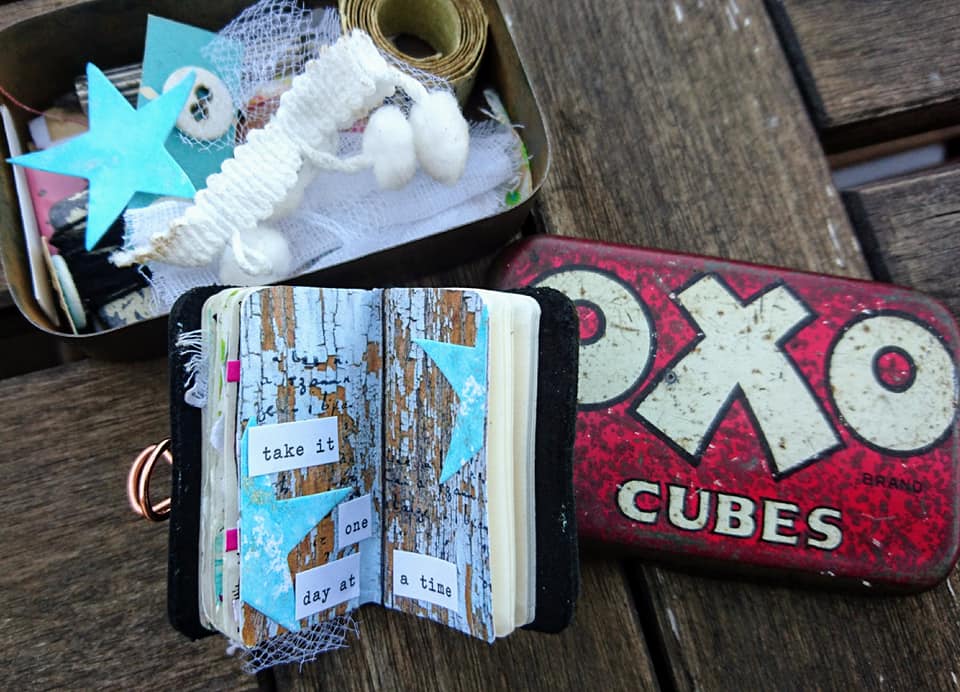
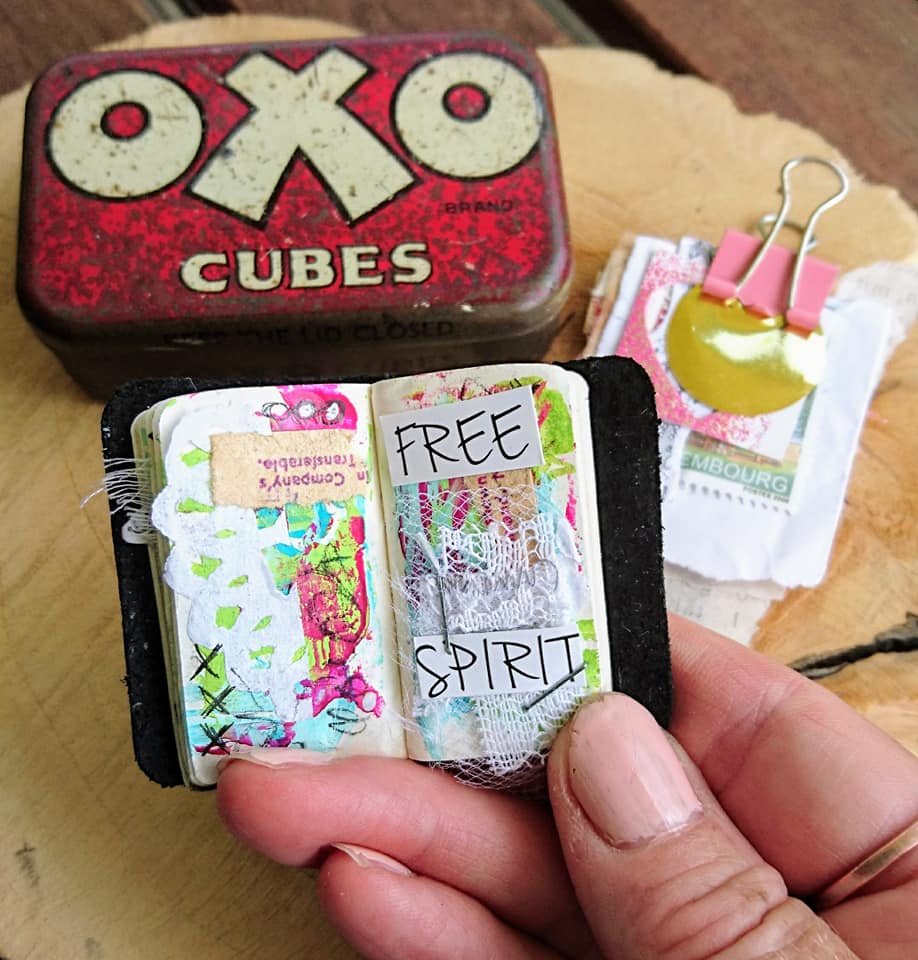
At Paper Pen and Plan we’ve been enjoying our tiny travelers notebooks and have created Tiny TN Tuesday in our Facebook group. While away in the Summer I found a gorgeous OXO tin in an antiques shop and discovered it was perfect to hold my tiny and a few collage bits. I feel a bit disrespectful to my Grandma’s tin but honestly, OXO is the cutest.  

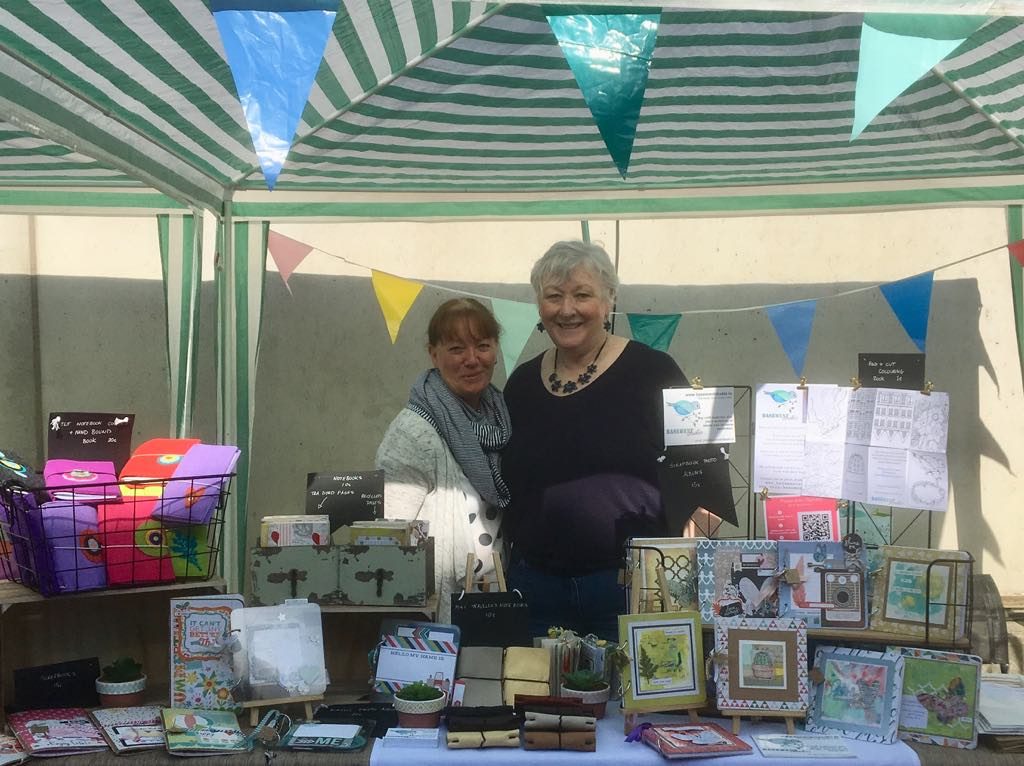
A couple of days ago I had a stand at a local arts and crafts fair. I really didn’t think I’d make it as I’d been so busy in the lead up to it but the weekend promised to be warm and sunny so I packed up my books and headed off. This was a huge event with well over 200 stall holders and the weather was superb! (except for a few gusts of wind which threatened to take our tent away over the fields). Thank you to all the people who came and supported me, I truly do appreciate it. Here I am with Katherine who I shared a spot with. Thanks Tine for the photo. x

Now it’s back to reality and back to work. There’ll be a workshop coming up soon in October which I’ll fill you in about soon.

Have a good week and I hope the sun continues to shine.

Jaine x


Summer Travelers

I totally forgot this post which has been in draft for a while now. Intending to post while I was away so I thought I’d better get it out there!

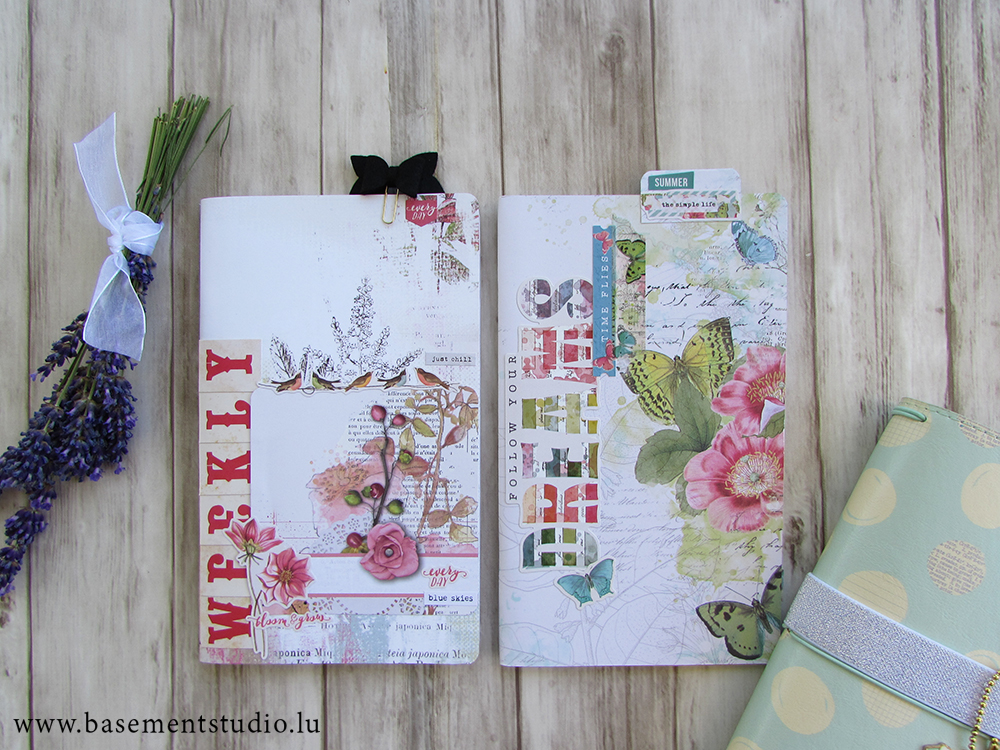
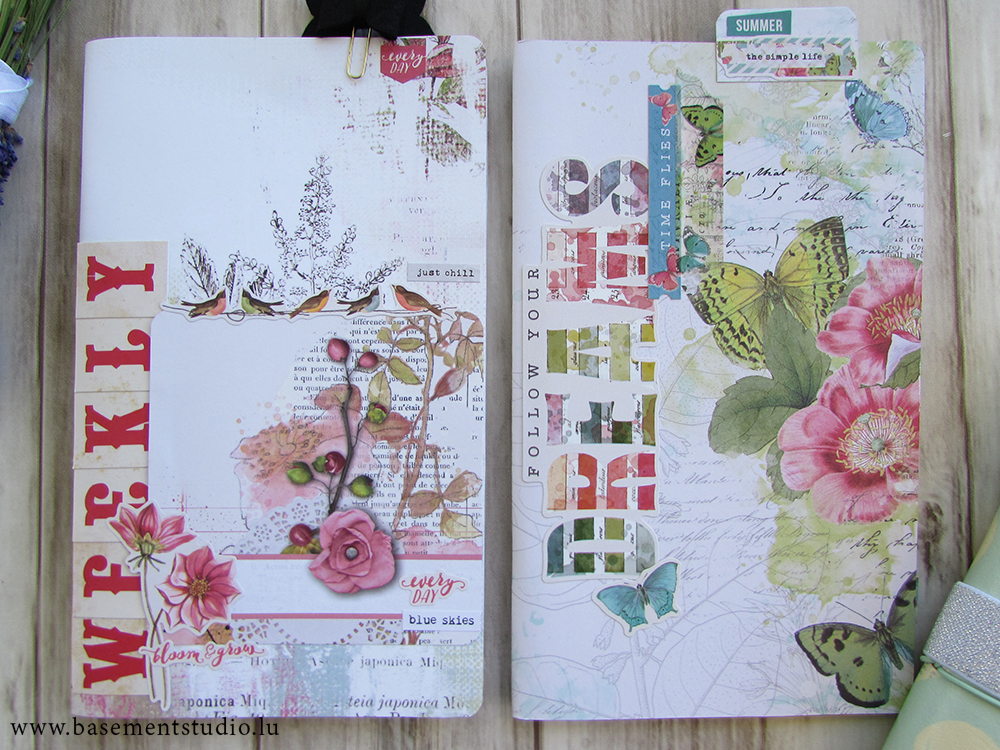
I cannot get enough of the Vintage Botanicals collection by Simple Stories. I think it’s my favourite collection to date. 

It was just the right choice to cover a couple of inserts for my Carpe Diem Travelers Notebook and take to France on holiday with me. I love the vintage feel, it’s not too vintage and is packed with colour and layers, and has a real Summer vibe to it.

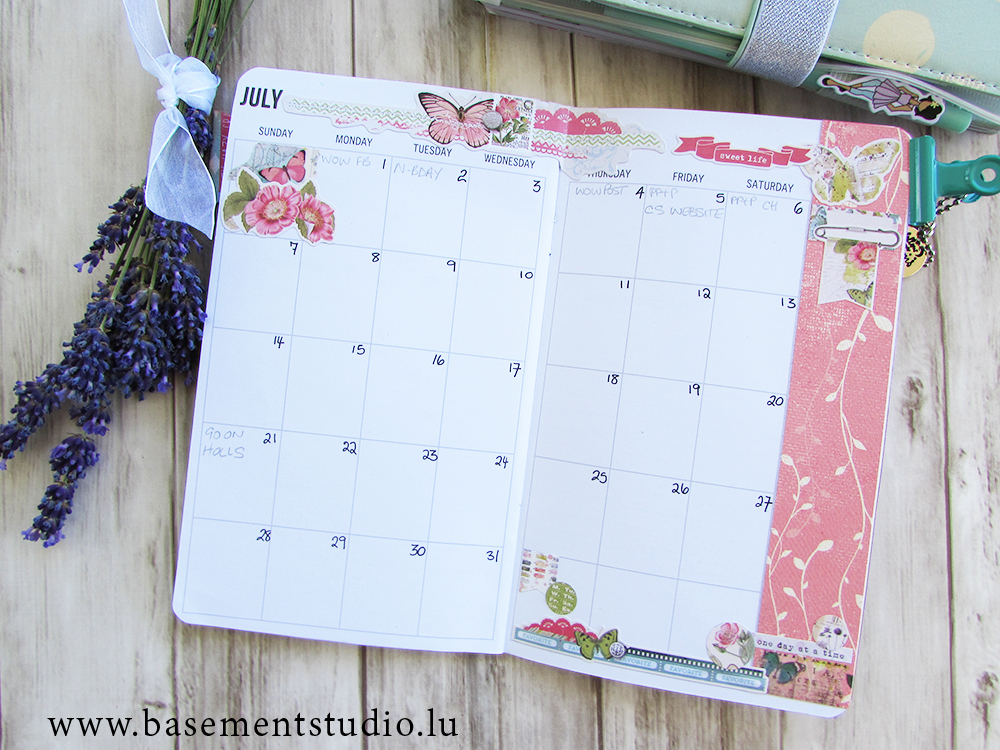
I used it too to decorate my monthly planner pages for July using both the papers and sticker elements. You can find lots of Simple Stories supplies at Paper Pen and Plan on Etsy.

Jaine xx

Autumn Term From The Studio

I love Autumn especially living here in a country blanketed by forest. When the leaves turn it’s magical.

We do tend to get nice weather in Autumn and as I sit here it’s the first of September already the sky is blue and the garden is calling.

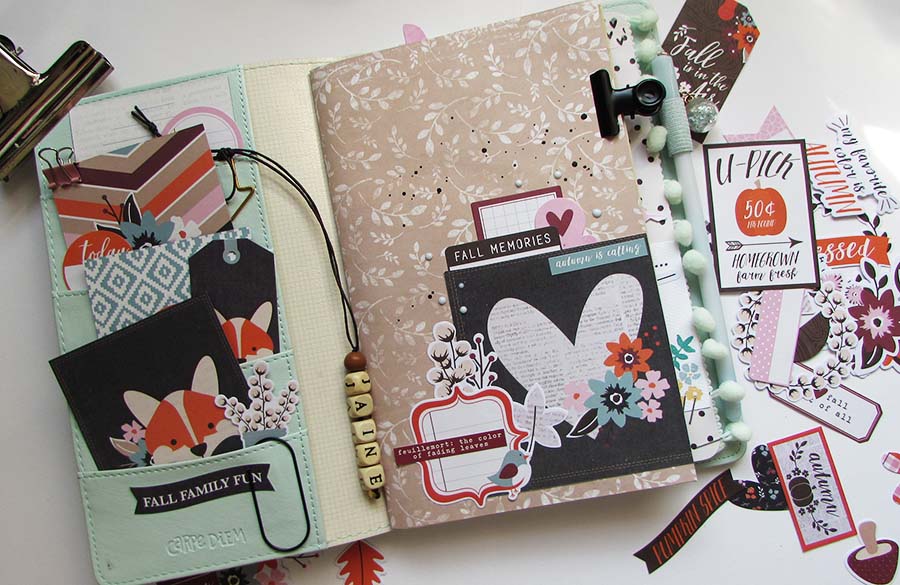
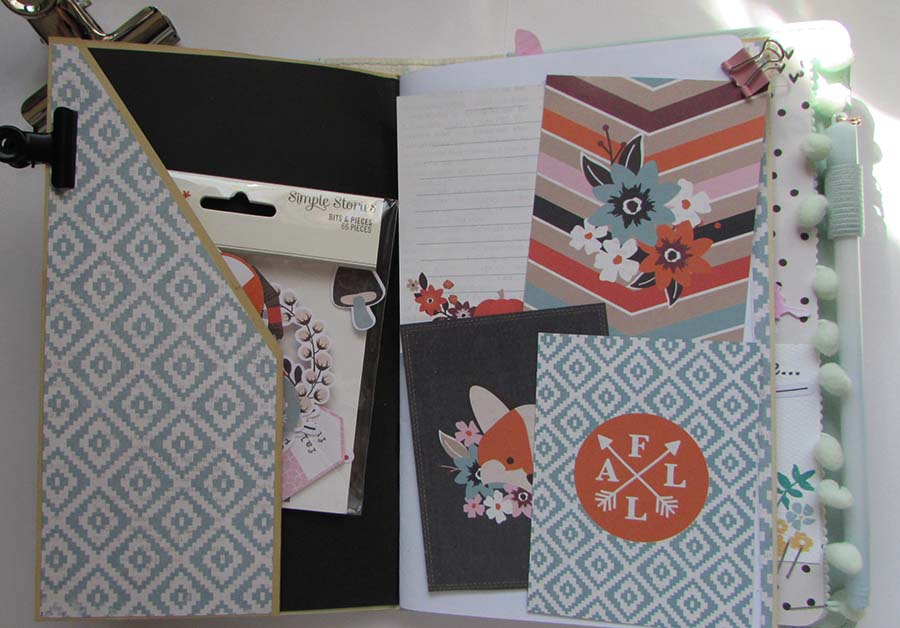
This Autumn I start a new chapter in my life which I’ll go into in a bit more detail about next week but for now I need a new planner set up to help me get ahead so I thought I’d work in my Carpe Diem from Simple Stories along with the new Forever Fall collection.

It’s an absolute gorgeous collection and the colours are right up my street.

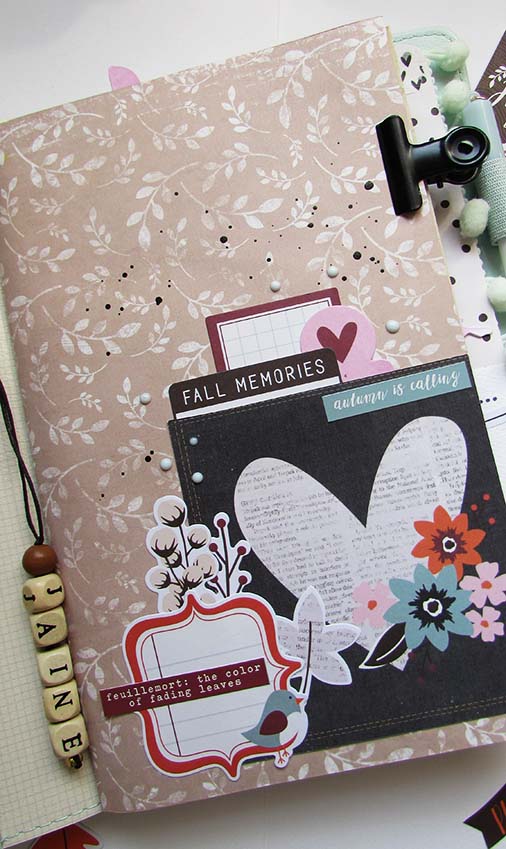
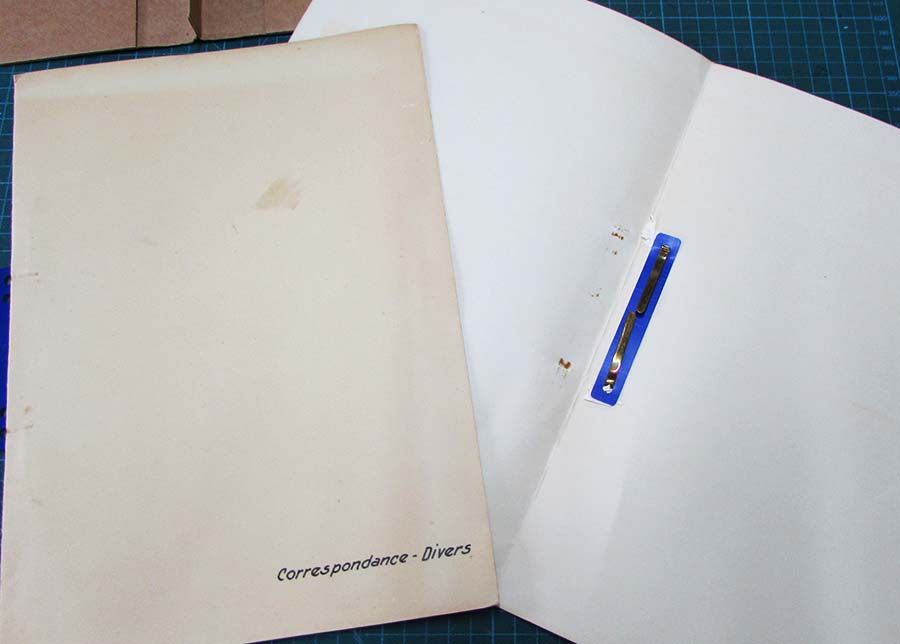
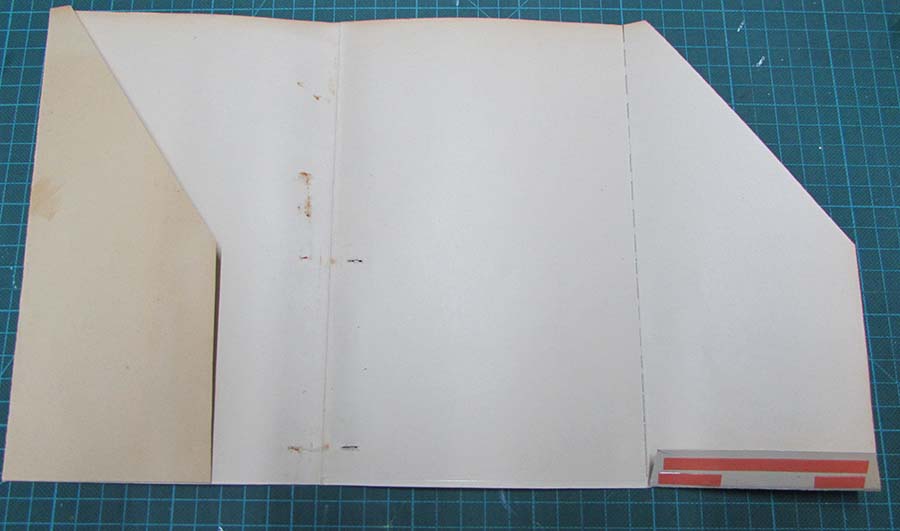
I decided to make myself a wrap around for one of my inserts from a file folder which is so easy to do. I can’t take all of the credit for this one, I saw it once on the internet but for the life of me I can’t remember where I originally saw it so sadly can’t give the credit where it’s due.

To make a wrap around pocket cover you’ll need to get hold of a card file folder. With school starting there are plenty around and you can pick up a pack of colourful ones for very little money. I just happened to have a few old ones which I found in the recycling centre which is what I’m using here.

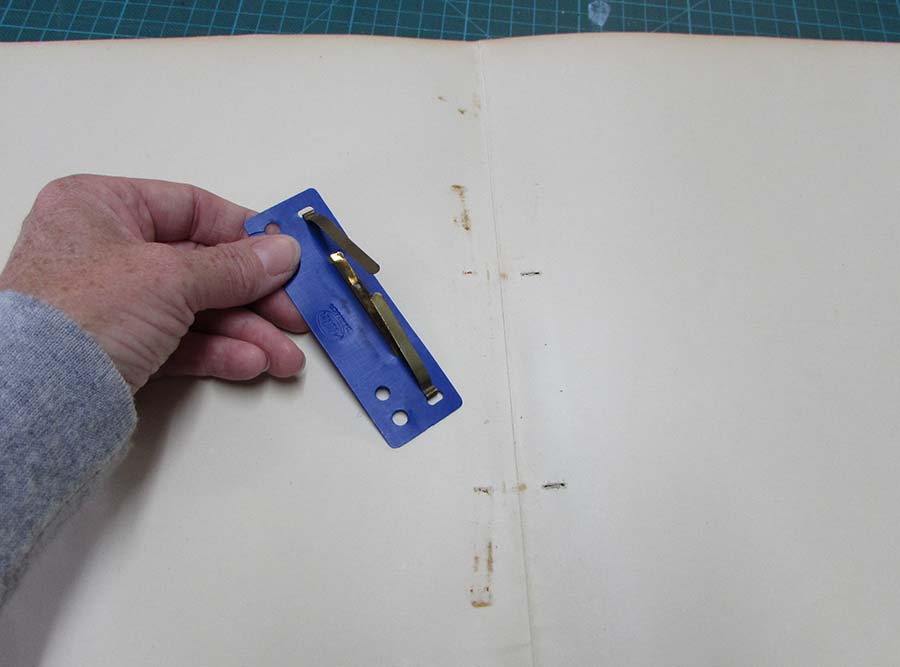
The first thing you need to do is take out the metal and plastic holders if that’s possible.  If you can’t do that with yours I suggest you work it into the finished design and take advantage of it.

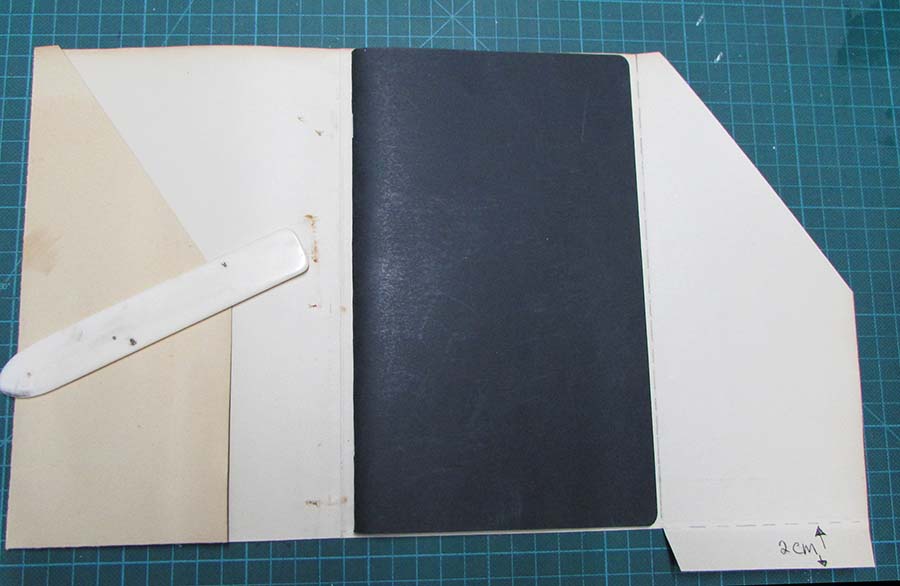
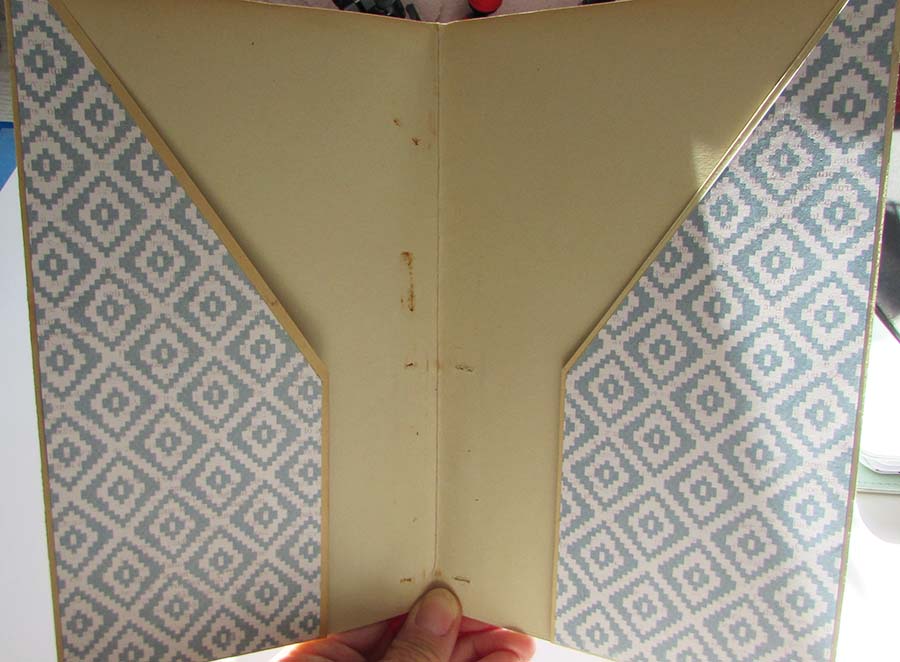
Next mark off where you need to cut and fold. Measure the wrap around using your insert and fold the two side pockets in. When it comes to cutting off the excess at the bottom leave a flap of about two cm’s at the bottom of each pocket. Cut a diagonal piece off each pocket.

Put double sided tape or glue along the bottom flaps and fold them in and that’s all there is to it. Now you get to do the fun bit which is the decorating.

It wraps around an insert perfectly and also makes a nice cover if as I’ve done you slip the covers into the pockets.

All materials come from PaperPenAnd Plan on Etsy which you can find here and if you use the code JAINE10 you can get an extra 10% off your order.

Have a good weekend and I’ll speak to you soon

Jaine xx