Negative Space

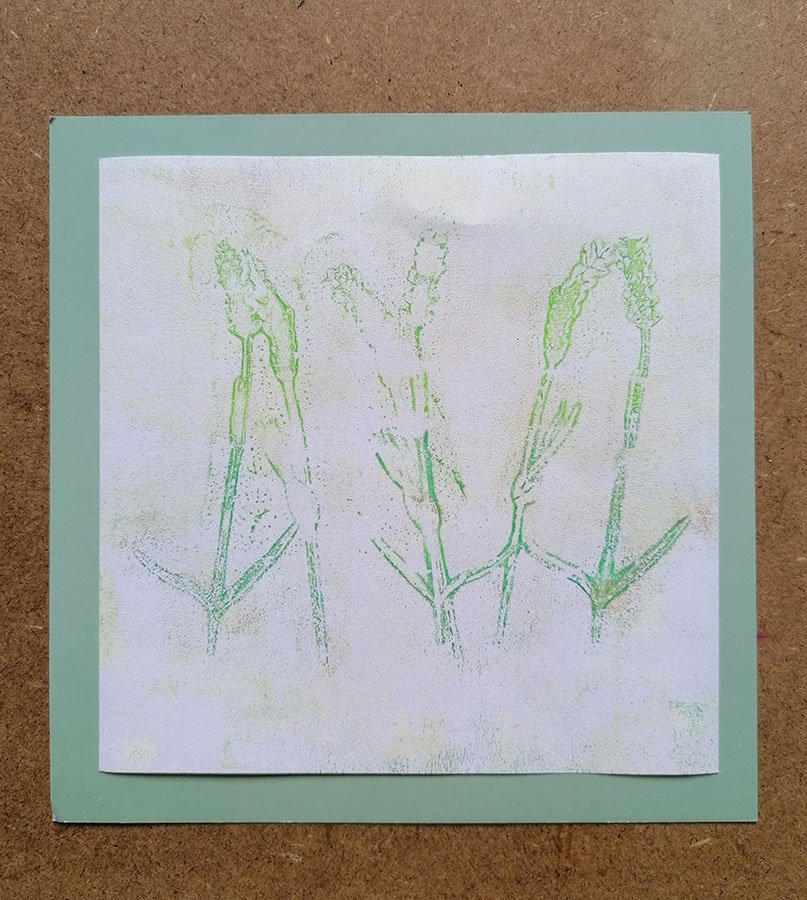
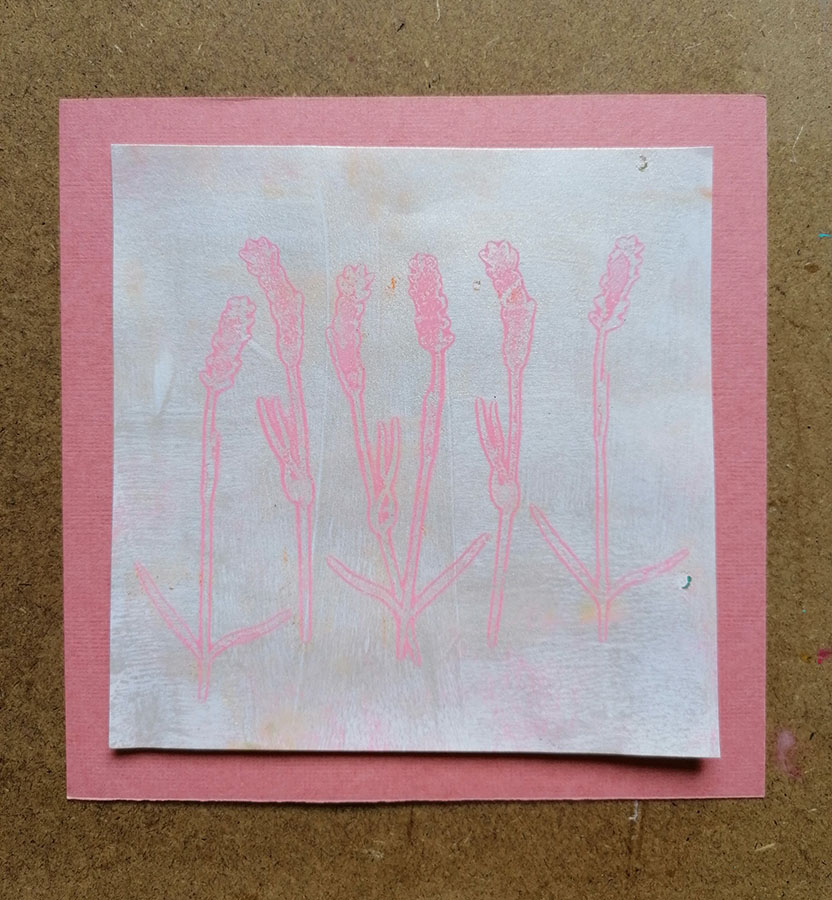
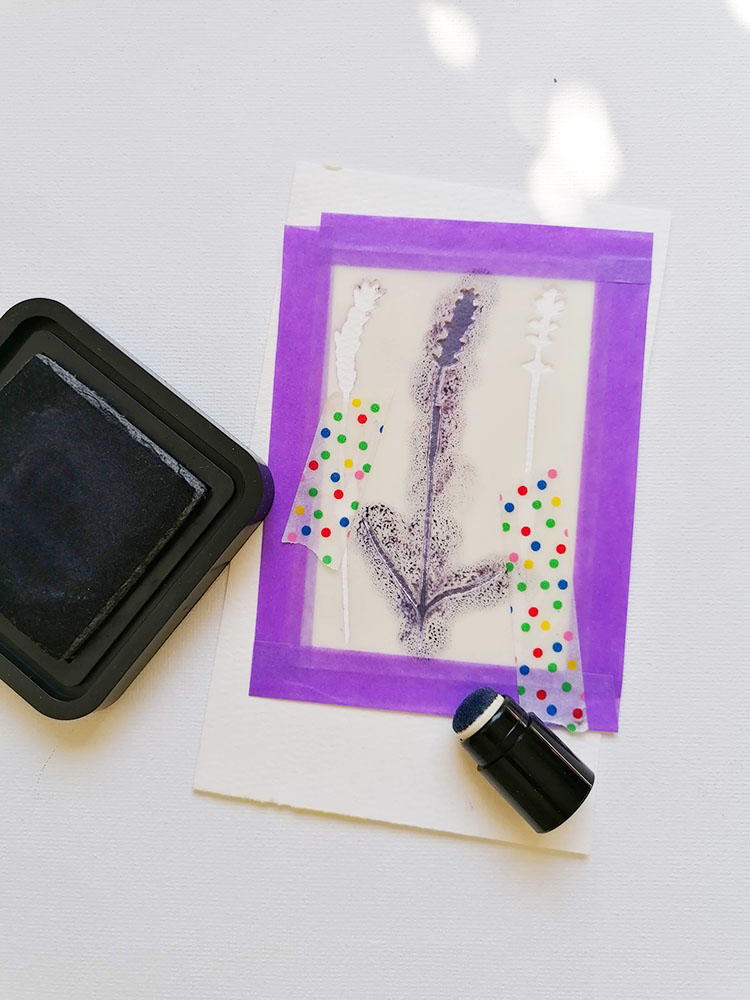
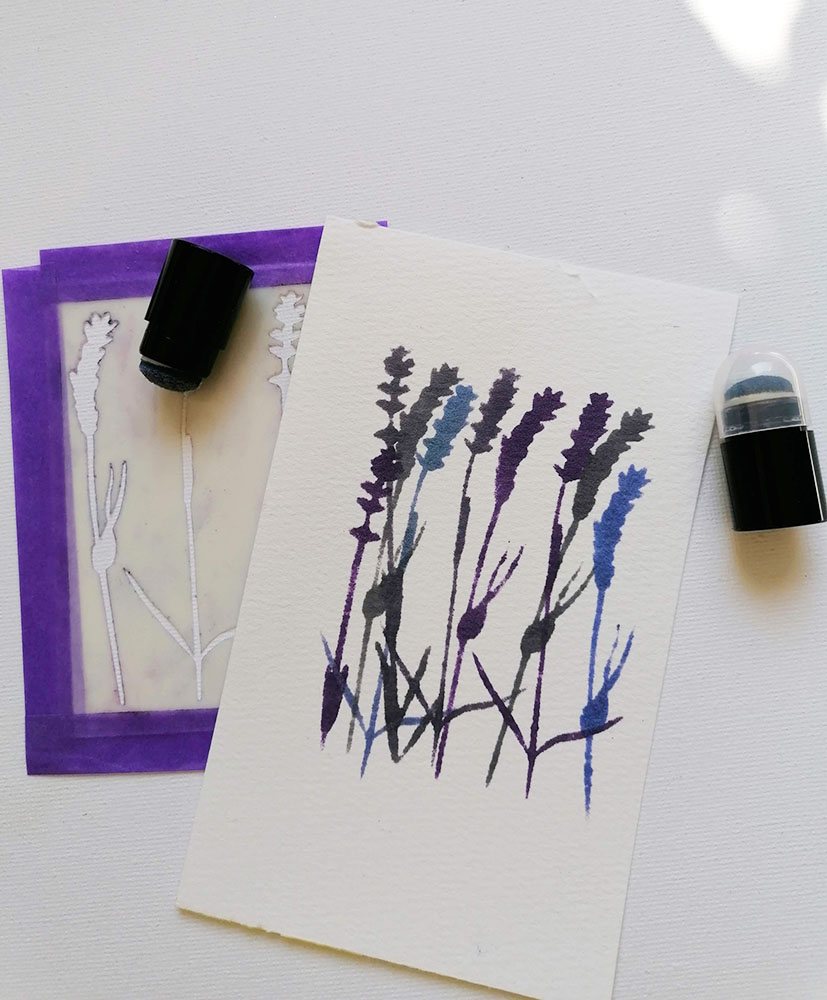
Last week I gave you a little insight into how I use my mini stencils for Paper Pen and Plan. This week I’d like to show you how I use masks like the one’s made for this month’s Sweet Treat boxes.
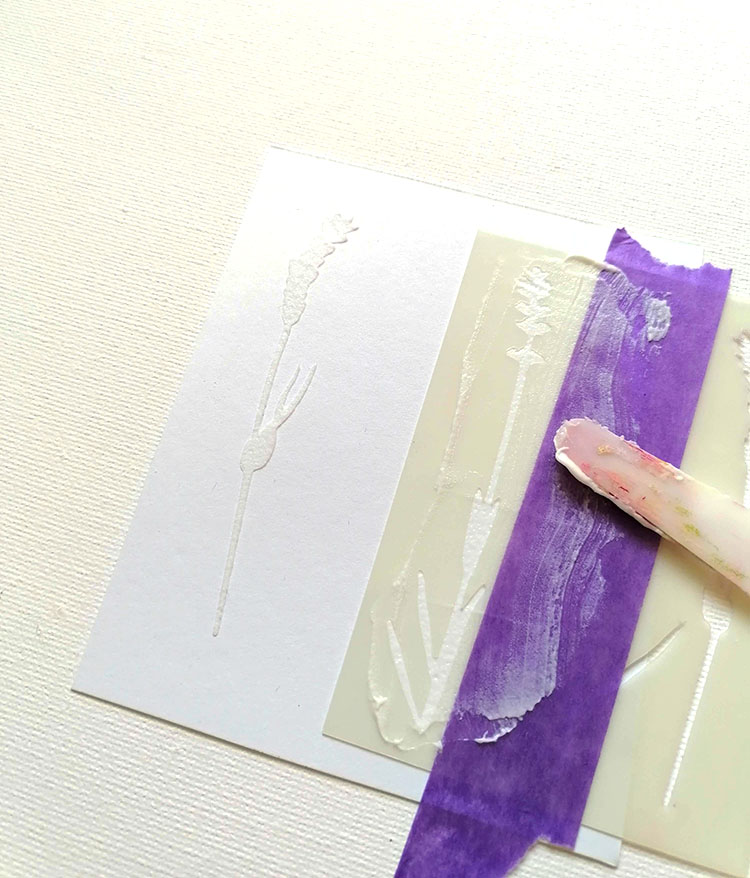
Masks are just as versatile as stencils. My favourite way to use them is printing on a gelli plate. I actually love the ghost print left behind best because of its grunge factor, but you can get some great results however you use them.
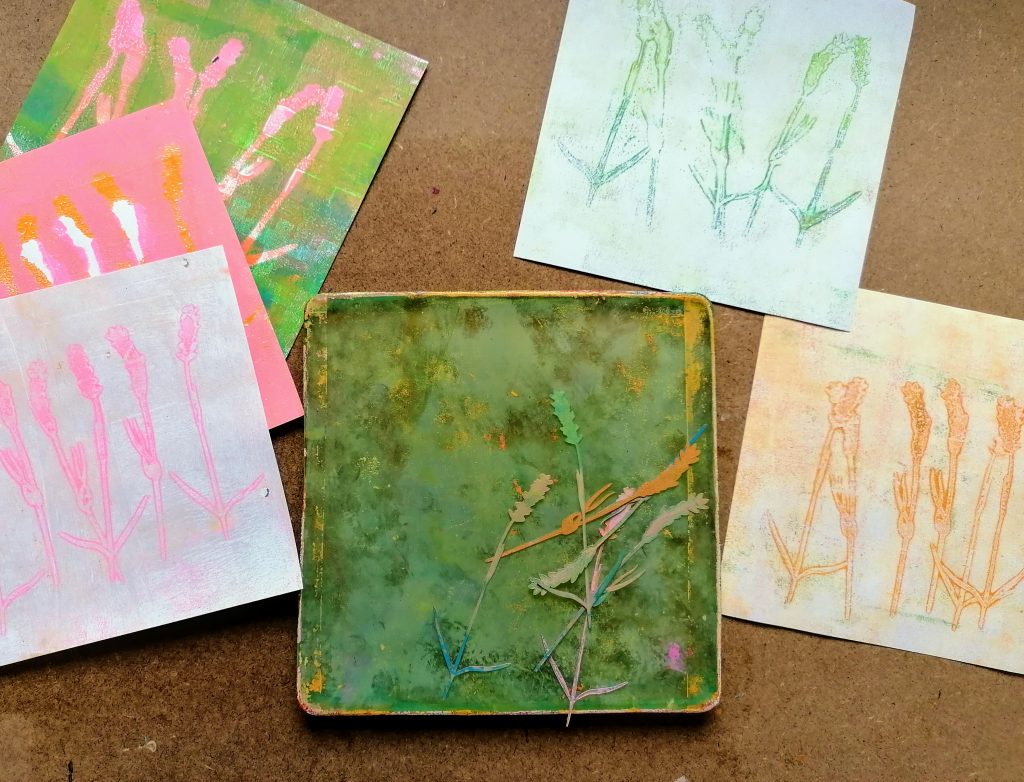
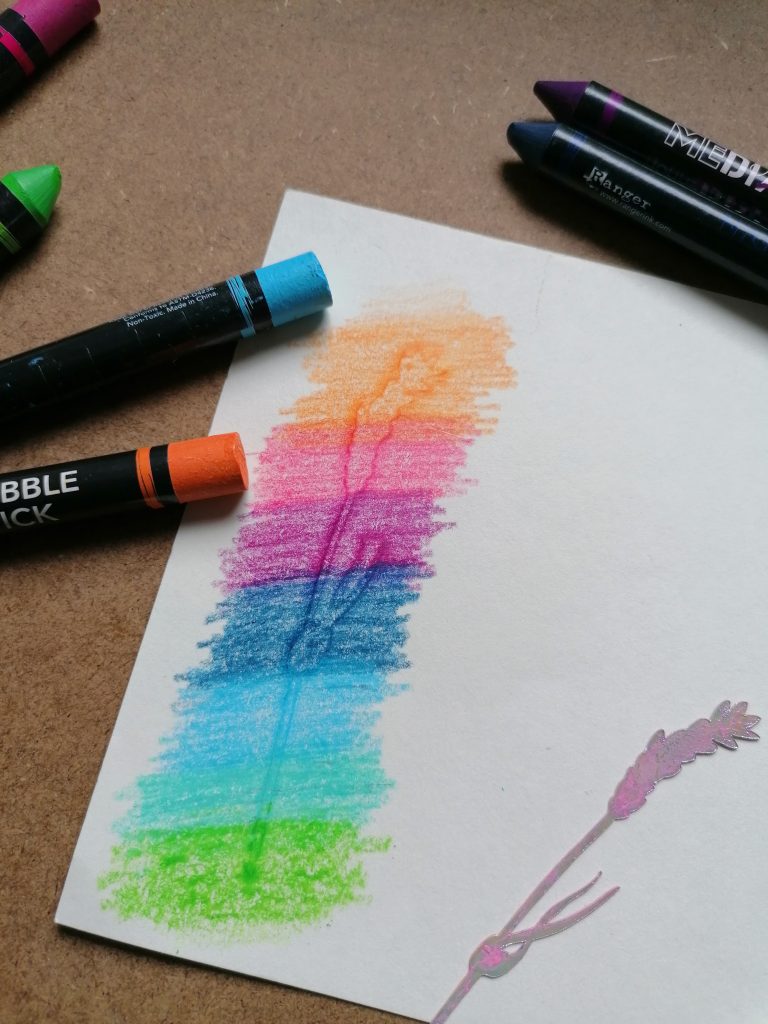
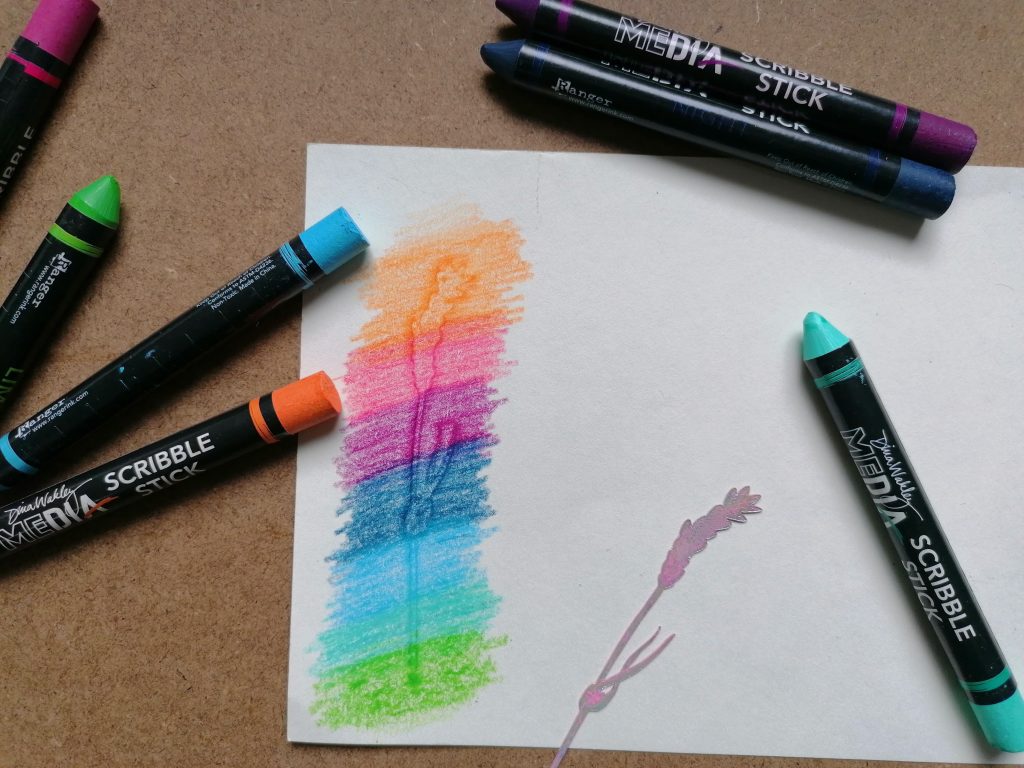
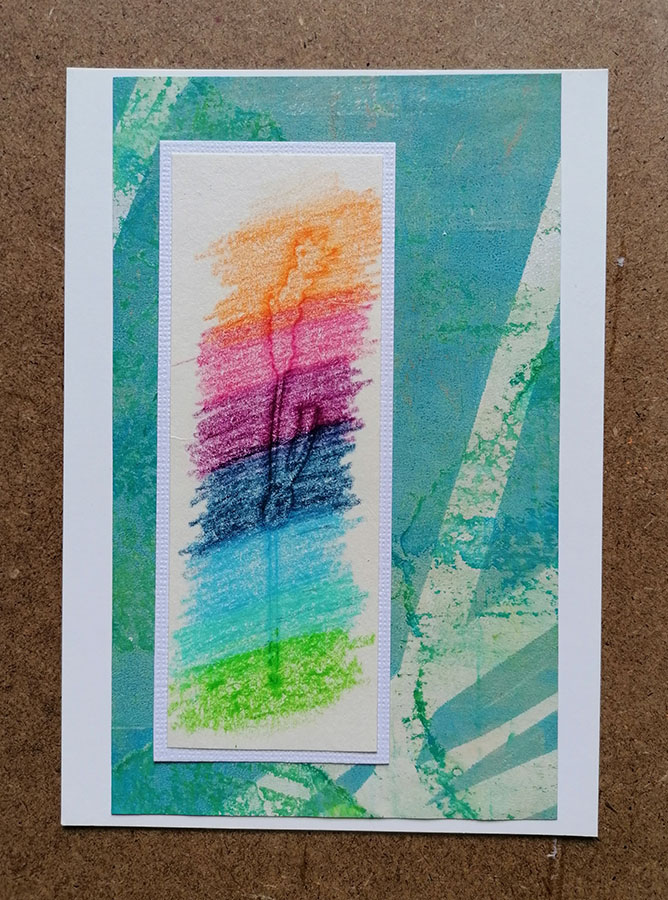
Or how about taking a rubbing with crayons? I’ve used Scribble Stix here for their vibrancy. It’s quite satisfying watching the shape appear, like being seven again!
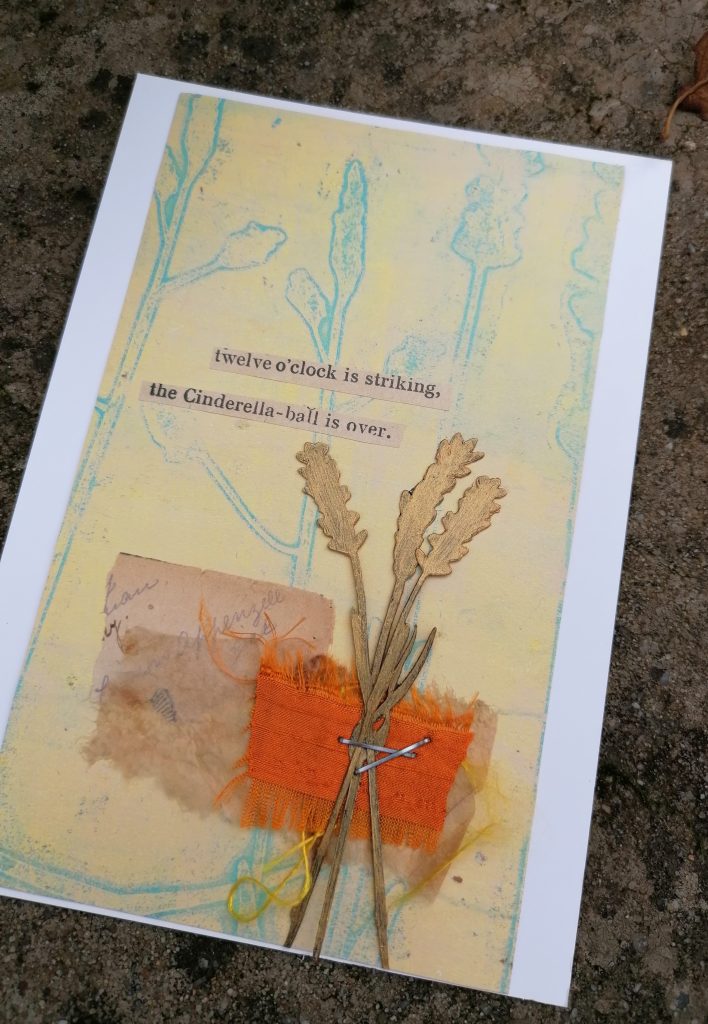
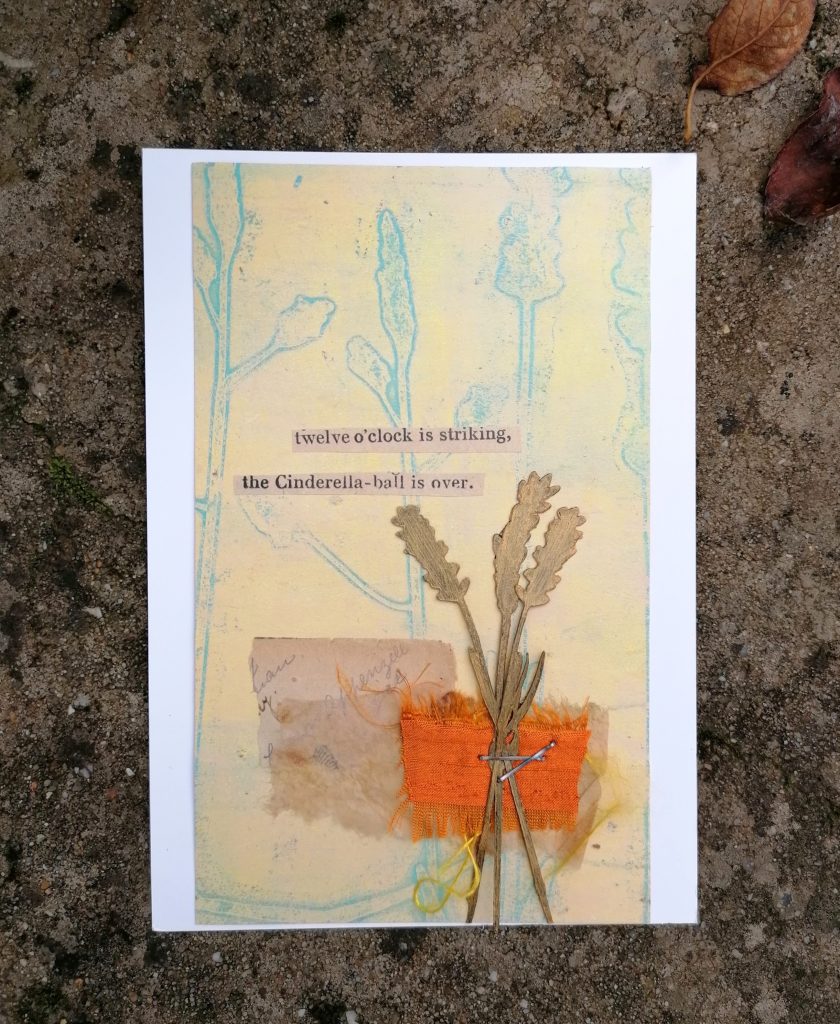
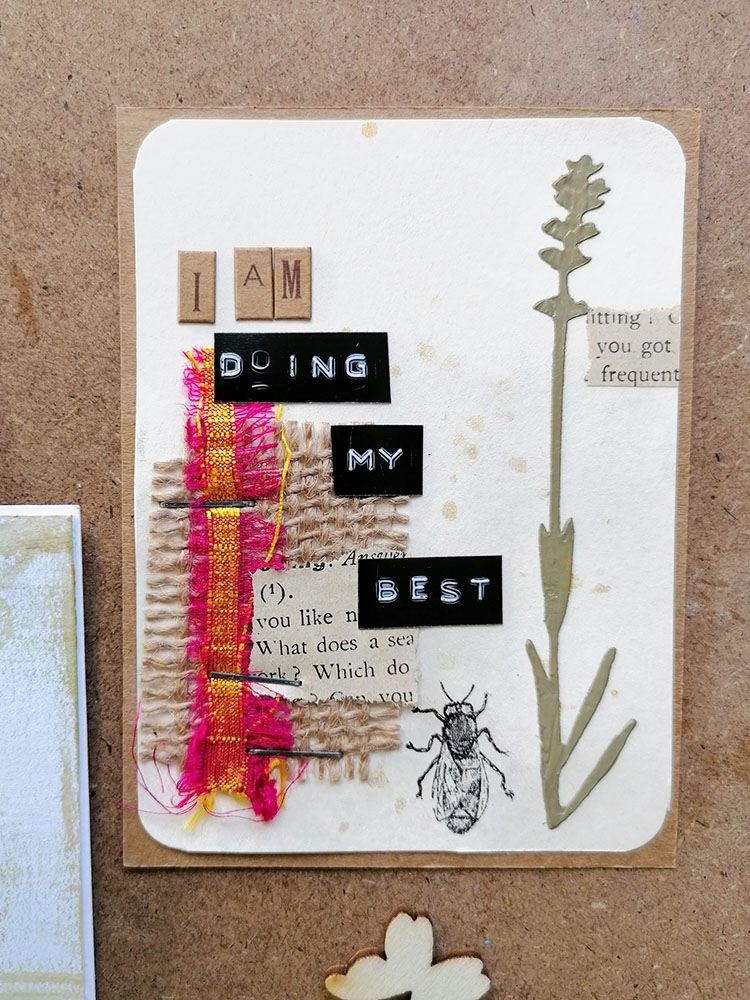
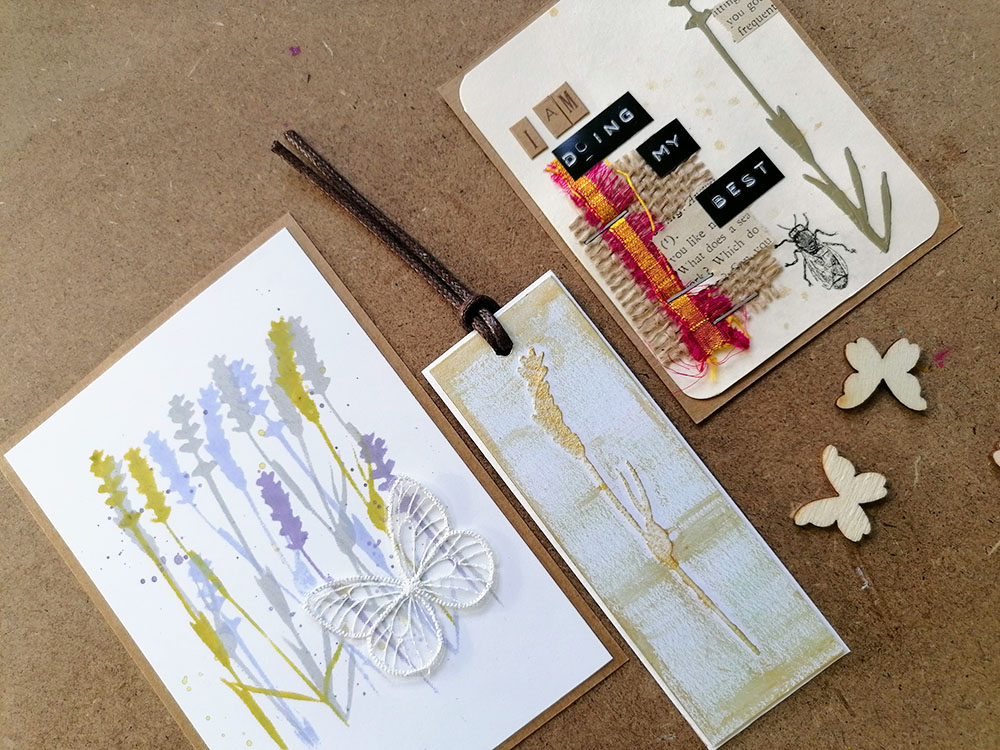
Of course there’s the obvious way to use them by drawing around them, but if you run out of ideas you could always paint them gold and add them to a collage. I added some black gesso to mine before painting to help the paint stick on the plastic surface but it also helped the gold to pop out more. Here they’re added to a little collage of book paper, teabag and fabric and put onto a gel printed background.

I’m off now for a weekend away in a cabin in the forest. Have a great weekend yourselves and I’ll see you back here next week.

Jaine x

USING MY MINI STENCILS

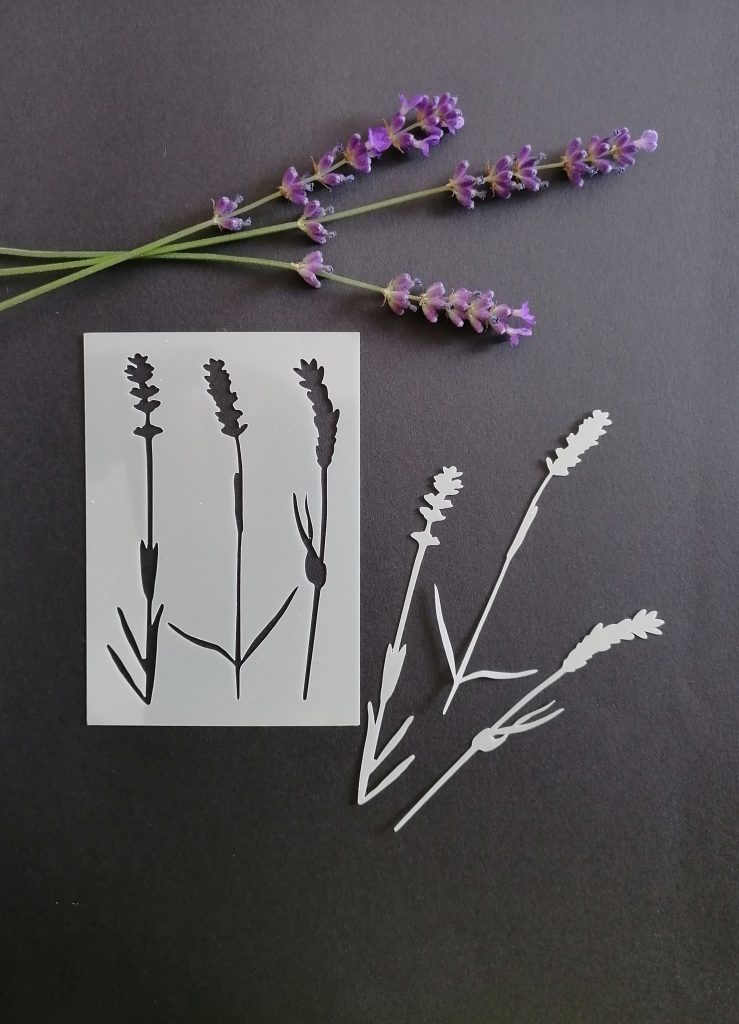
Lavander stencils for Paper Pen and Plan

One of my favourite things to do in the studio is the designing and cutting of stencils, especially the mini stencils which Clare from Paper Pen and Plan asks me to cut to go in her monthly subscription boxes. These are 10 x 7cm so are quite small, but even so based on a brief from Clare I try to pack as much on there as possible. This month’s stencil is a lavander trio and as a bonus I also included the mask part too.

This afternoon I had a chance to play with this new stencil myself and I thought I’d share a few handy tips along the way. The first thing I like to do is extend the edges by adding some painters tape. I’ll also mask off parts of the stencil I don’t want to include with a bit of washi. The second way I like to use these small stencils is by using a finger dauber with ink. You can get a much better finish with one of these and, it makes the whole job so much easier and by pouncing rather than swirling it stops ink from spreading underneath.

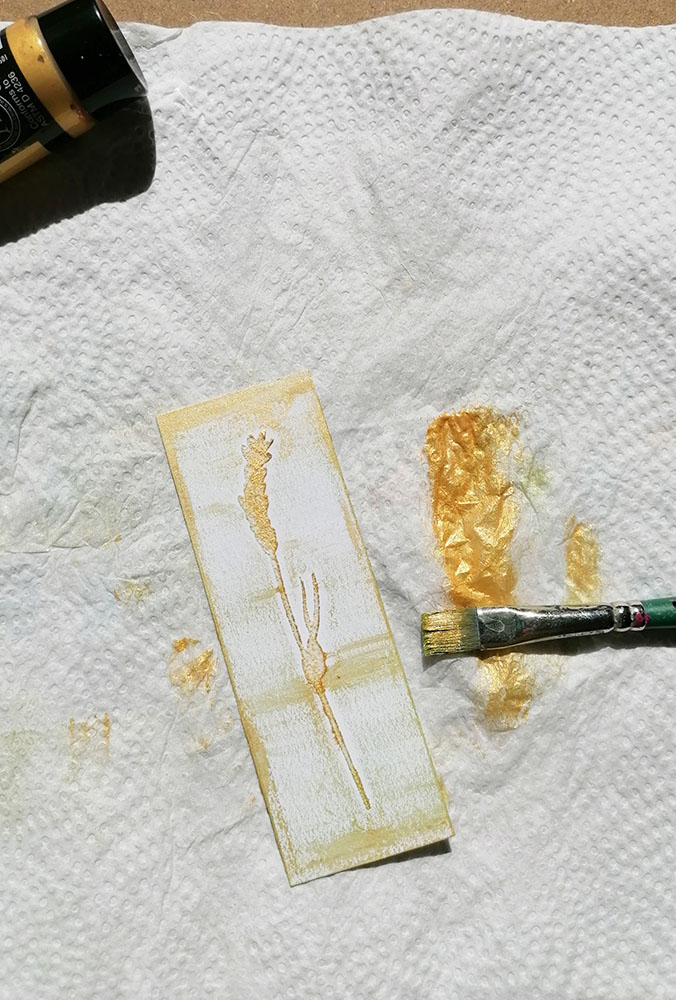
This particular stencil is great for layering with several different colours to create more depth. I also used texture paste on a piece of card and dry brushed over some gold acrylic once it was dry. The texture paste picks up the paint beautifully.

Layered with Distress Inks

I don’t think this card needs much more to be honest. A few inky splatters and a delicate butterfly are enough.

Impasto paint

Impasto paint is very thick and works like texture paste using a knife. I decided to just add a small collage to the front with a splash of colour from some fabric.

Texture paste and gold acrylic paint

I love how the texture paste and gold worked out on the tag.

If you want to know more about the subscription boxes from Paper Pen and Plan go here to the Etsy shop. If you’re interested in having stencils designed and made by me then you can contact me here jaine@basementstudio.lu and I’ll give you a quote.

Next week I’ll show you how I used the other part of this stencil, the masks. That’s a whole other world of possibilities.

For now, have a lovely weekend

Jaine xx

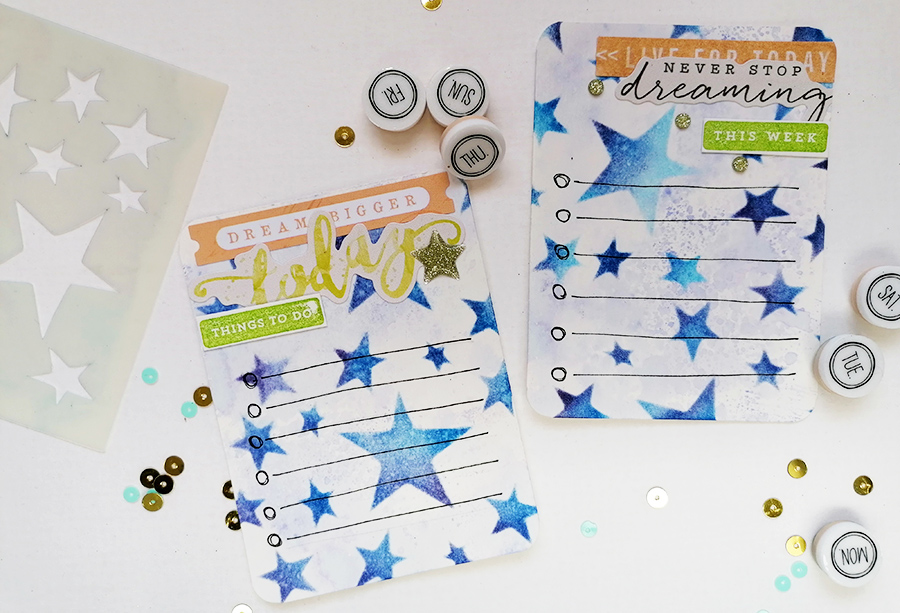
Hand made journal cards

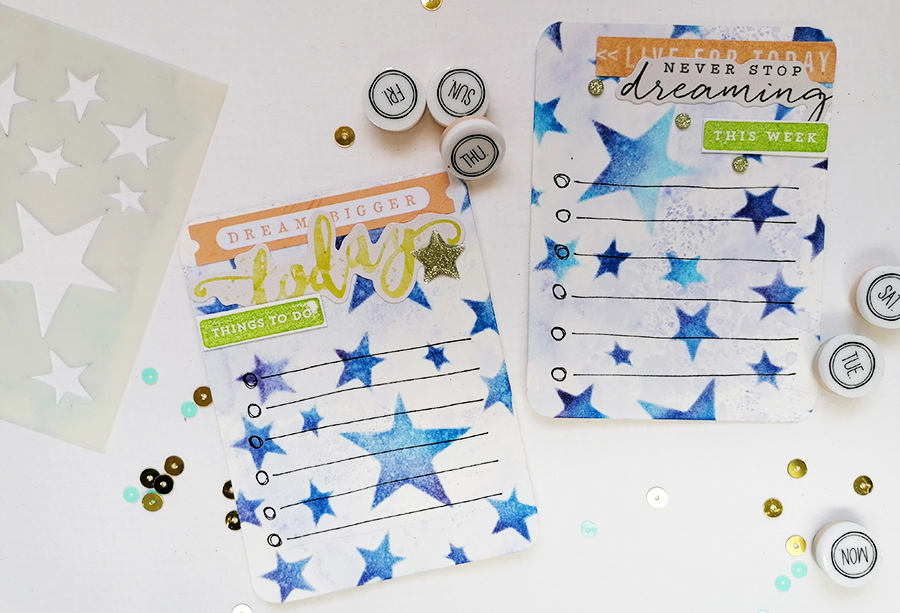
Creating your own journal cards is very satisfying. You can create them in your own style or colour to match your planner or bullet journal and have fun on these small surfaces at the same time.

I made these two while testing out a new stencil for Paper Pen and Plan (which will be included in their Sweet Treat box for December).

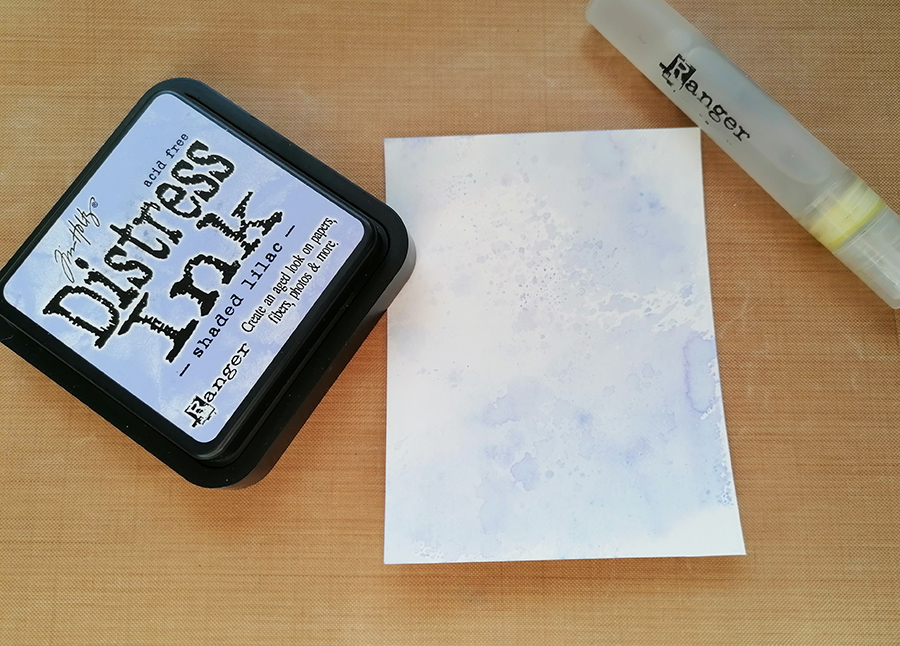
I used a piece of smooth watercolour card so I could add a watercolour effect on top. Smearing Shaded Lilac Distress ink on a craft mat, I sprayed it with water to activate the ink and smooshed (very technical term there) the card through it to pick up the colour.

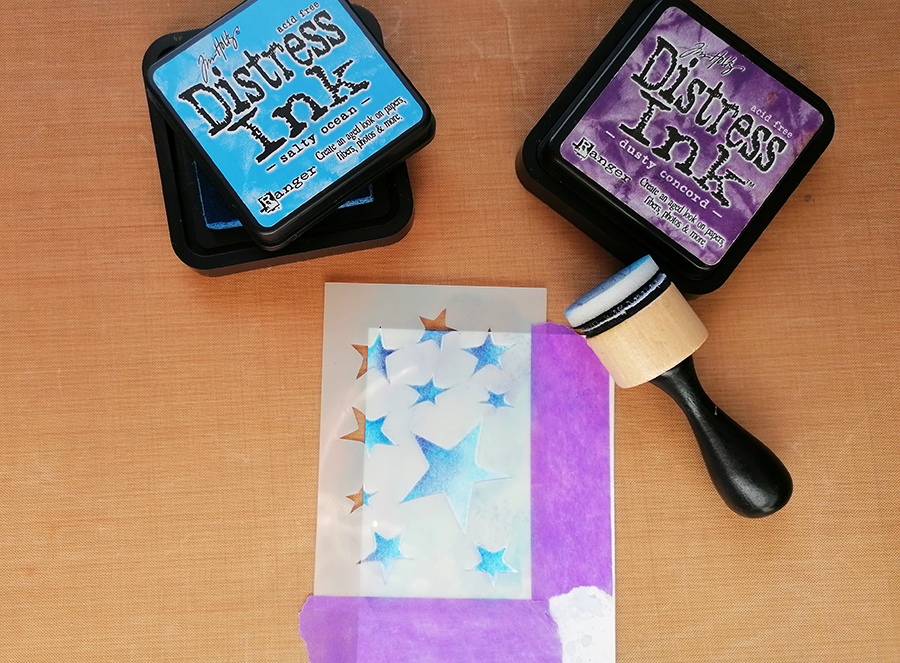
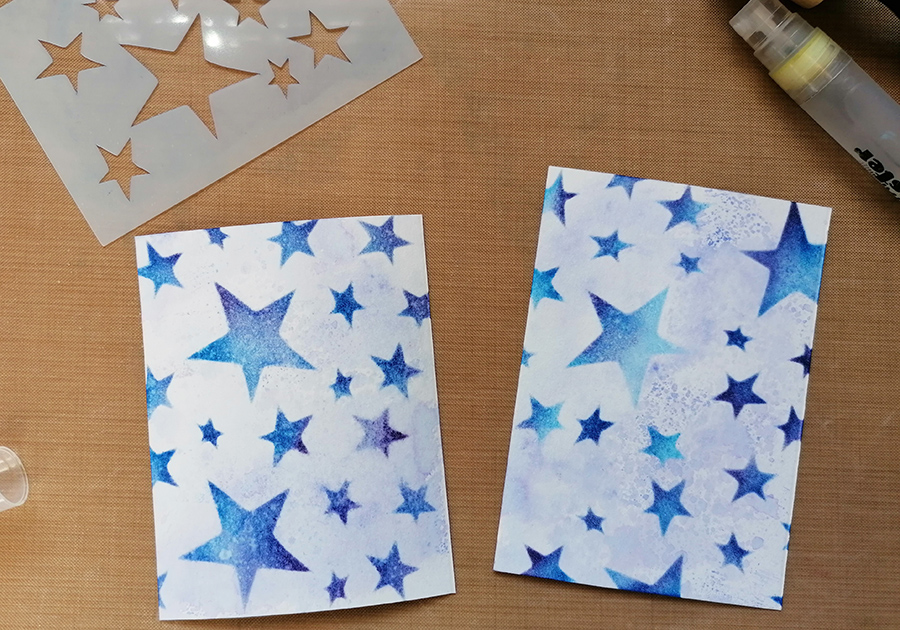
With the background dry, I stencilled first Salty Ocean then Dusty Concord through the stencil. My stencils for Paper Pen and Plan go almost to the edge so I masked the edges.

I gave these a spritz with water to give them a mottled look.

Once dry I could then add my details on top like the stickers from Simple Stories which I’ve been hanging on to for ever, some stamping with a Prima Travelers Journal stamp set and a Micron Pen to draw the lines.

If you’d like to get hold of the stencil it’s available as part of the December Sweet Treat box with Paper Pen and Plan which you can pre-order here.

The Distress inks can be found in my shop following this link as well as the Spray Mister bottles and Micron Pen.

Have a great weekend

Jaine

An Update From The Studio

Good morning from a the sunny Dutch coast where we’re taking a few days break to recharge and rest. It’s the first time taking the dog too so his reaction to the sea will be priceless.

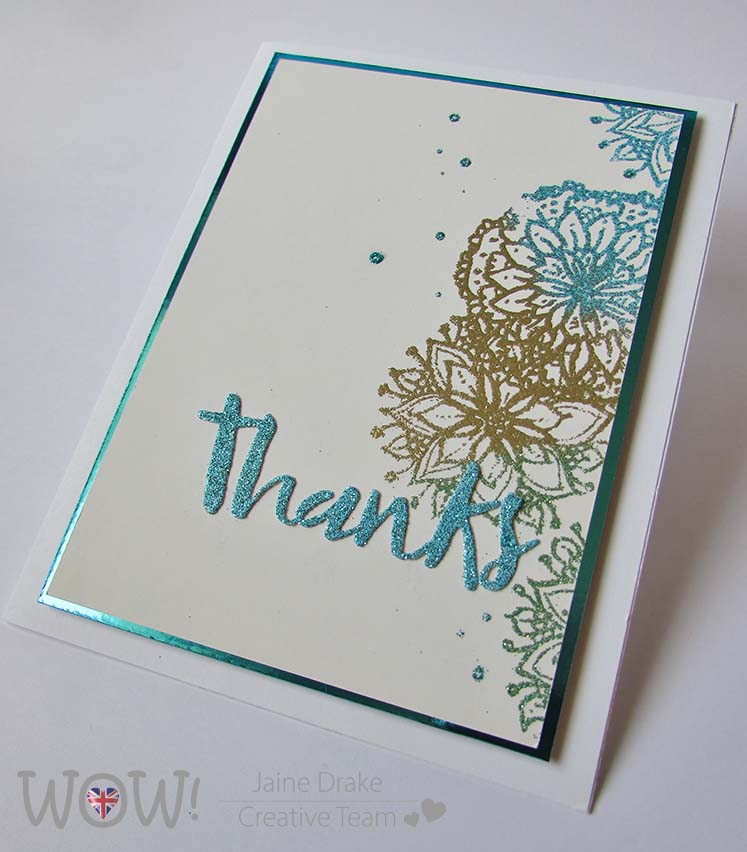
This week it was my turn to post on the WOW blog and the theme for the month is Embossing Glitter. I’m really embracing my glittery side and find myself adding some to almost everything these days. I never thought I’d say that.

I have this awsome stamp set from Jane Davenport which I used on this card and thought it reminded me of Asian art which inspired me to go for this Asian design.

Continue reading An Update From The Studio