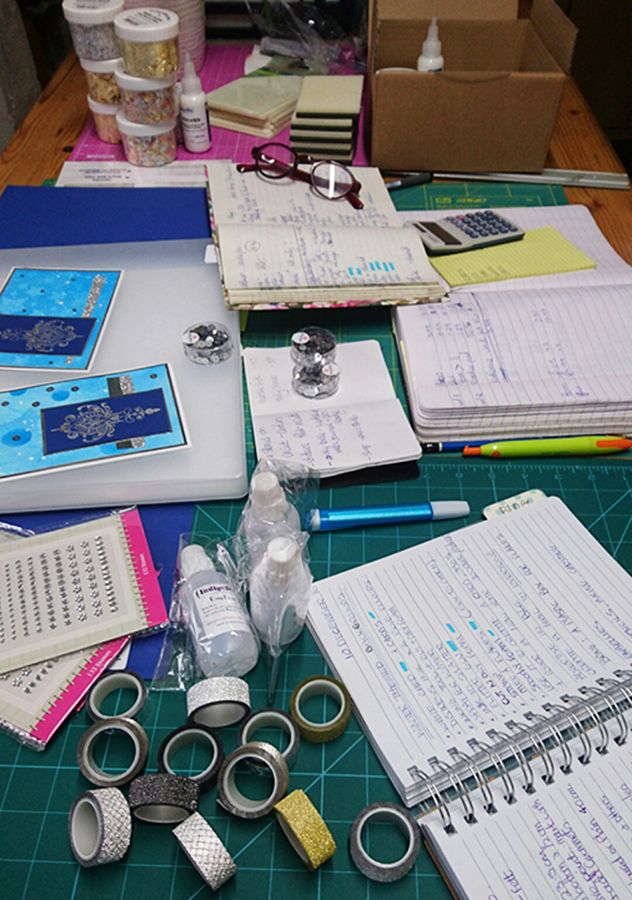
I really should call this Catching Up In The Studio as it’s now Sunday and I’m only now finding the time to do my catch up. It’s been a busy week as usual and the weather hasn’t helped. We’ve had some snow and having a dog who constantly wants to come in and out the floors are always wet and dirty so I spend my time cleaning up after him.
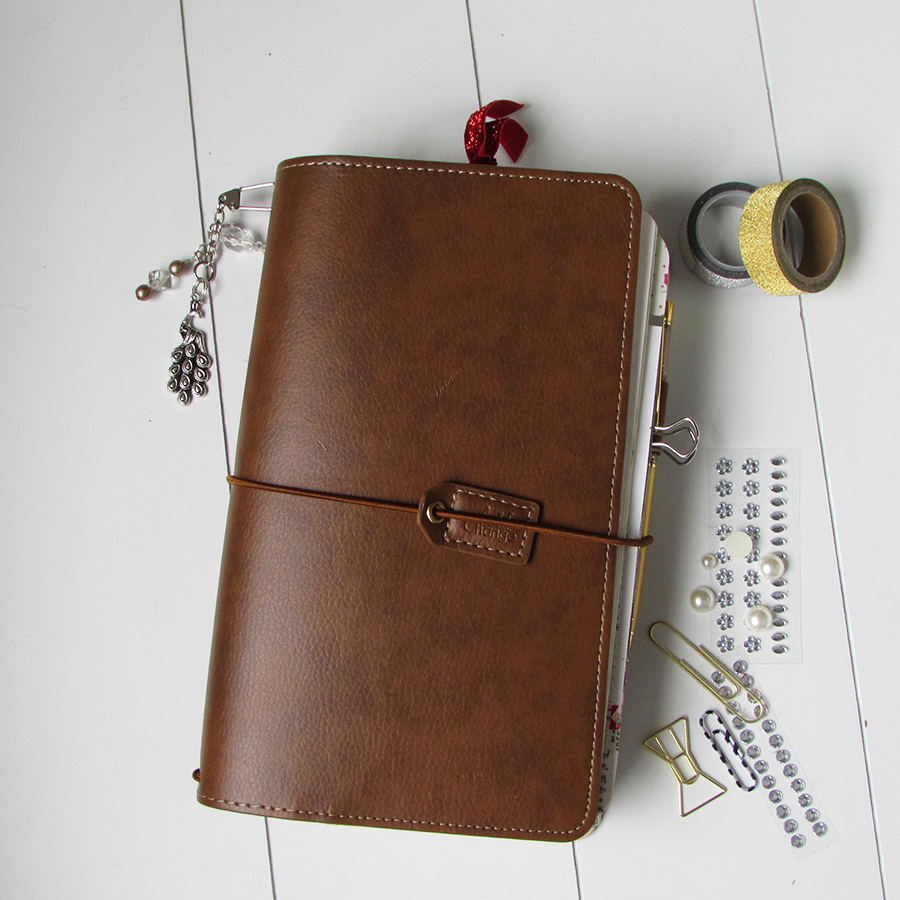
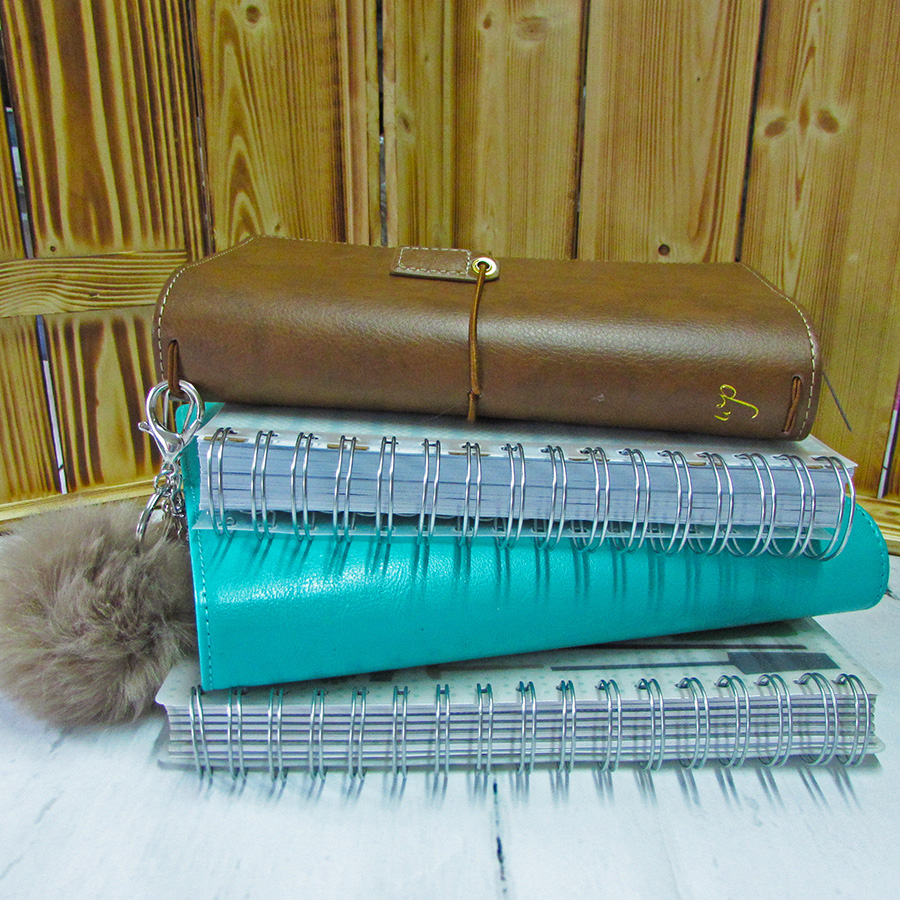
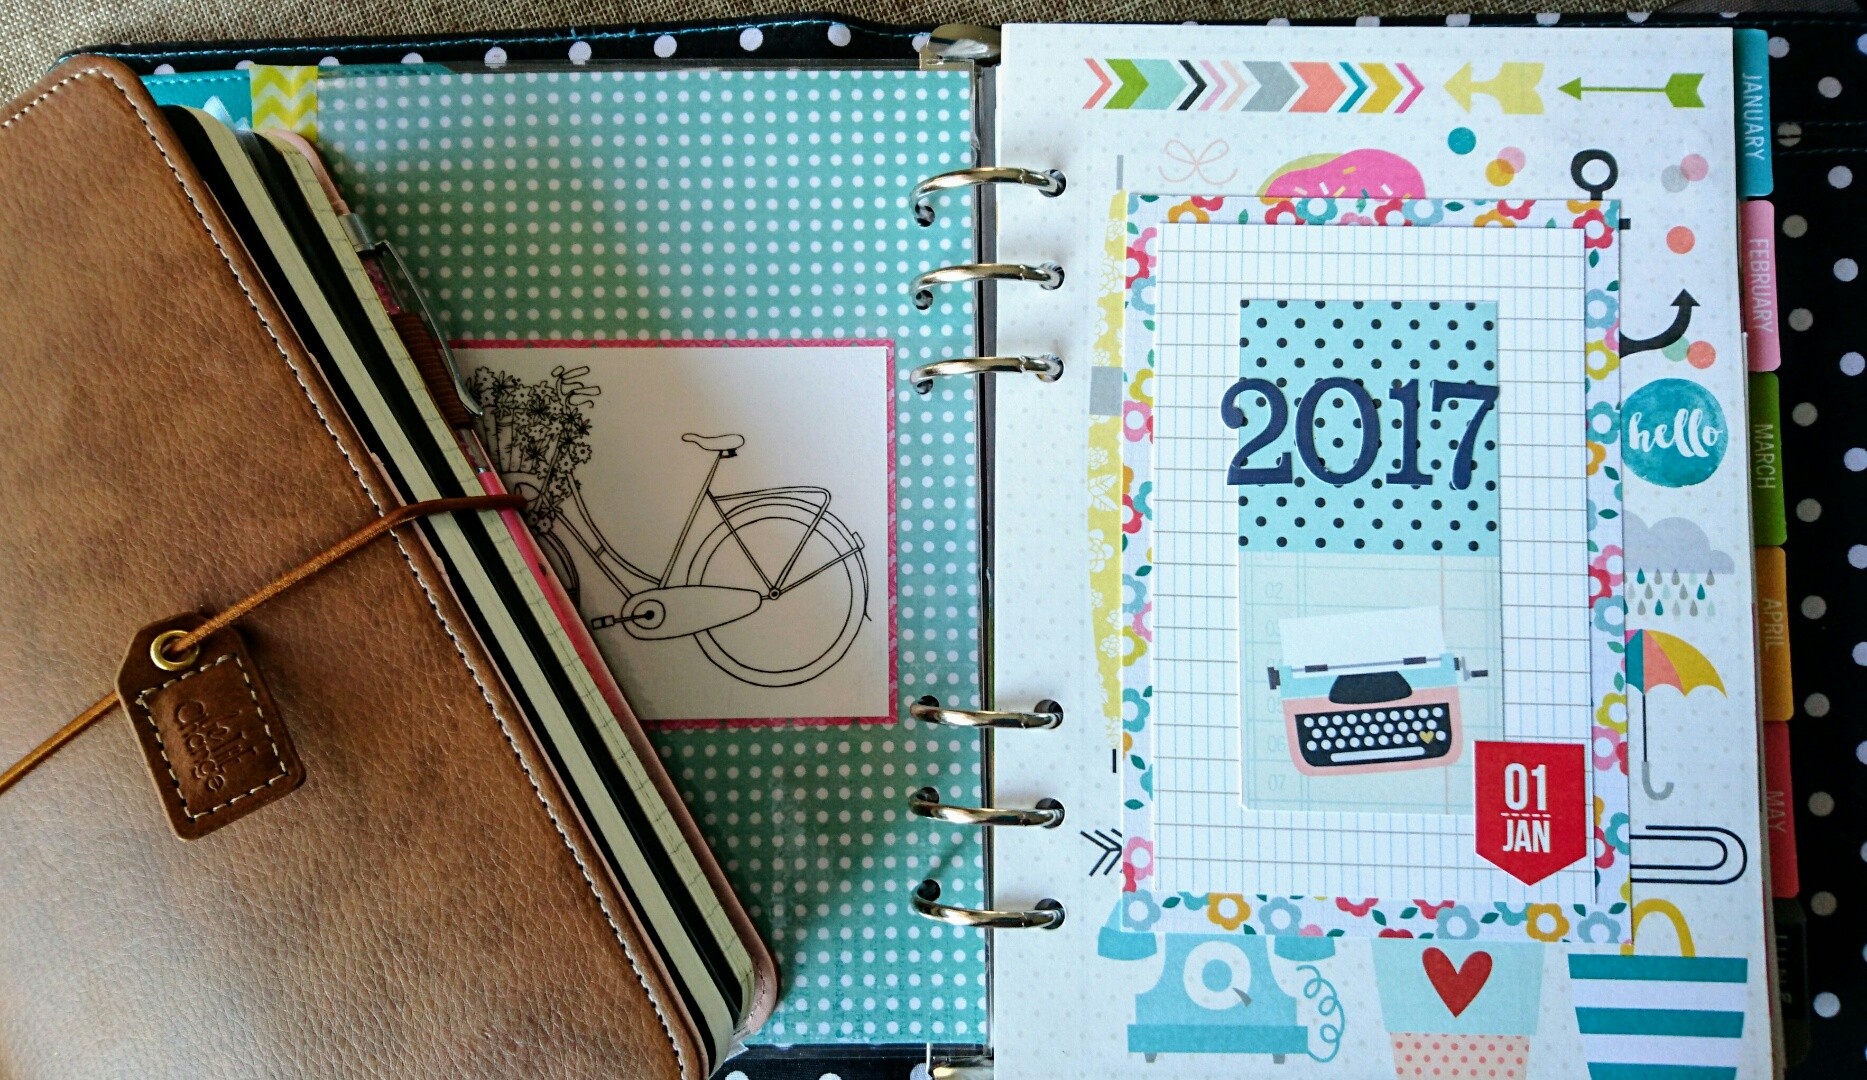
Anyway, that aside, I’ve prepared my planners and journals for this new year and I thought I’d share that with you seeing as I’ll be using them from time to time in blog posts. The four above are the ones I’ll be using on a regular basis and from the top they are, a Websters Pages Travelers Notebook which holds a sketchbook and journal in at the moment but I have the ability to be able to add other books as I go along. Next is my desk diary which is my daily agenda, always on my desk with my to do lists, money matters and notes etc, then comes my Simple Stories Carpe Diem planner which I started last year and abandoned after January! I’m hoping this year to really use it properly and after making new inserts and dashboards for it I feel it’s really my own style. Finally I’ve a gardening diary which was a gift a couple of years ago and although I’ve started it I don’t feel as if I’ve really got into it yet. I’ve lots of ideas for how I’ll use this one so you may see it from time to time here.

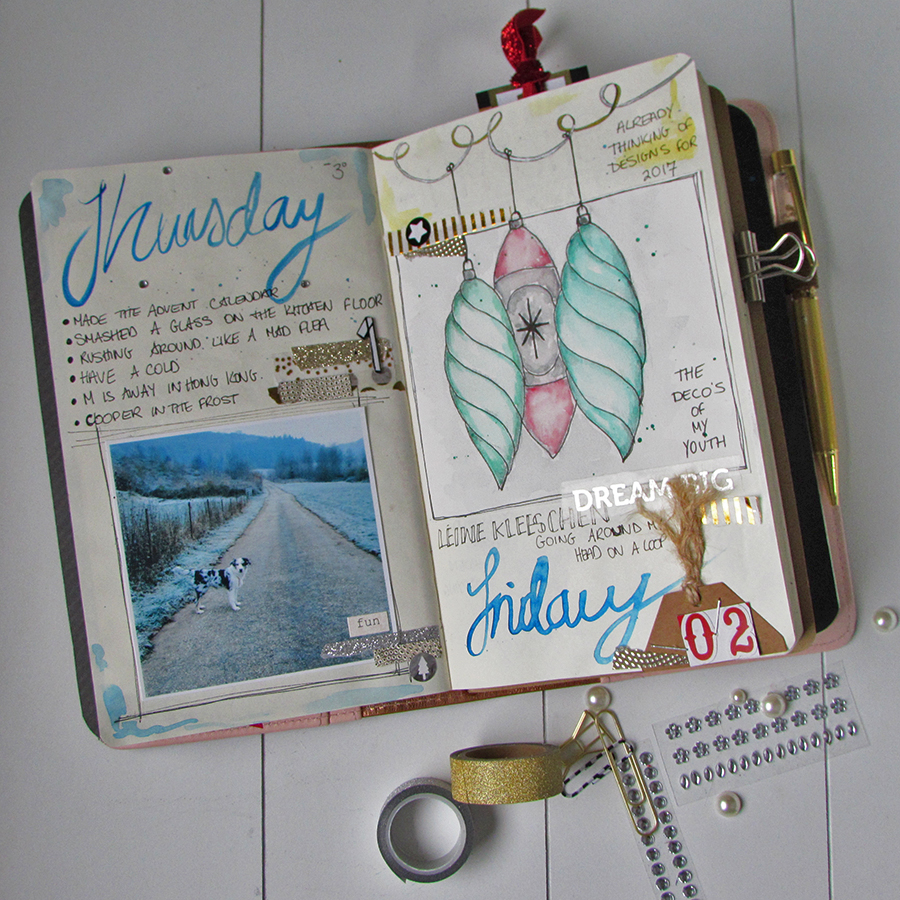
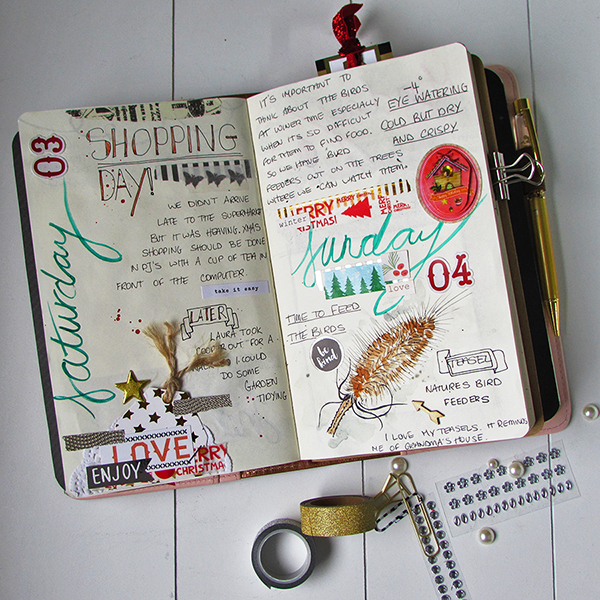
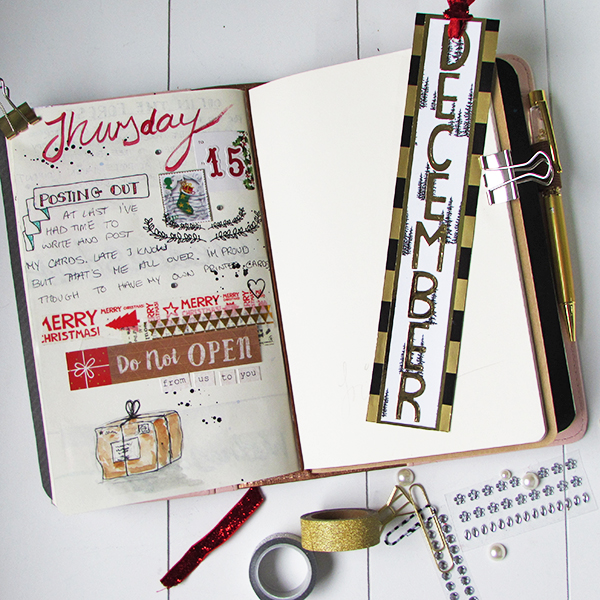
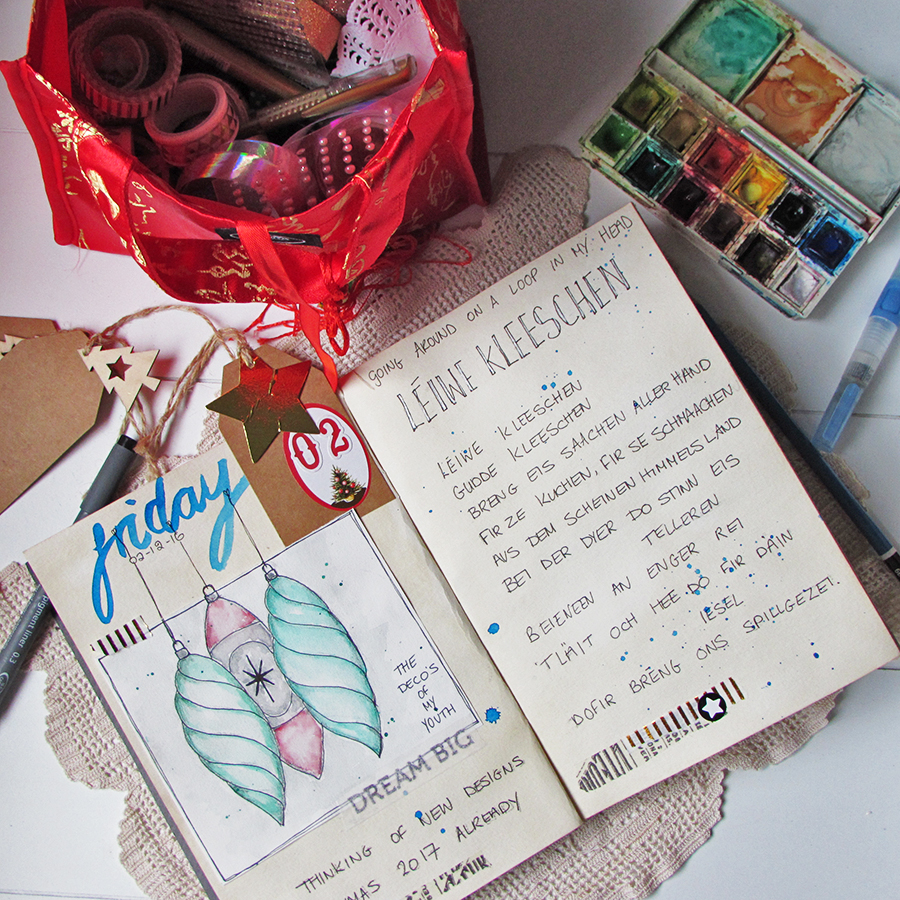
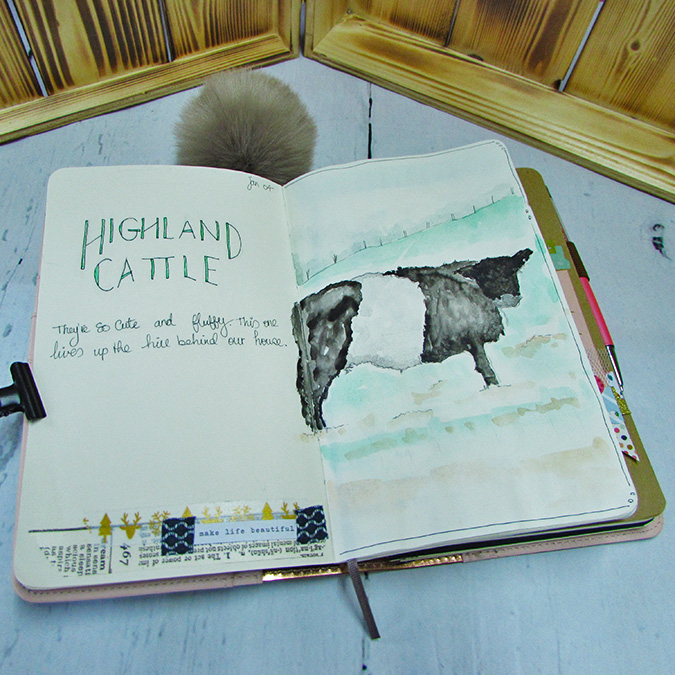
As I said in my travelers notebook I’ve included a sketchbook. I do have a much bigger sketchbook which I’ll continue to use from time to time but for a quick sketch on the go I’ll be using this one. It’s a Moleskine as I absolutely love the paper even though it’s thin and buckles and warps when I use watercolour paint on it, this is why I like it so much.
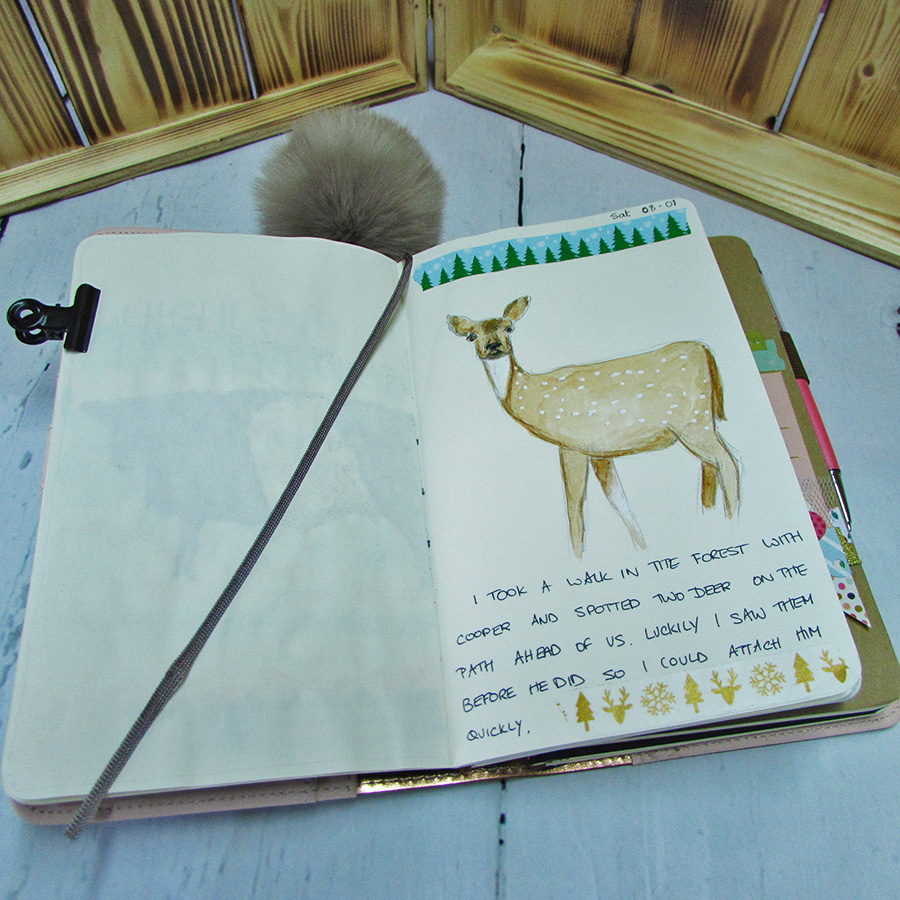
A couple of sketches created after walks with the dog.
My planner is a Simple Stories ring binder style and now I’ve made my own dashboards it feels more like me so I’m hoping that will encourage me to keep up with it.
I’d love to know if any of you are using planners or journals this year and what system you’re using?
Hopefully I can inspire you a little bit to get out a pencil and maybe start something new.
See you soon
Jaine x