Messy vs tidy

Hello from my studio. It’s Friday erm… now Monday (it’s been one of those weeks), outside is hot and sticky but my basement studio is cool so I’m staying here to create in the shade.

In my studio I’m lucky to have a long artists table. Looking down at it right now I find it interesting that the far end where I do my die cutting, putting cards together and generally anything which needs to be done in a clean, paint free environment, is pristine and the other is messy, chaotic and painty. It’s a bit like my garden, organized chaos I call it. I suppose that’s what comes of being able to leave everything out all the time. I find I work better if I leave the paint and gel plate out all the time as I tend to come and go when I have a few moments. The other end is where I cut my prints and mount them to create backgrounds for cards.
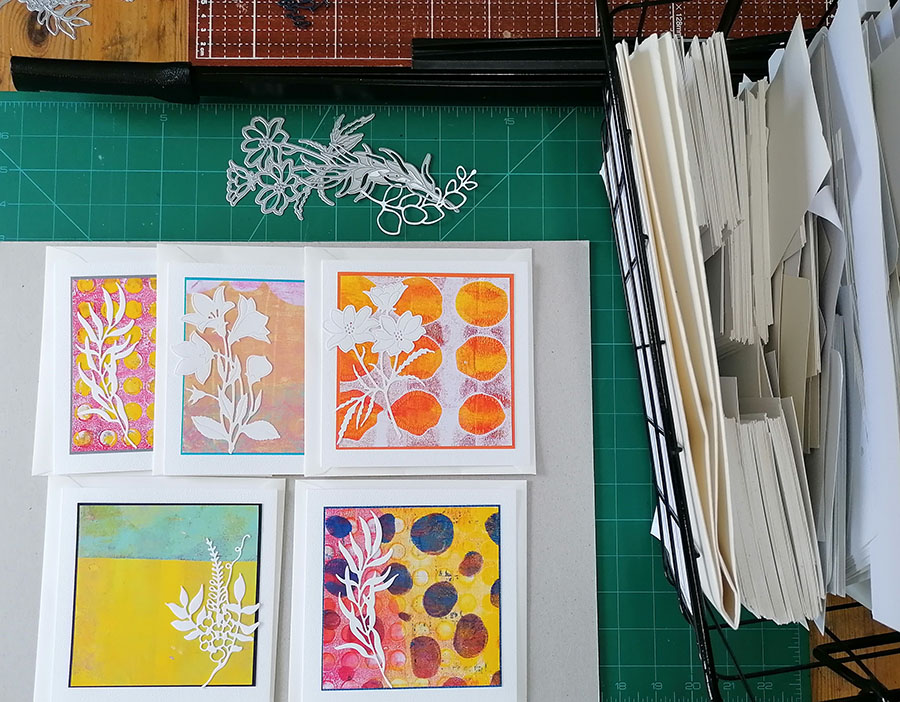
I love the clean look of crisp white card blanks and simple die cuts. From my basket of white card offcuts I cut delicate images which finish off these gel printed backgrounds nicely. They’re like little pieces of abstract art I think. The fun is in creating these printed backgrounds, never knowing quite what I’ll end up with, then cutting them up and layering them on a clean white card base. All they need now is a simple sentiment.
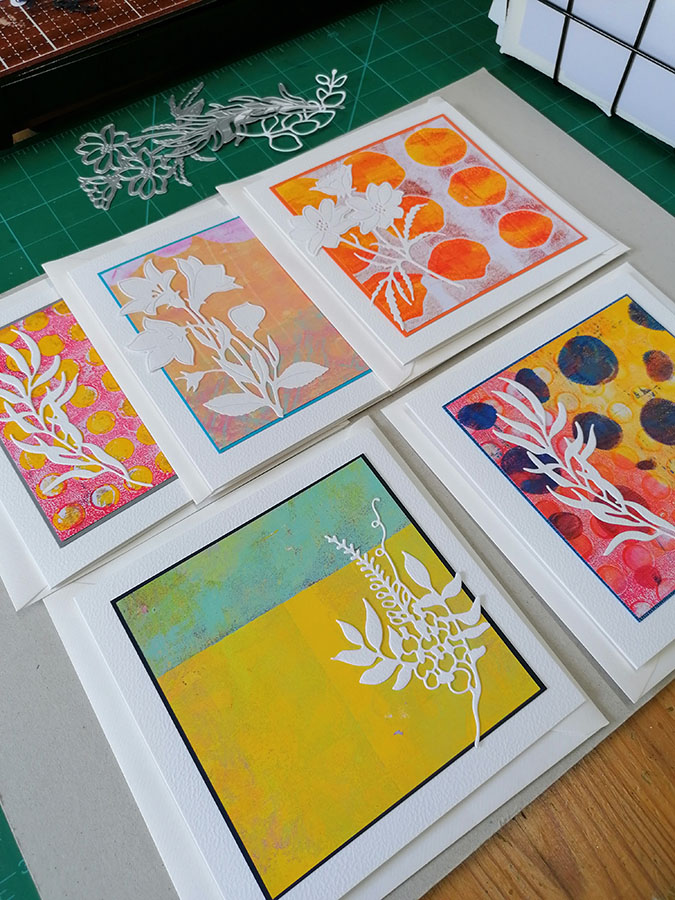
By contrast the other end of the table is where the messy stuff happens. Paint, gel plate and stencils, it’s generally a bit of a mess. Occasionally there’s a fight between the two spaces as I run out of drying room for my prints but so far it’s not been an issue.
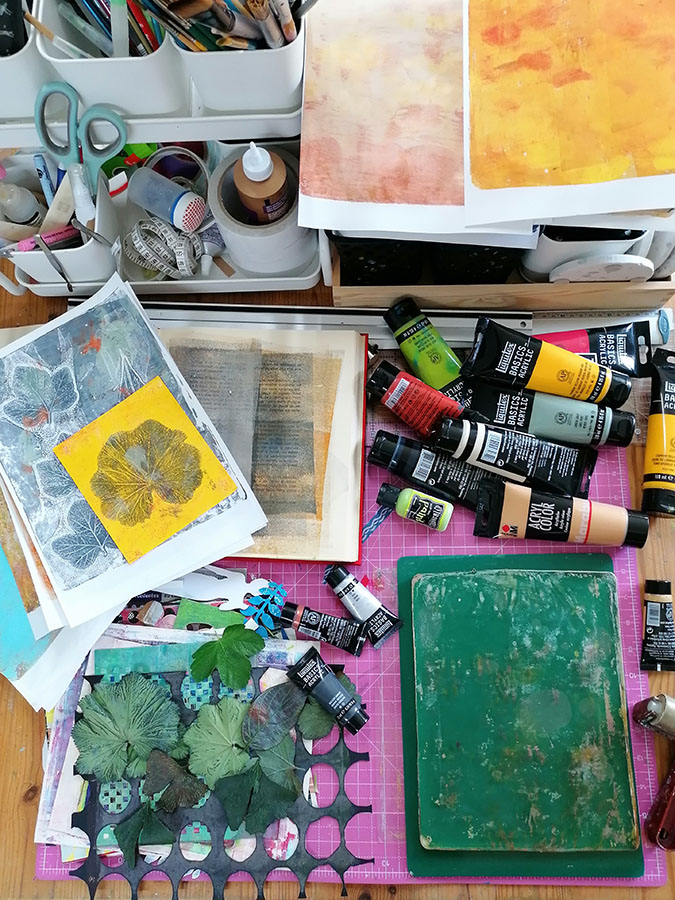
These cards are the product of my two sides, the messy mixed media side and the clean, contemporary and simple card side.
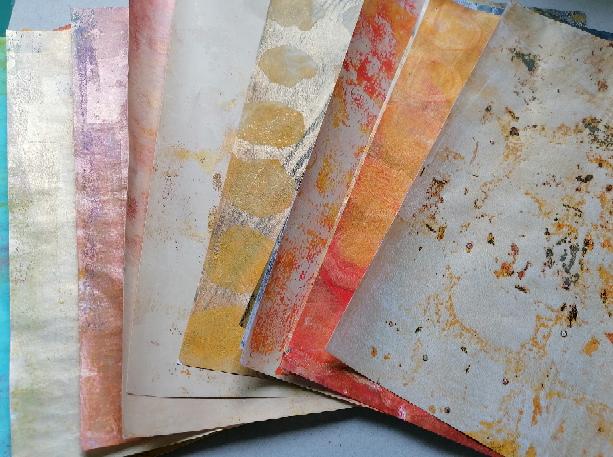
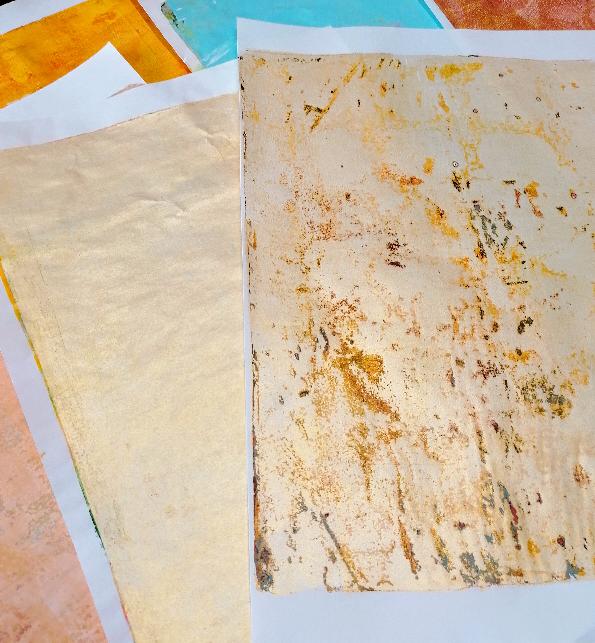
The cool thing is though, my favourite backgrounds are the ones which are simply my gel plate clean off sheets.
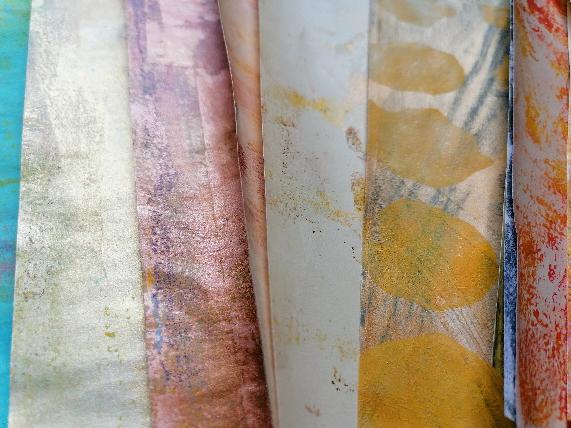
I mean look at this…especially when I use metallic paint to clean off the plate.
Have a good week

Jaine xx

Serendipity in art

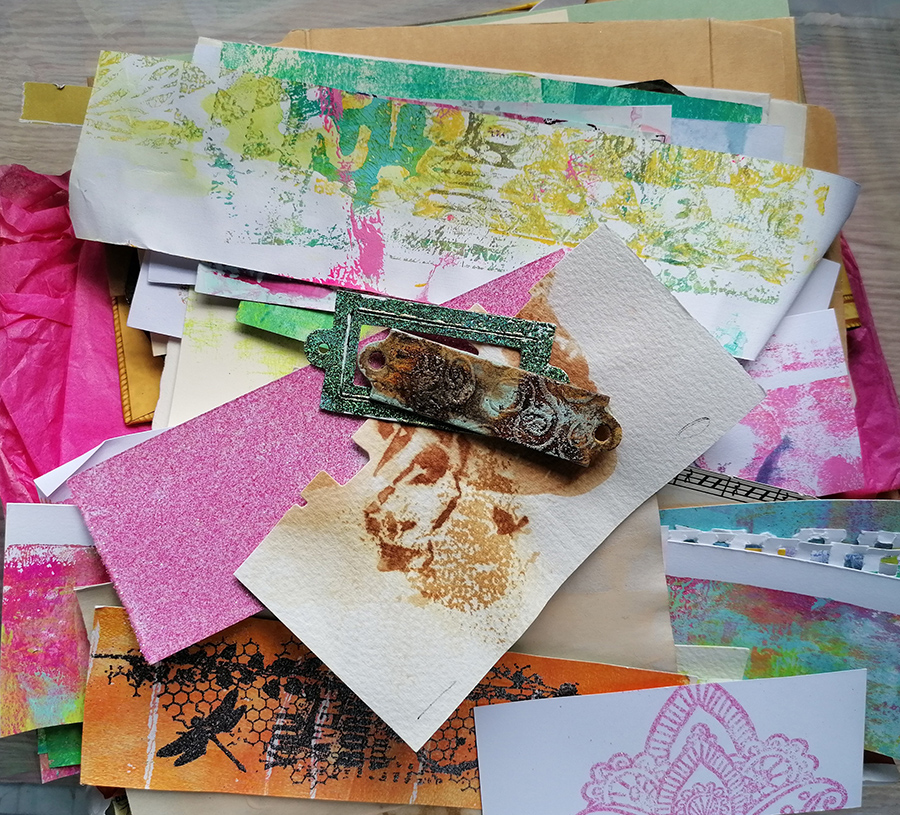
It doesn’t matter how much time I spend planning and creating a piece of work, my favourite pieces are the ones which have been created from the afterthoughts, the discarded rejects and happy accidents. This is why most of my art journals are made using clean up sheets and practice papers. A lot of the time a background which may look totally chaotic, looks completely different when die cut and used in some unfinished journal page. A flat journal page may need a spot of colour to complete it and a box of off cuts and rejects is a good place to look.

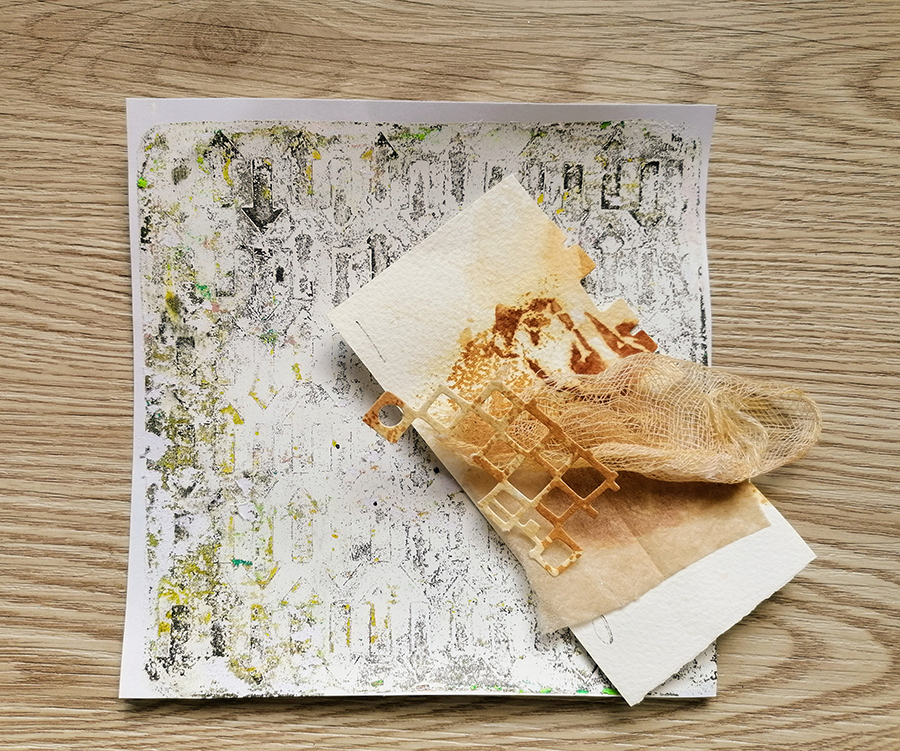
It was after a gel printing afternoon that the final prints to come off the plate were the clean up ghost prints. I always love these prints, they’re grungy, dirty and contain many different colours mixed together in an old peeling paint sort of way.

Next to me on the table was a box of off cuts which I use for collages and on the top was this piece of watercolour card, stained from having a teabag left to sit on it. You never know when these things will come in handy I say! Underneath all of that I also had dry tea bags which are great for collages too. The piece of muslin, stained from Tea Dye ink from Ranger was the only planned piece as I’d used it earlier in the day for a project with Paper Pen and Plan.

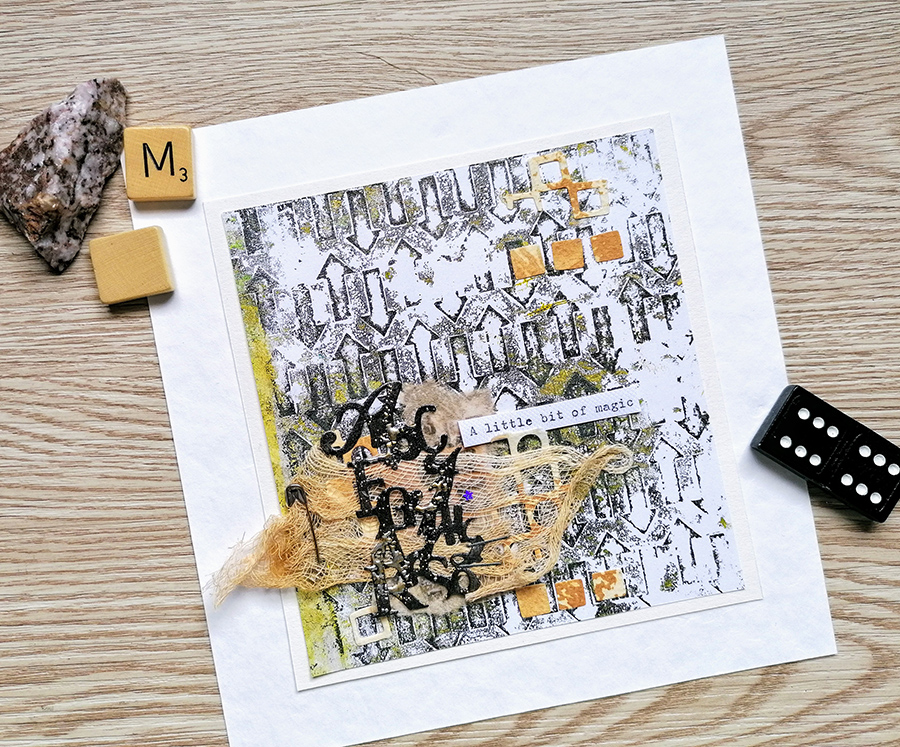
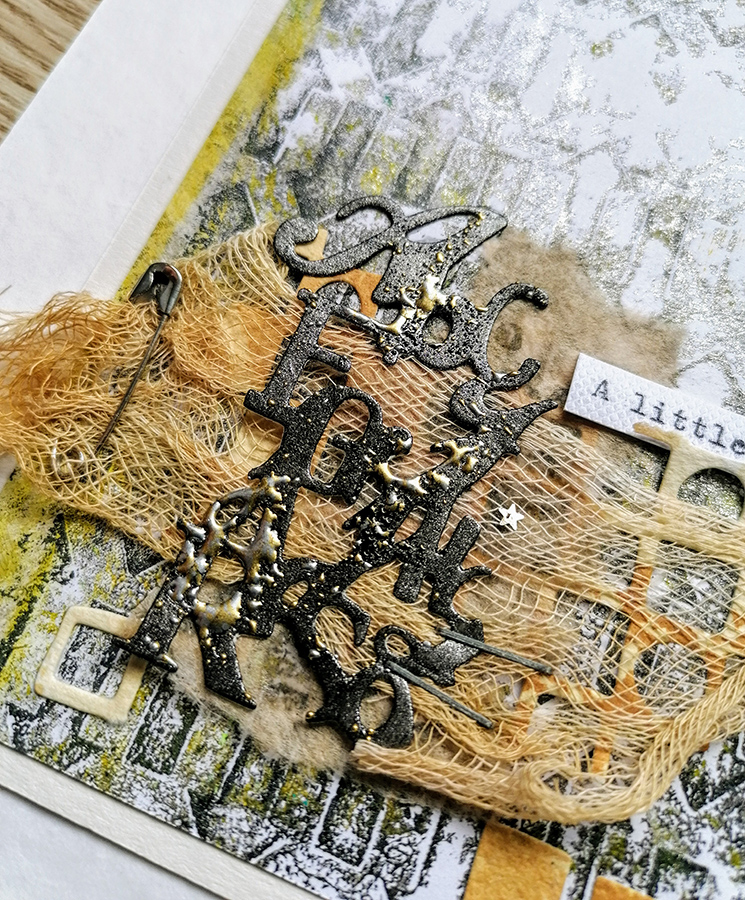
I die cut the tea stained card to use in a collage, tucking it under the tea bag and muslin. I didn’t waste the little shapes which came out of the die cut either and used those to continue the colour on the rest of the background. I used black paint to cover the die cut letters and whilst this was wet sprinkled some Black Magic powder from WOW! in patches. I swear to you the safety pin has been sitting on my table for weeks now waiting to be used and literally caught my eye as I needed something to catch the muslin down!

The craziest part about this whole process is that little star shining out from the centre of the collage. It wasn’t planned and I only noticed it when taking these photos. You couldn’t make it up!

I love mixed media.

Jaine x

Messy monday

Messy Monday was originally an excuse for my friend Clare from Paper Pen and Plan and I to push ourselves out of our comfort zones and create journal pages, usually with a heavy helping of paint and ink involved. Already a lover of messy journal pages, I encouraged Clare to embrace her messy side which resulted in some amazing backgrounds. We had lots of fun with it and I think we both miss those days.

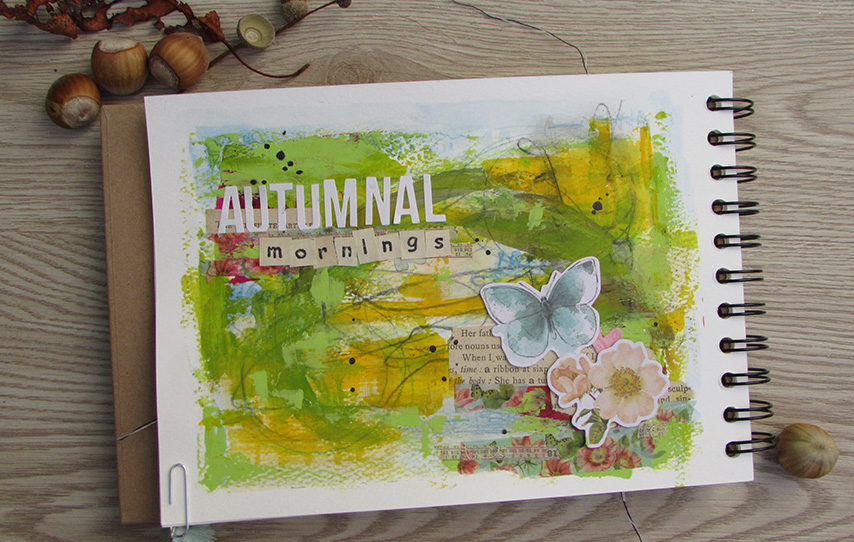
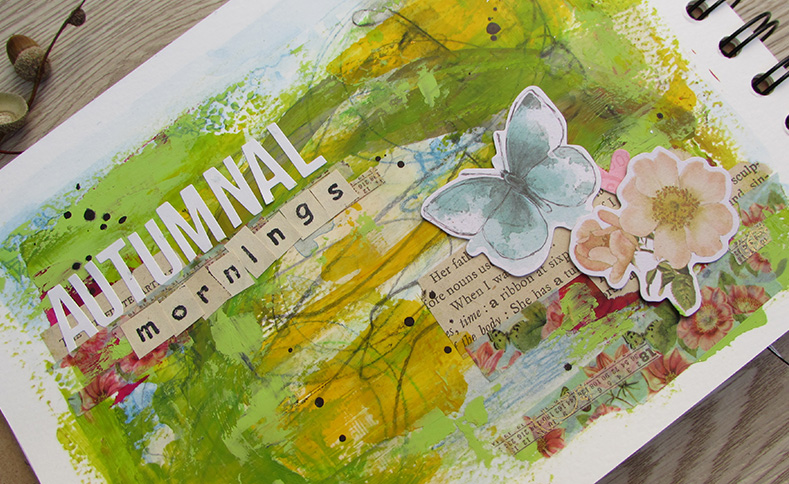
Clare mentioned it again a few weeks ago among the members of the Paper Pen and Plan Facebook group so I thought I’d try and bring it back in some form or another. Now to be absolutely truthful here I did start this at the weekend. I left it open on my worktable and added a bit to it every time I went past, which was often!

I started with the first layer of charcoal scribbles then added some acrylic paints in smears before taking a watersoluable crayon and smearing some blue/grey here and there. That was yesterday, this morning after a walk in the forest it reminded me of the low Autumn sunlight through the trees and so that was where the theme came from. With a small collage and a title it was finished.

Happy Messy Monday

Jaine xx

Messy Monday is back

Well, almost back anyway. Clare and I had a bit of a session making Travelers Notebook inserts but sadly Clare had a paper cutter crisis and ended up binning it for something else. She promises to get back to it next week so I’ll hold her to that.

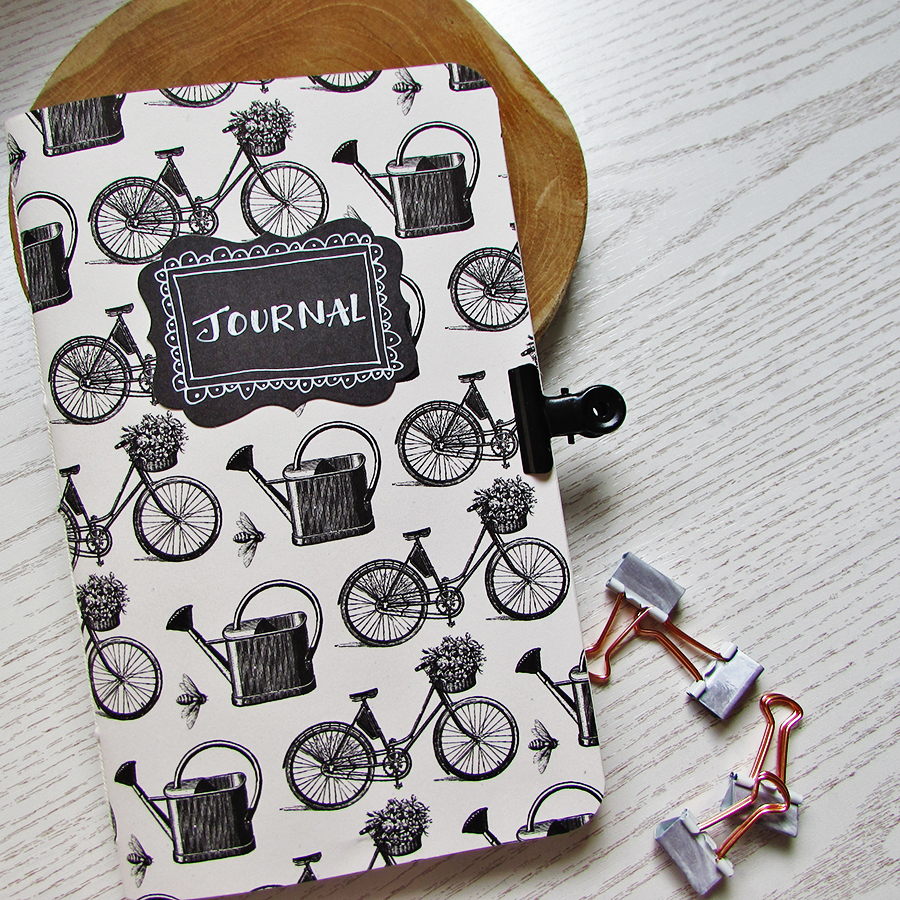
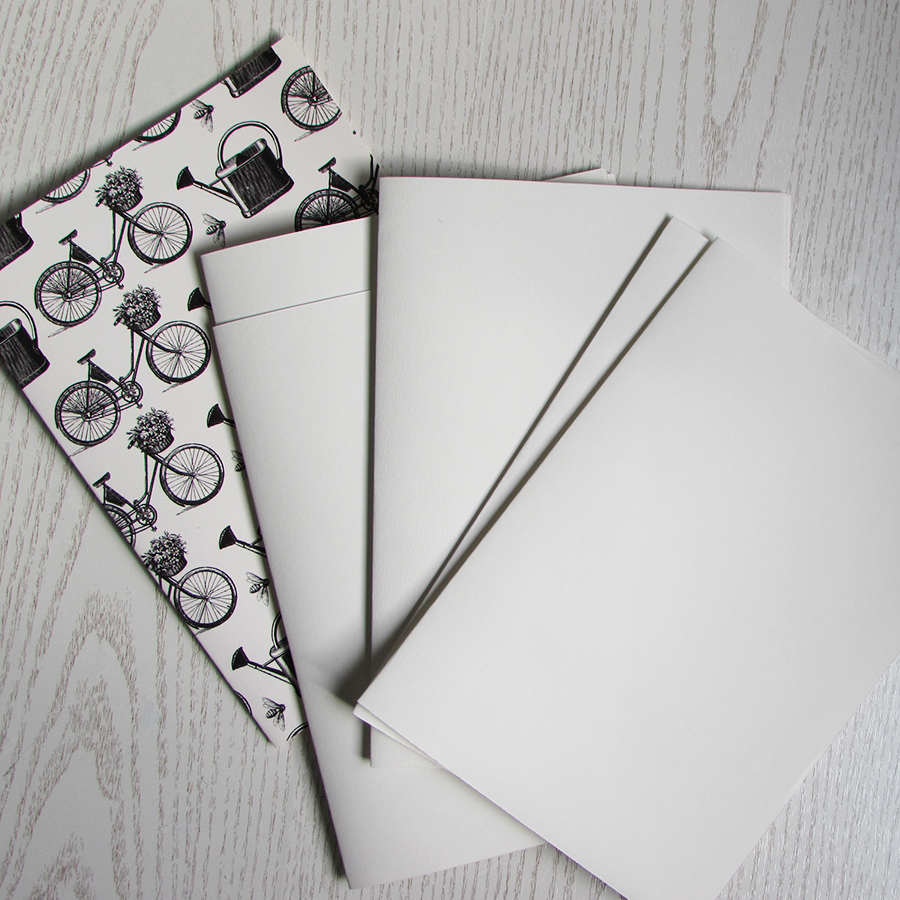
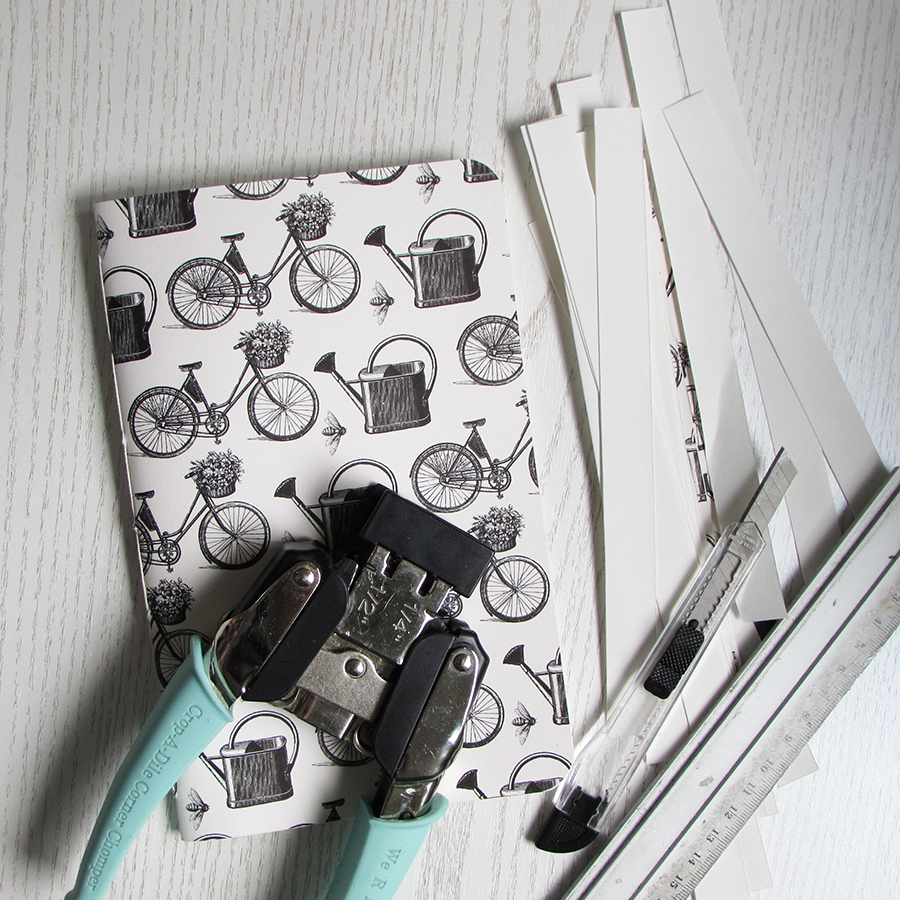
I turned it into a tutorial for Clare to follow next week and anyone else who wants to know how to hand sew a binding.  This is the finished booklet. I think uit looks quite smart. I used a piece of Canvas Corp paper called Bikes And Baskets for my cover.

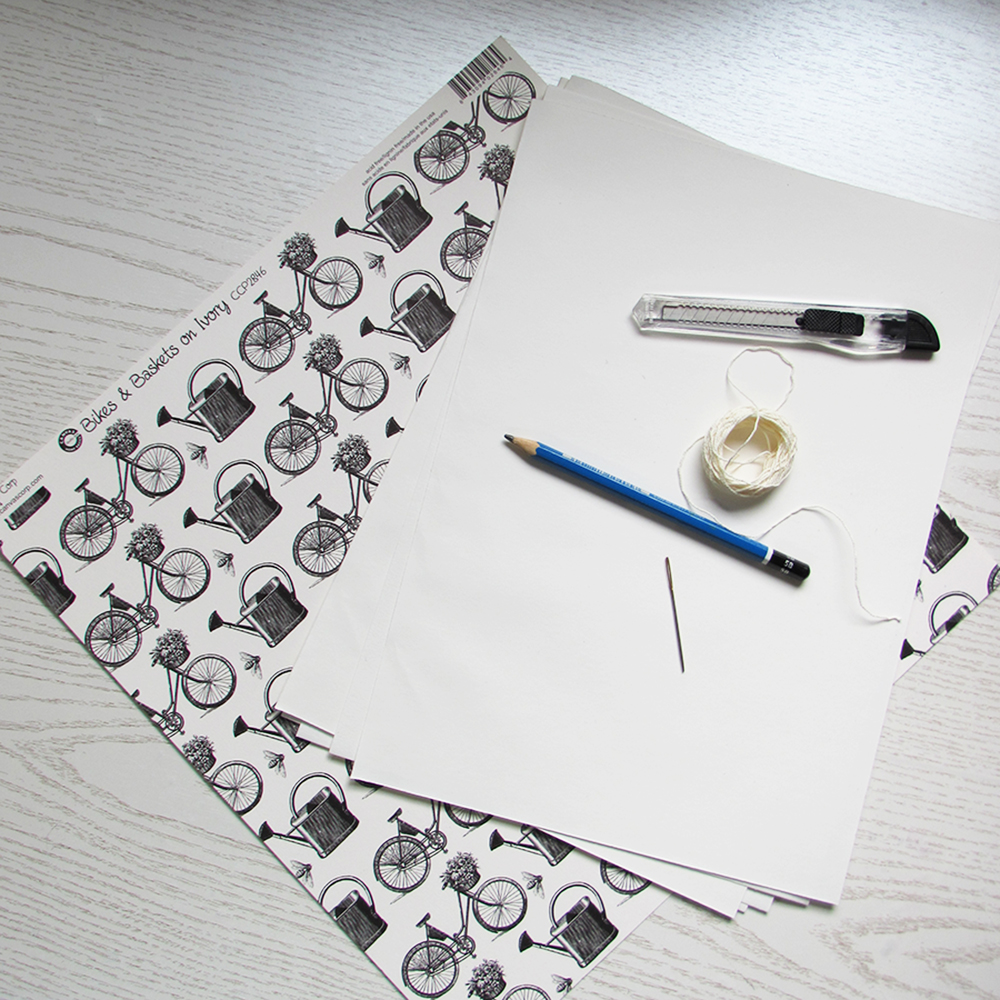
To make my notebook you’ll need a piece of scrapbook paper for the cover and I used 14 sheets of A4 watercolour paper at 125gsm.  I find this perfectly adequate for what I want to do with my journal, any thicker and it’s hard to fold. You’ll also need a knife and ruler, pencil, cotton thread and a needle.

Fold all of your papers in half and place them all inside one another.

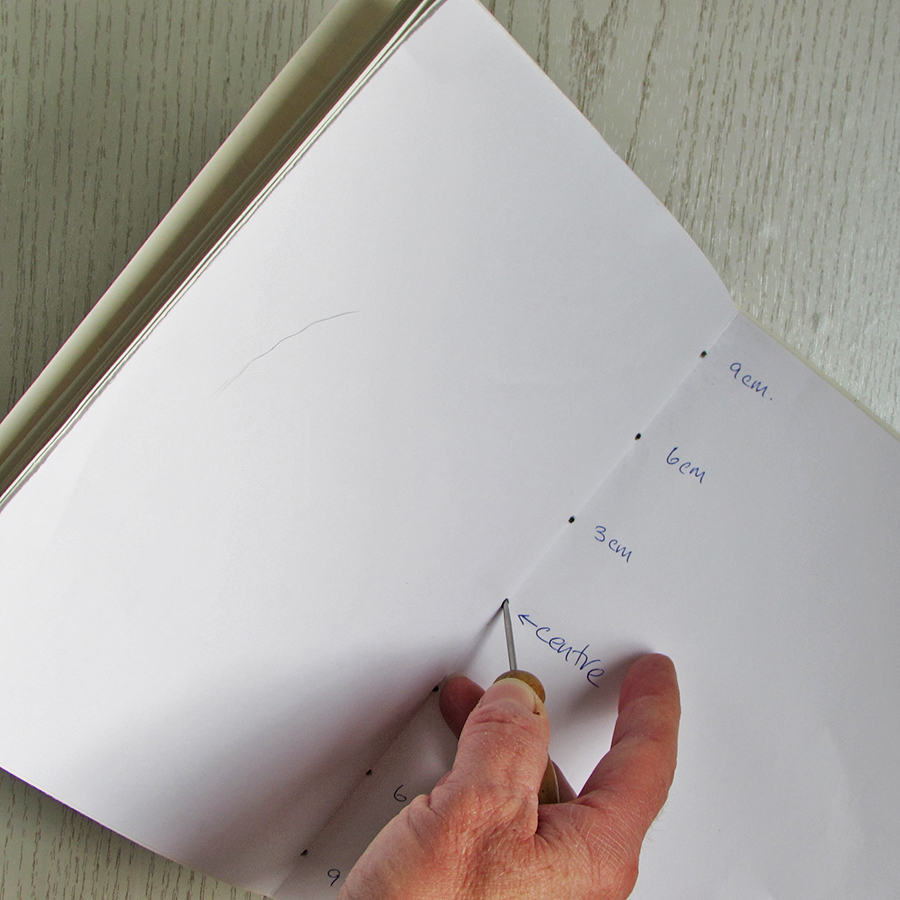
It’s easier if you make a stitching template before you make your holes, you can use this again and again. I used a 7 hole stitching method (you always want to have an odd number of stitching holes). Find the middle of the page then make three marks either side of the centre hole at 3cm, 6cm and 9cm.

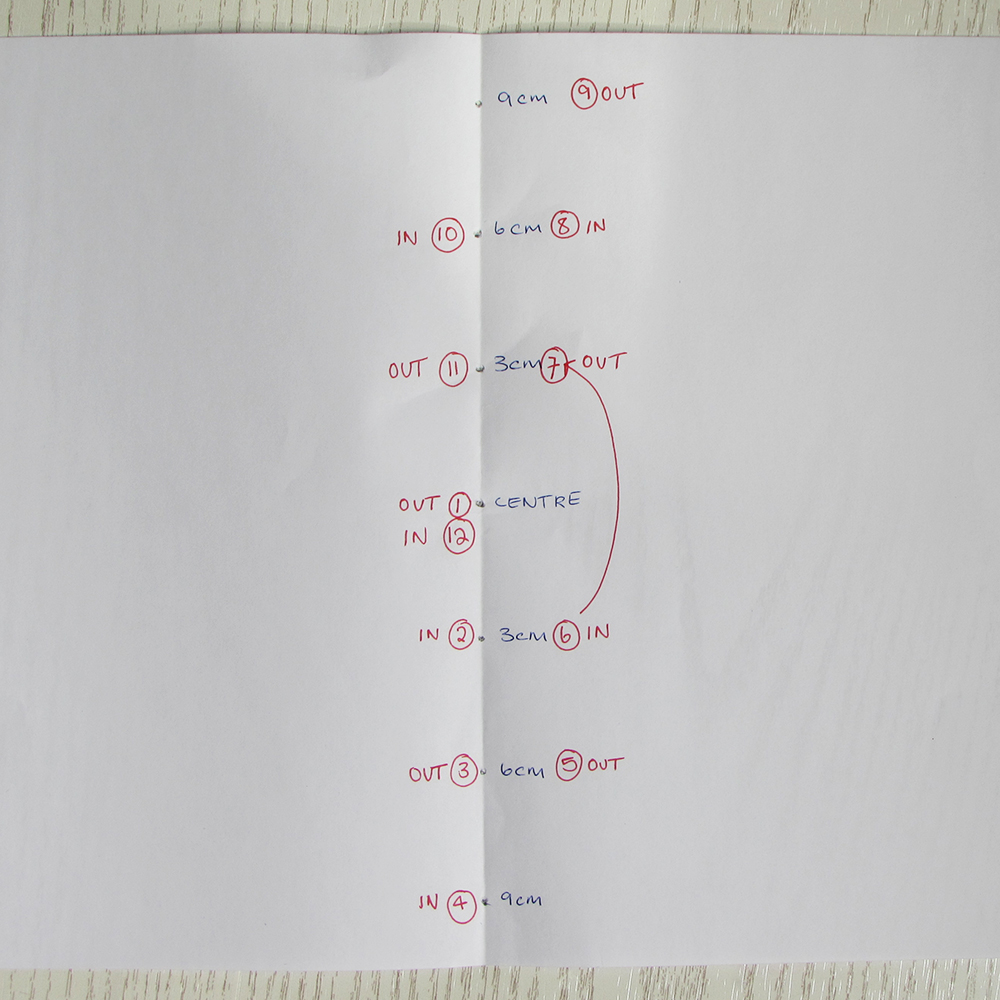
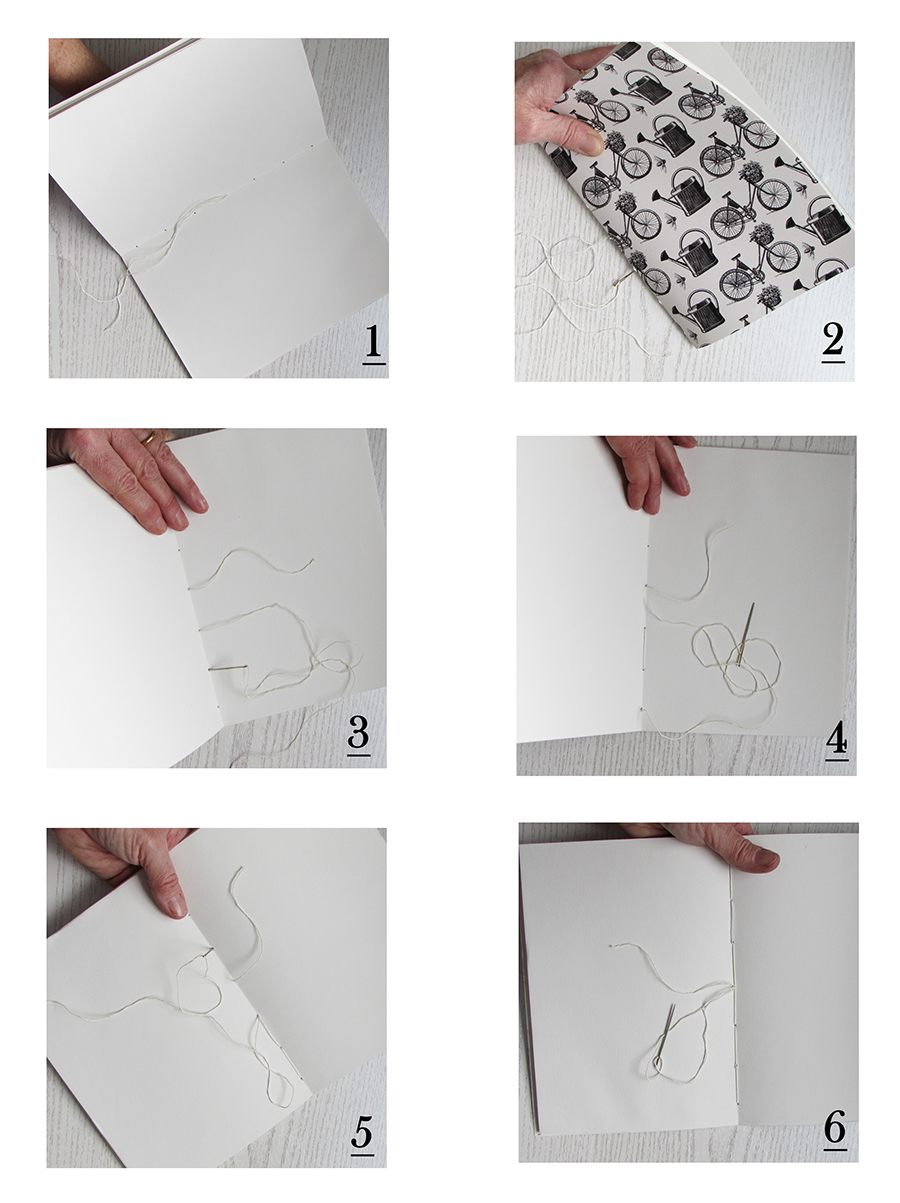
This is my stitching chart if you can follow it. So basically starting with the centre hole stitch from inside to out leaving a small tail of thread on the inside. then it’s back up through hole number 2 and out through 3 etc until you’re back in at number 6 where you jump over the middle hole and go out through 7. Continue going in and out until you’re back in the centre hole again.

If that’s a bit confusing here are the picture steps.

When you’ve finished sewing, trim the sides and round the corners and you’re done.

I’ll be back again on Friday from the Studio.

Have a good week

Jaine xx