Messy Monday is back

Well, almost back anyway. Clare and I had a bit of a session making Travelers Notebook inserts but sadly Clare had a paper cutter crisis and ended up binning it for something else. She promises to get back to it next week so I’ll hold her to that.

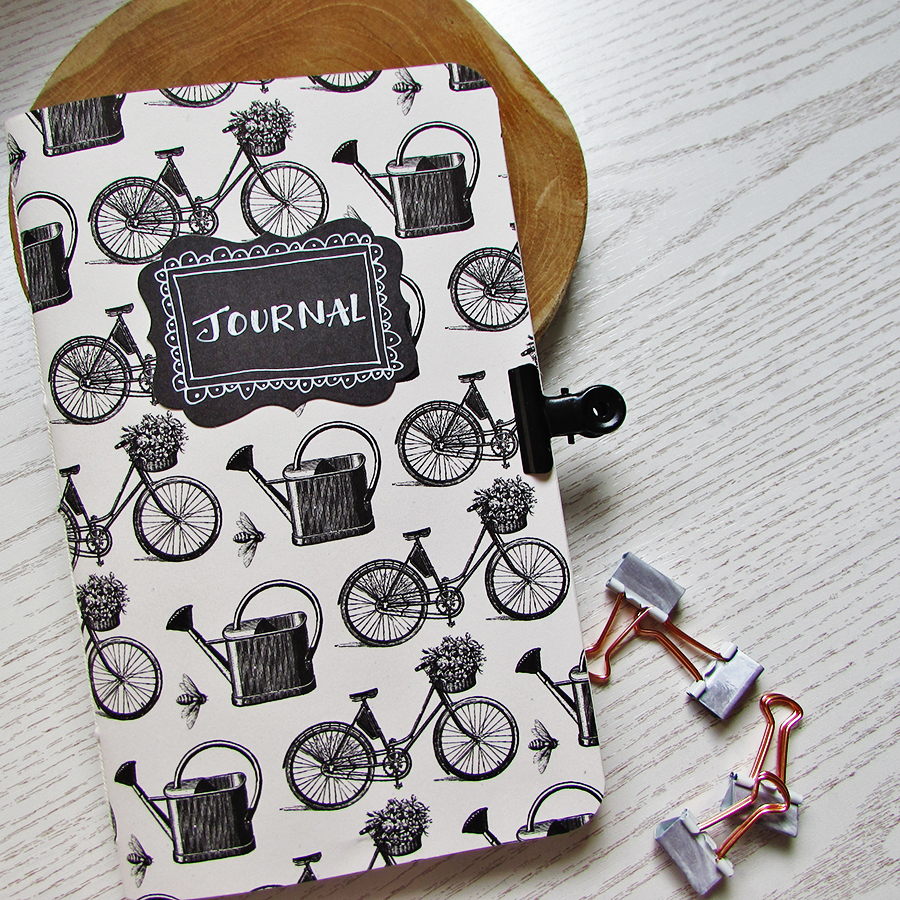
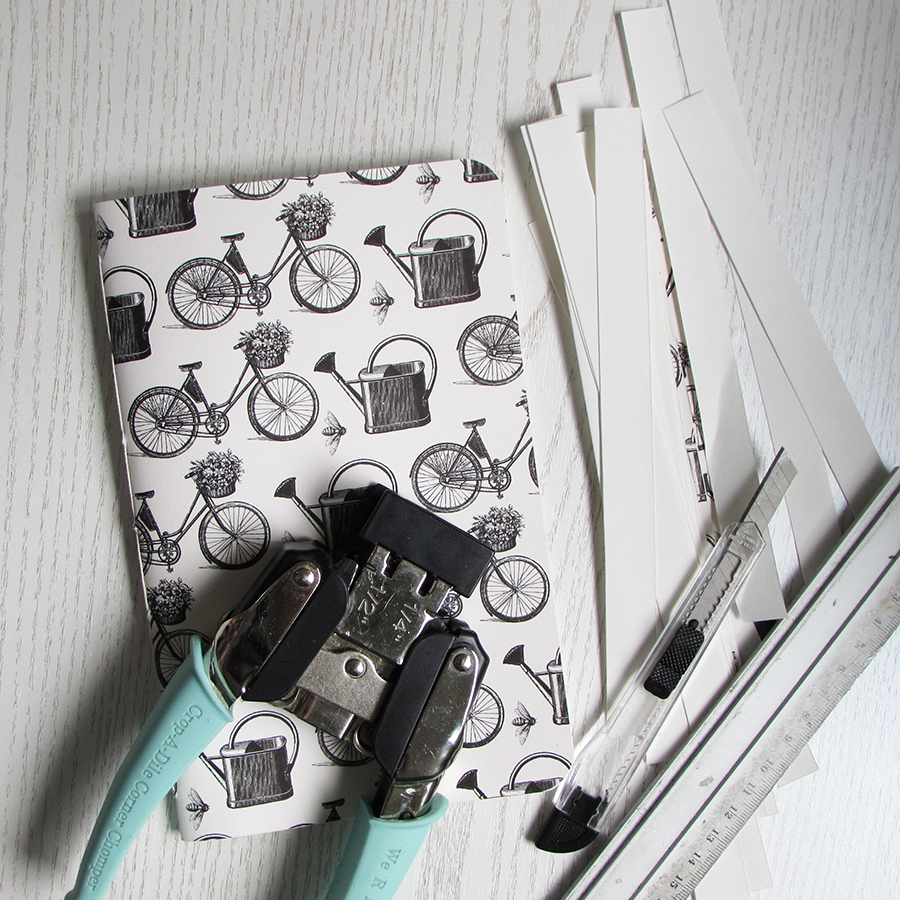
I turned it into a tutorial for Clare to follow next week and anyone else who wants to know how to hand sew a binding.  This is the finished booklet. I think uit looks quite smart. I used a piece of Canvas Corp paper called Bikes And Baskets for my cover.

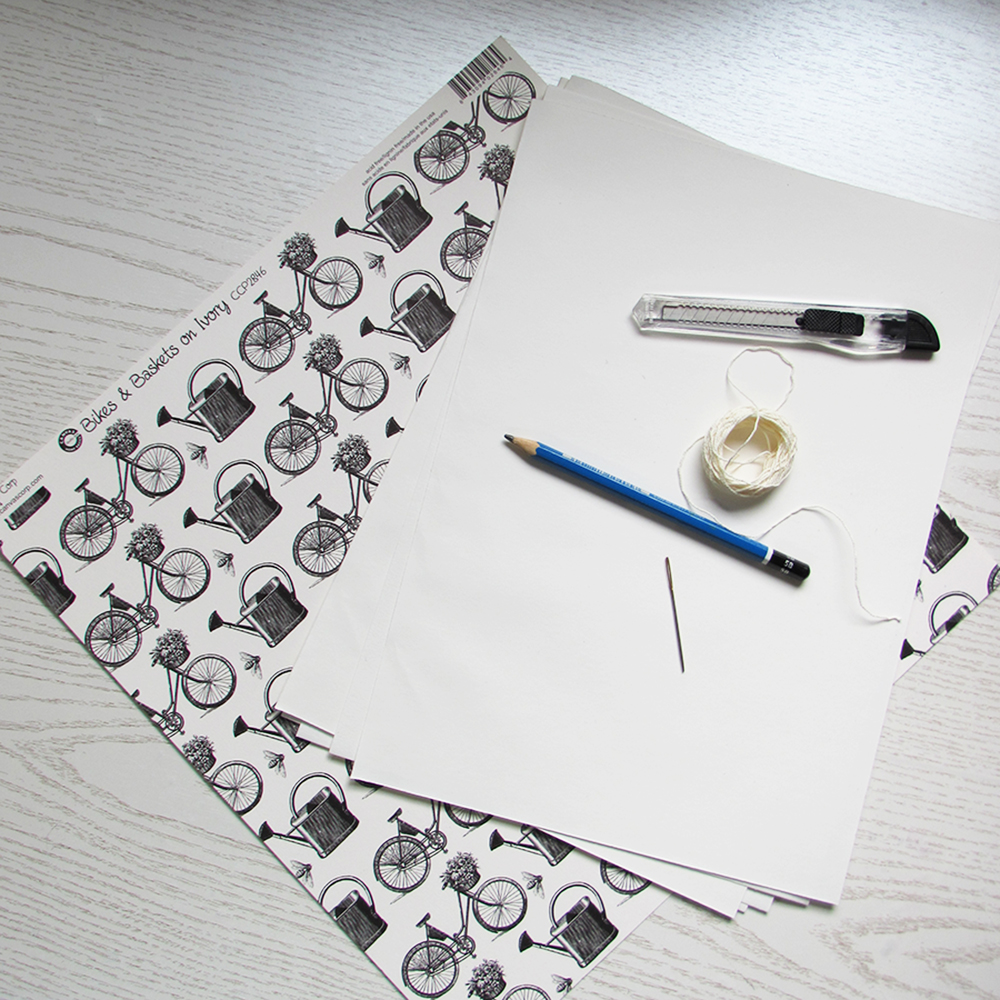
To make my notebook you’ll need a piece of scrapbook paper for the cover and I used 14 sheets of A4 watercolour paper at 125gsm.  I find this perfectly adequate for what I want to do with my journal, any thicker and it’s hard to fold. You’ll also need a knife and ruler, pencil, cotton thread and a needle.

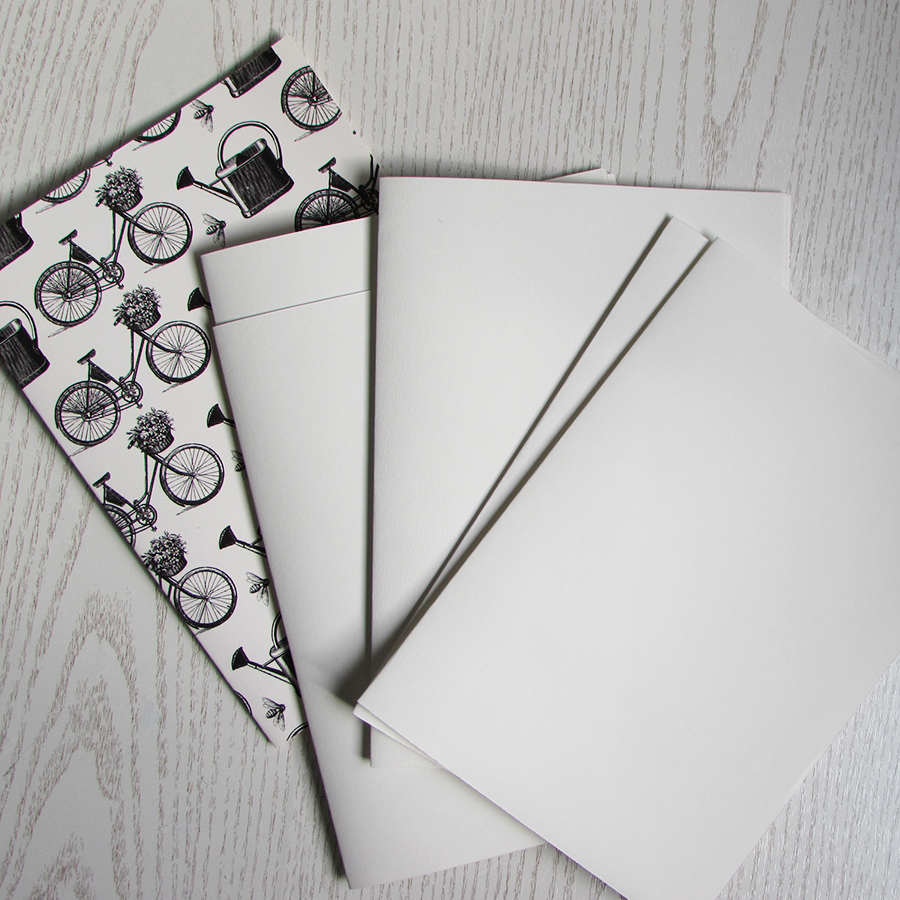
Fold all of your papers in half and place them all inside one another.

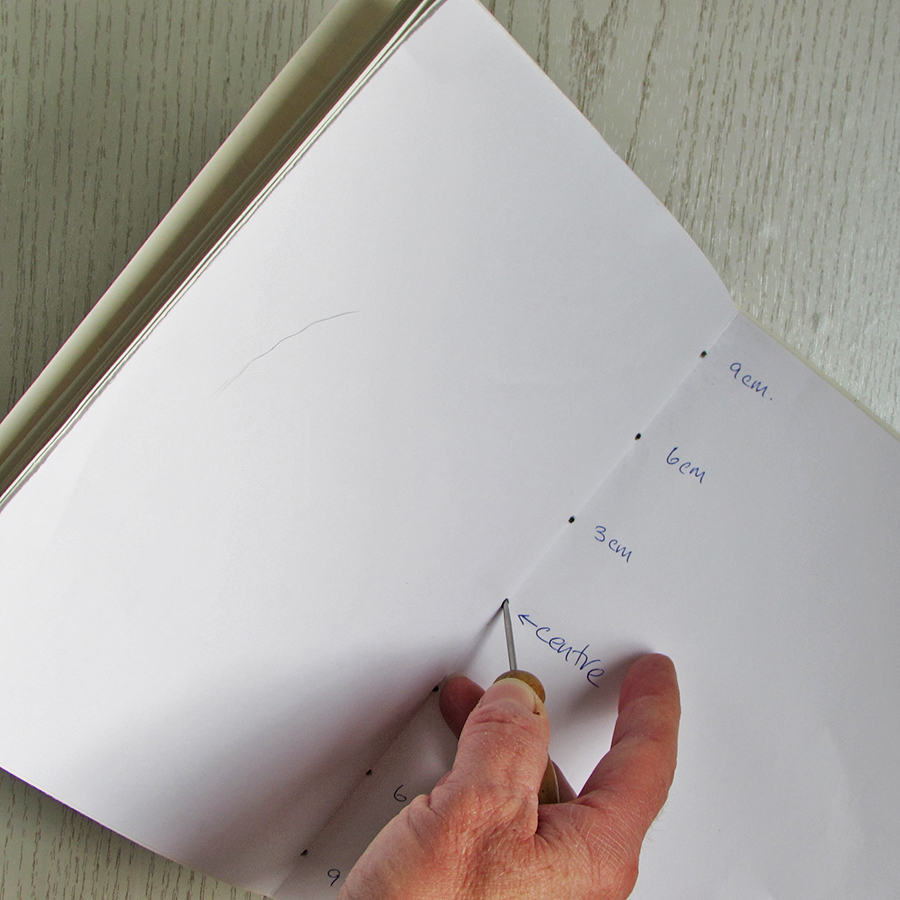
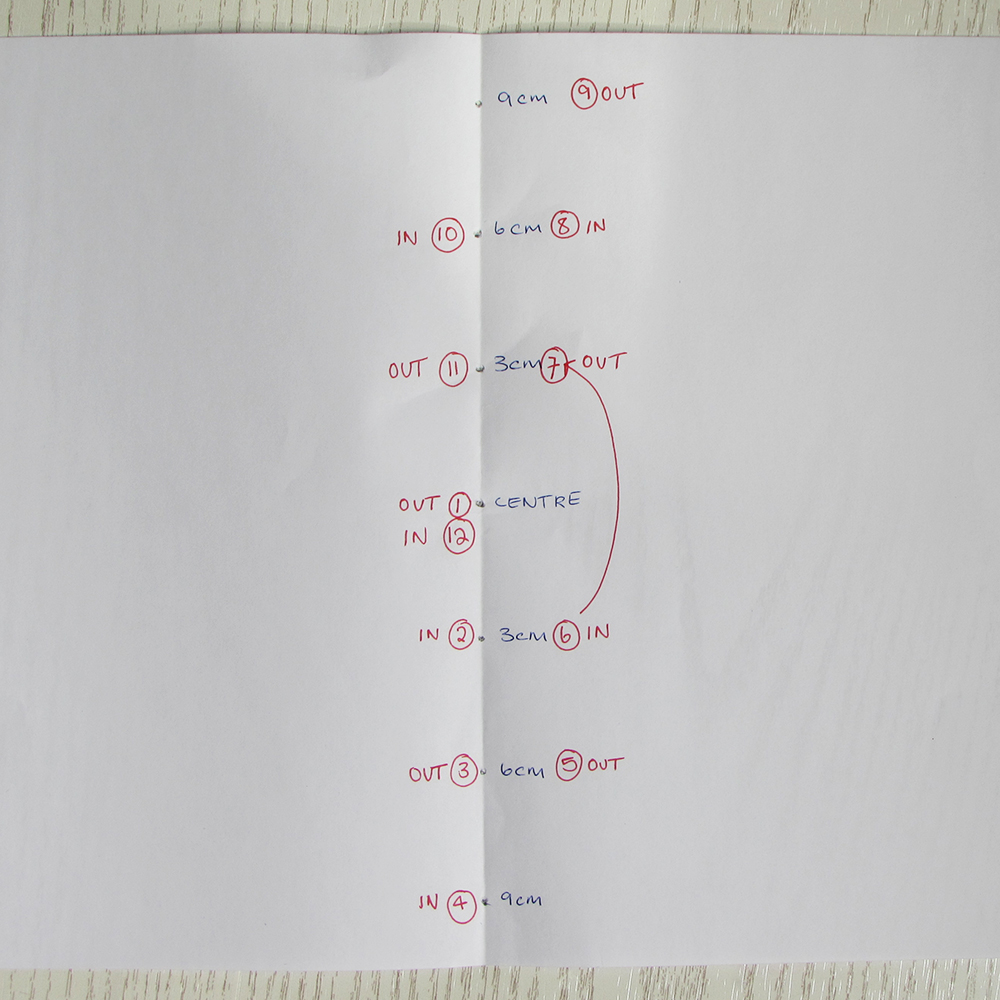
It’s easier if you make a stitching template before you make your holes, you can use this again and again. I used a 7 hole stitching method (you always want to have an odd number of stitching holes). Find the middle of the page then make three marks either side of the centre hole at 3cm, 6cm and 9cm.

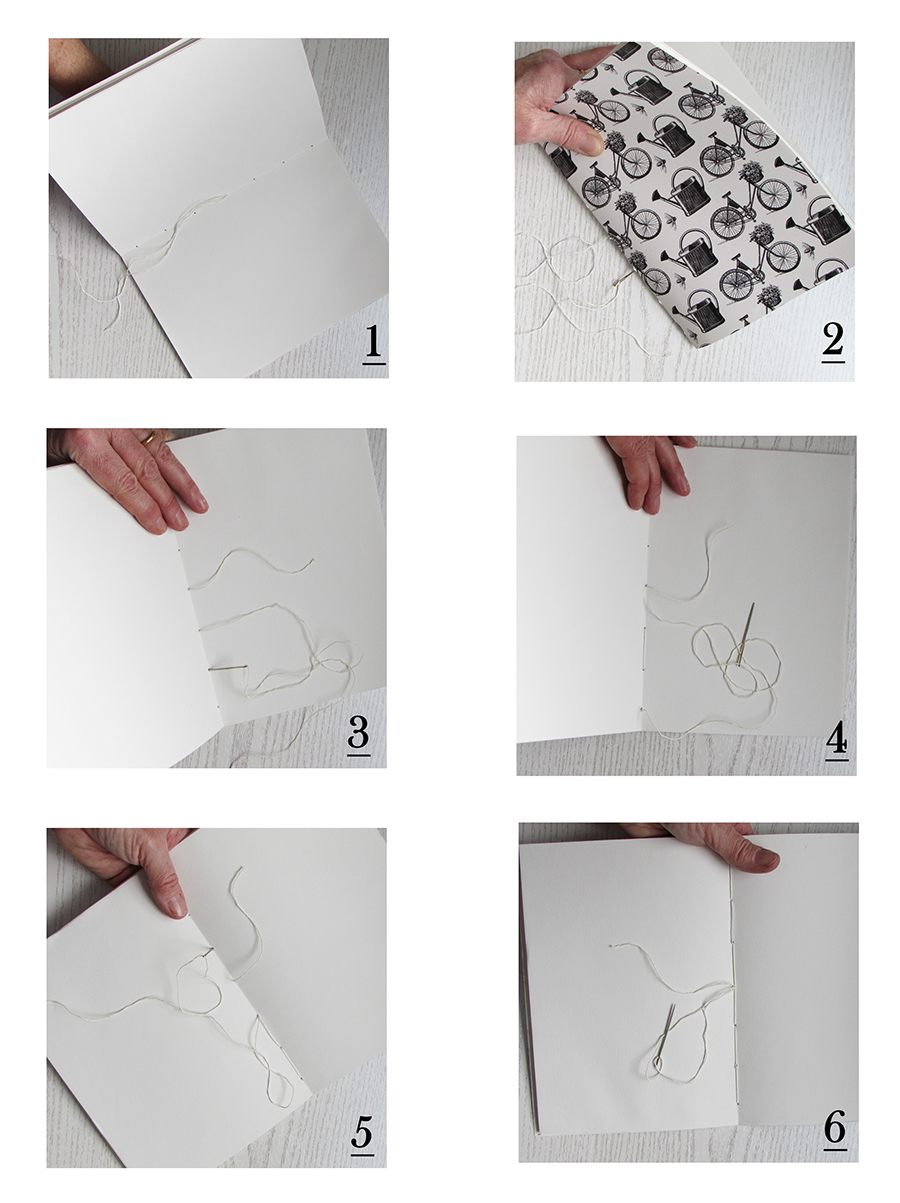
This is my stitching chart if you can follow it. So basically starting with the centre hole stitch from inside to out leaving a small tail of thread on the inside. then it’s back up through hole number 2 and out through 3 etc until you’re back in at number 6 where you jump over the middle hole and go out through 7. Continue going in and out until you’re back in the centre hole again.

If that’s a bit confusing here are the picture steps.
When you’ve finished sewing, trim the sides and round the corners and you’re done.

I’ll be back again on Friday from the Studio.

Have a good week

Jaine xx

Meet My Latest Obsession

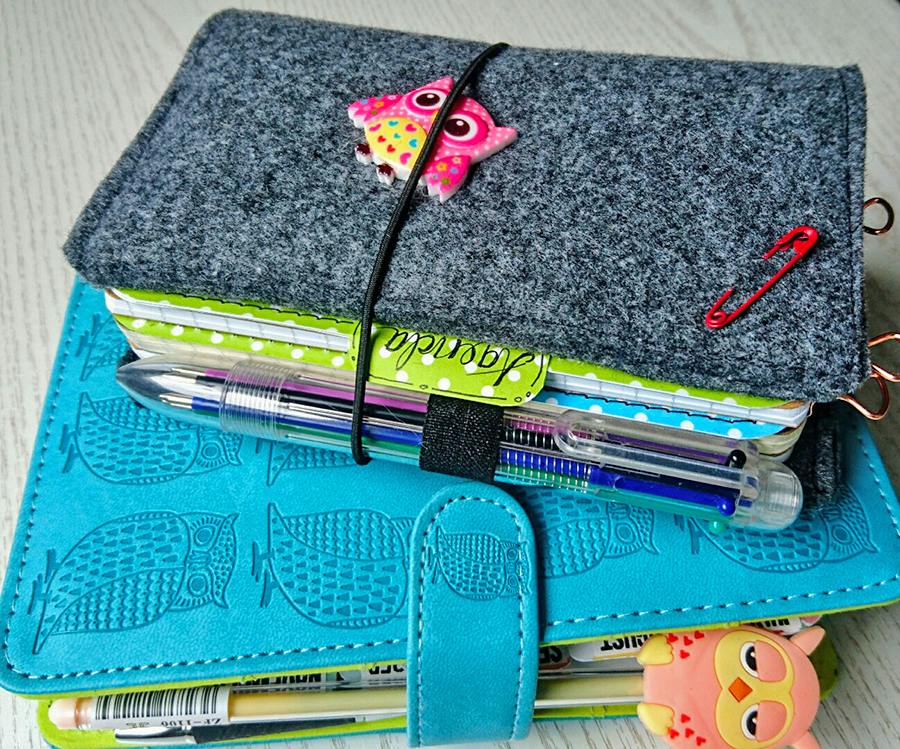
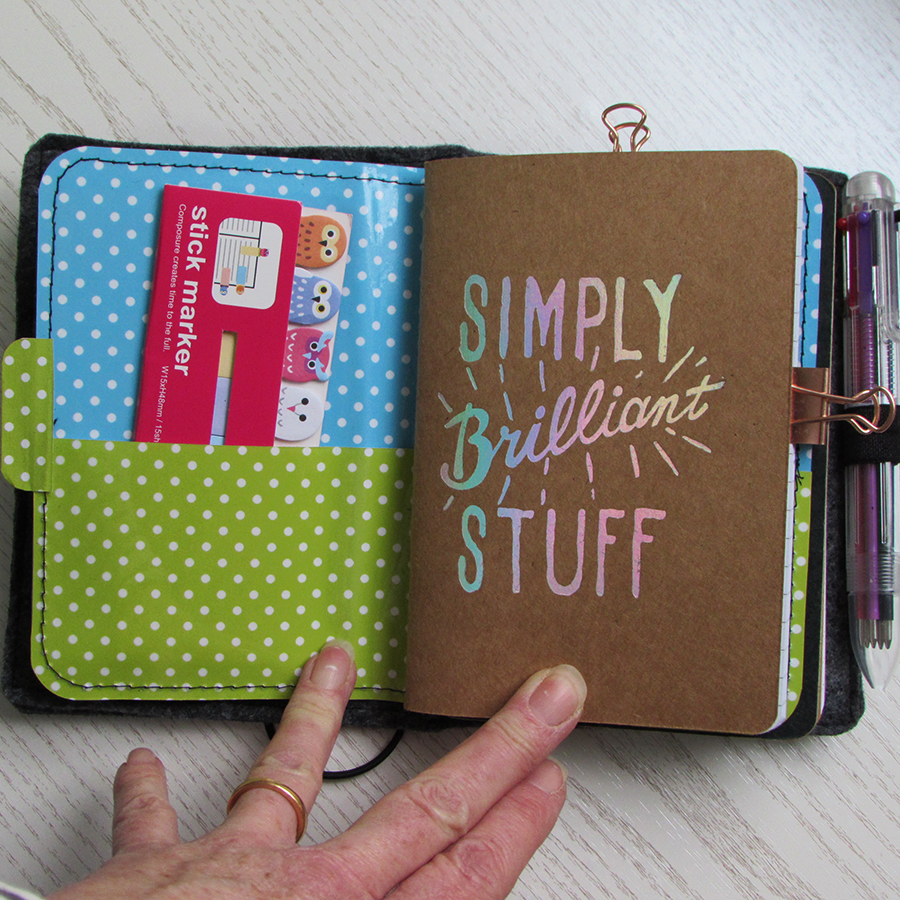
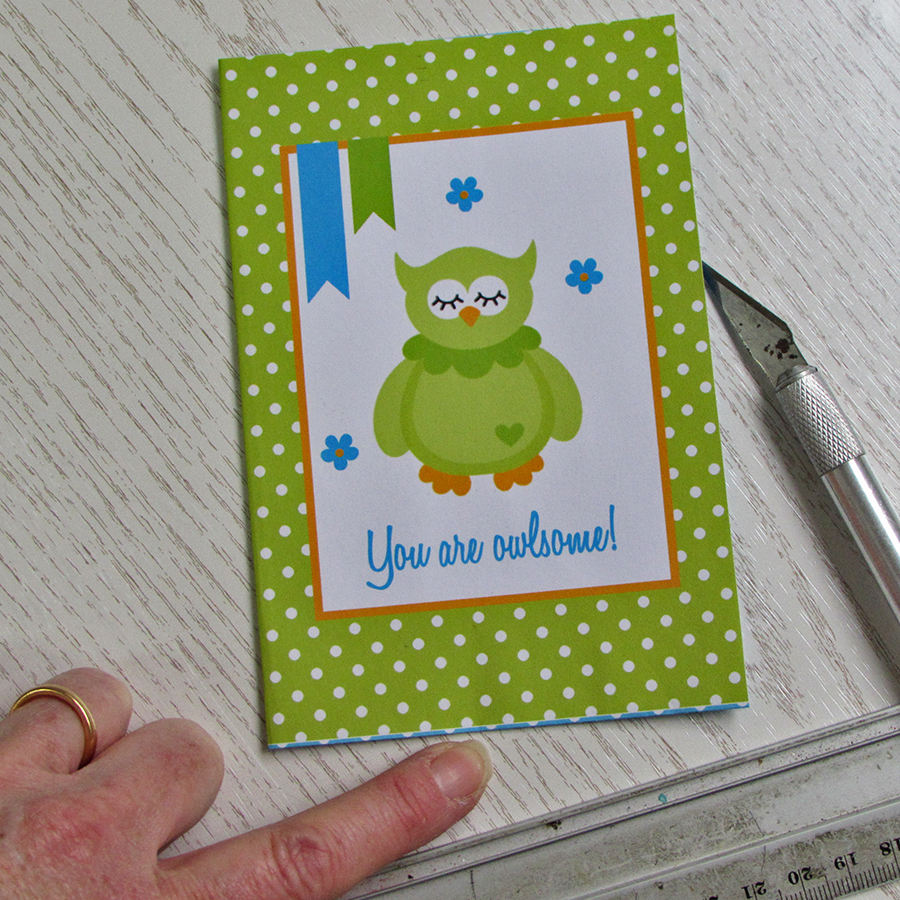
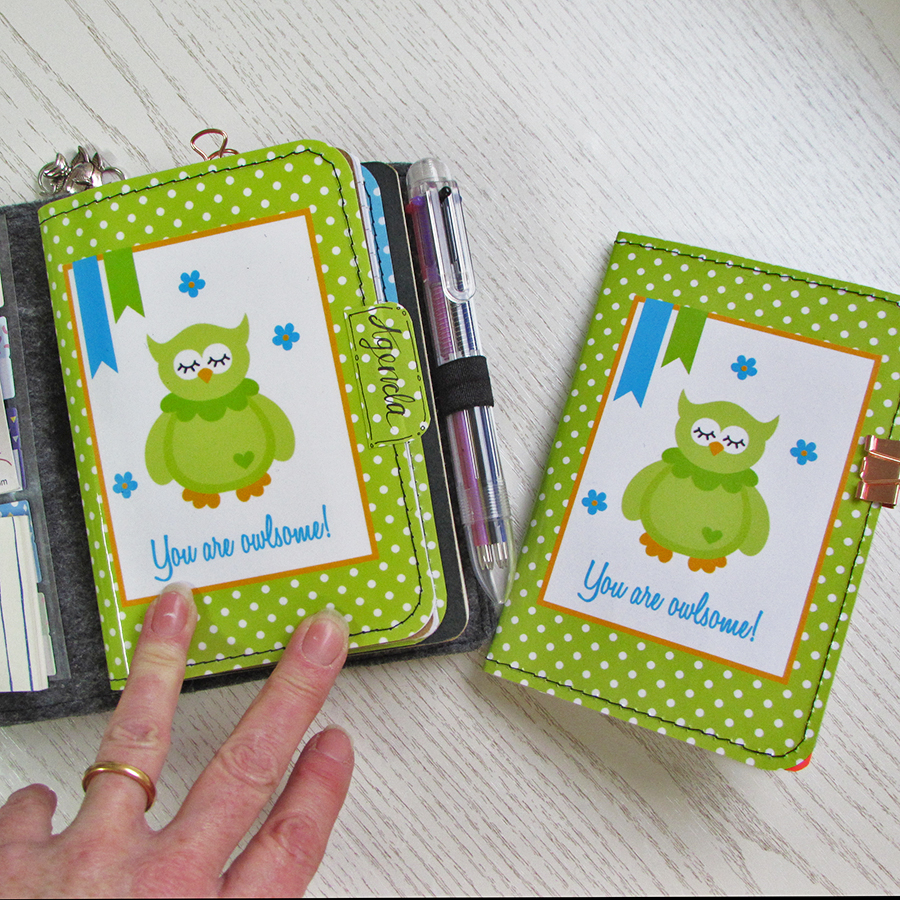
Meet my latest obsession, this little passport sized travelers notebook. It’s become my handbag companion containing my mini agenda, notebook plus two other blank books which I’ve yet to decide what to use for. I always had a little notebook in my bag for list writing and jotting down notes on the go but everything else was in my personal size agenda. Since buying this gorgeous turquoise and green planner from Paperchase recently and filling it with owl pretties from Paperpenandplan I didn’t really want to have it thrown into the bottom of my bag to get dirty and beaten up like the old one had been so I thought I’d have a go at making my own travelers notebook style from felt.

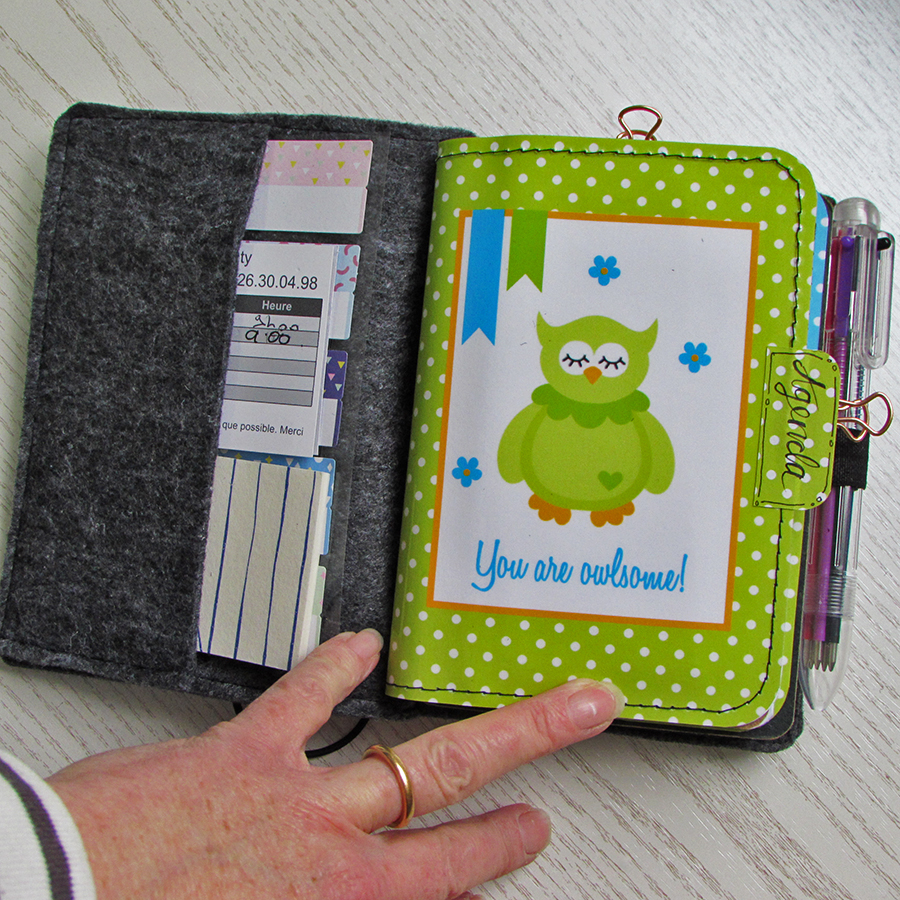
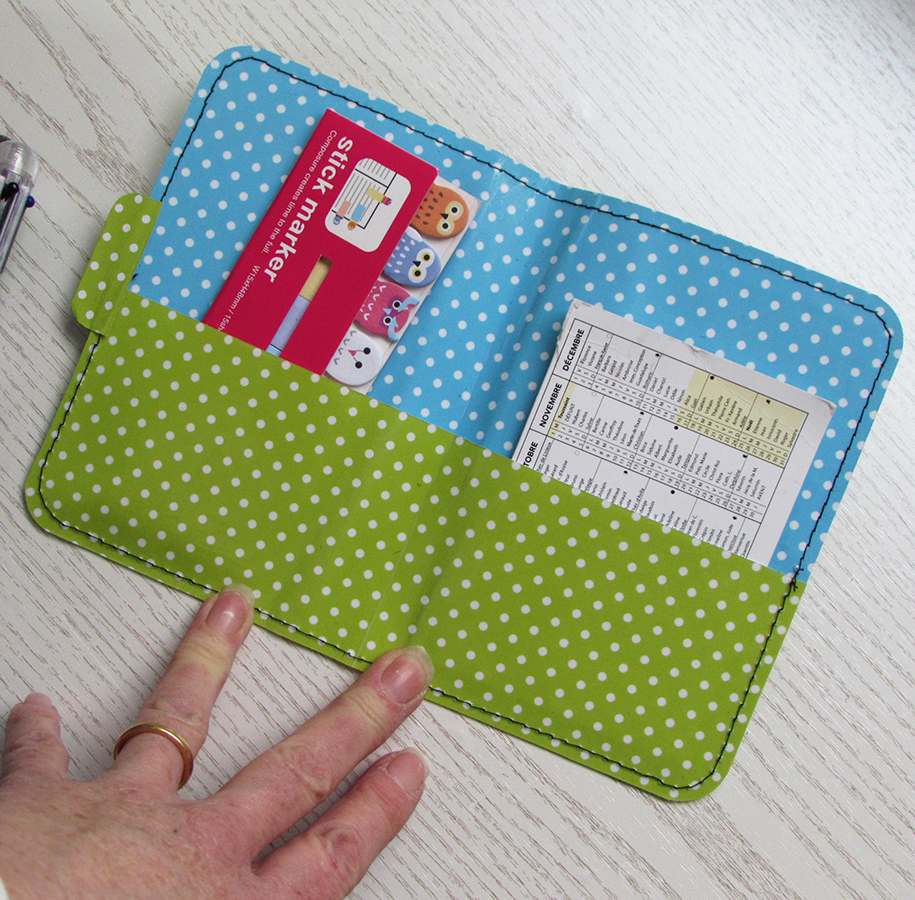
I also made a dashboard insert with a pocket using the digital papers from the March Sweet Treat box from Paperpenandplan. 

I wrapped it around one of my notebooks and the pockets are perfect for page markers and stickers.

It’s super easy to make your own so here’s how I did it.

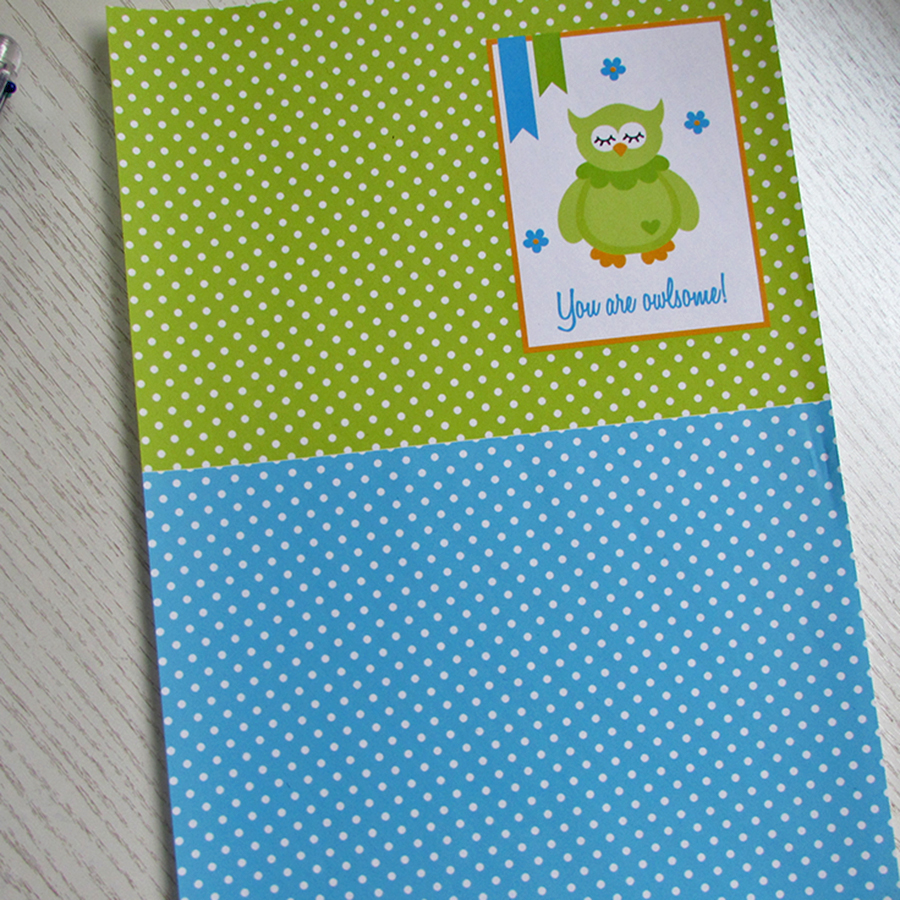
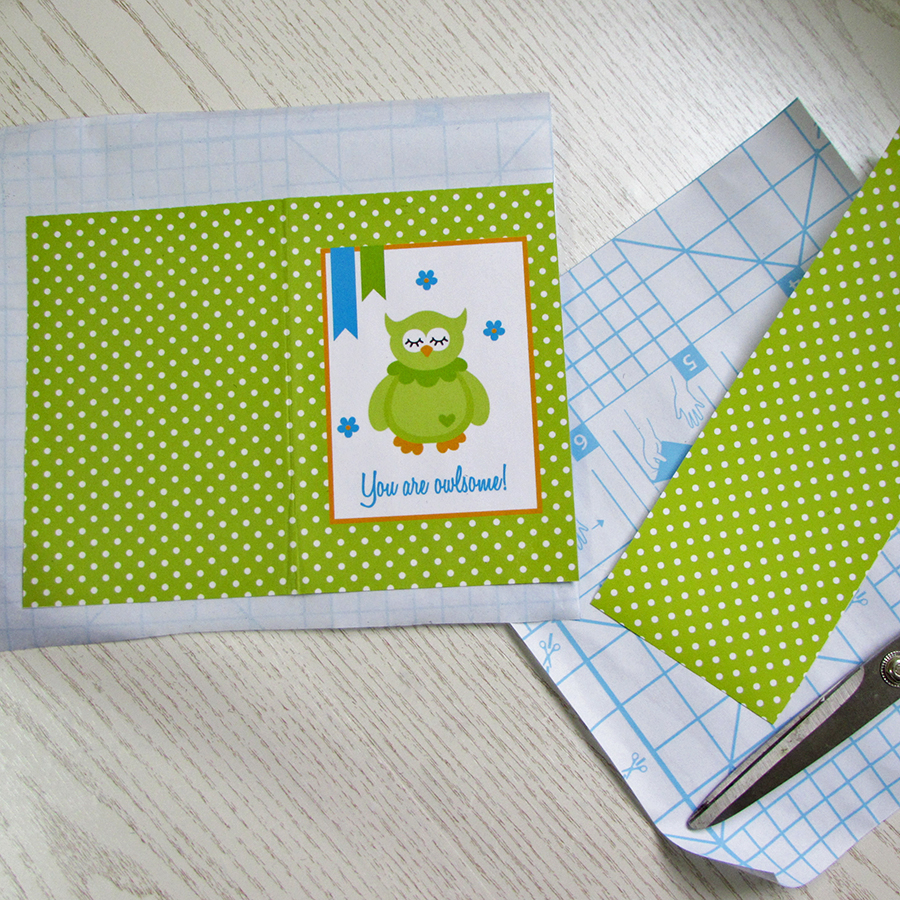
I have a digital image manipulating program so I was able to put the two spotty papers on one A4 sheet and drag the owl journal card on the top right hand side. If you aren’t able to do that on your computer, don’t worry, just print all of the pieces out separately and cut them to size.

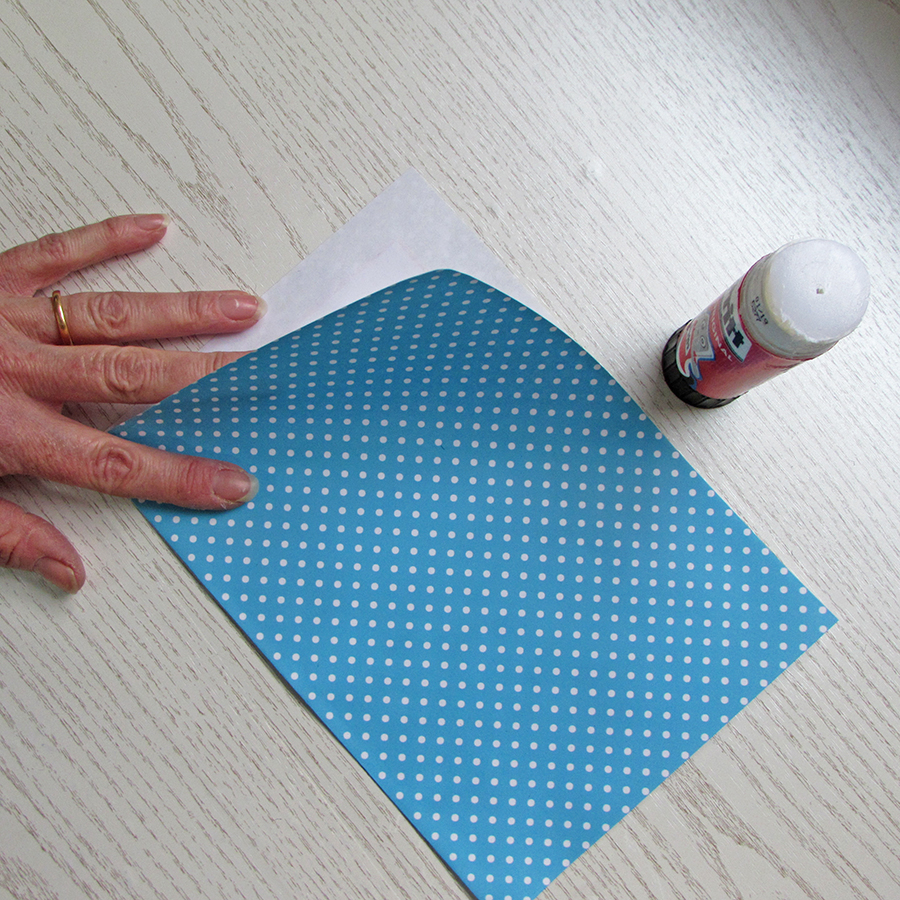
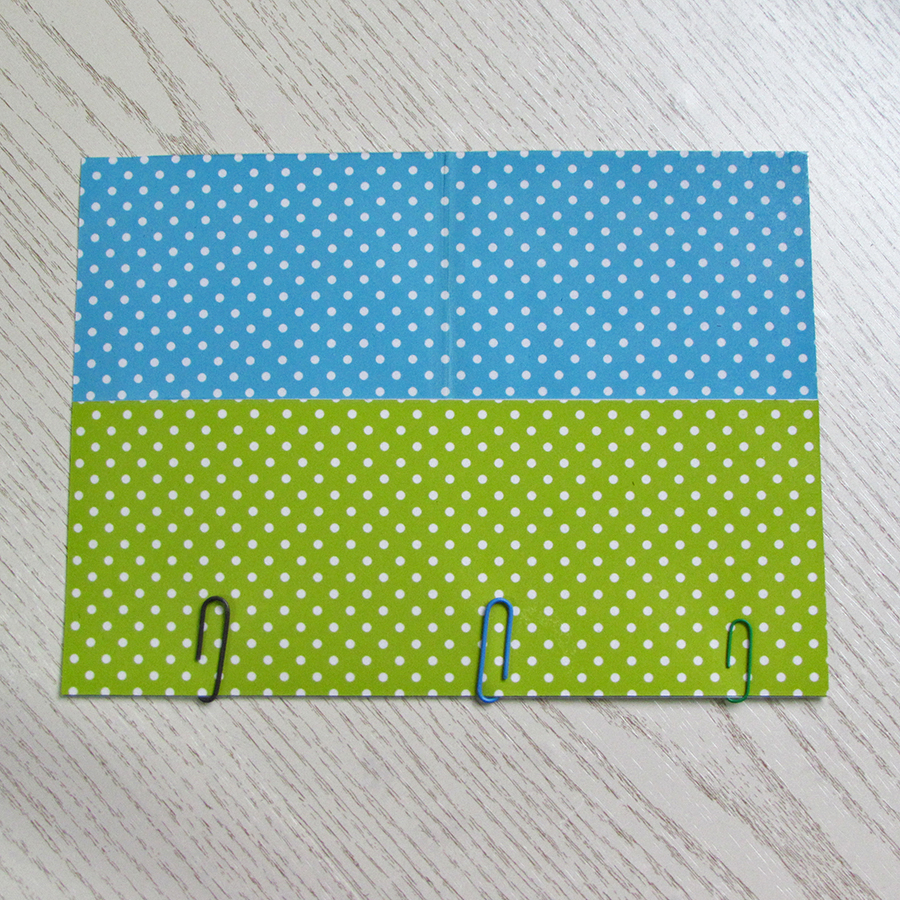
Without cutting the two halves apart, I folded them in half and glued them together. I find doing this is more accurate than trying to glue one piece on top of another separately.

Fold your dashboard in half again widthways and trim off any overhang from the top or bottom.

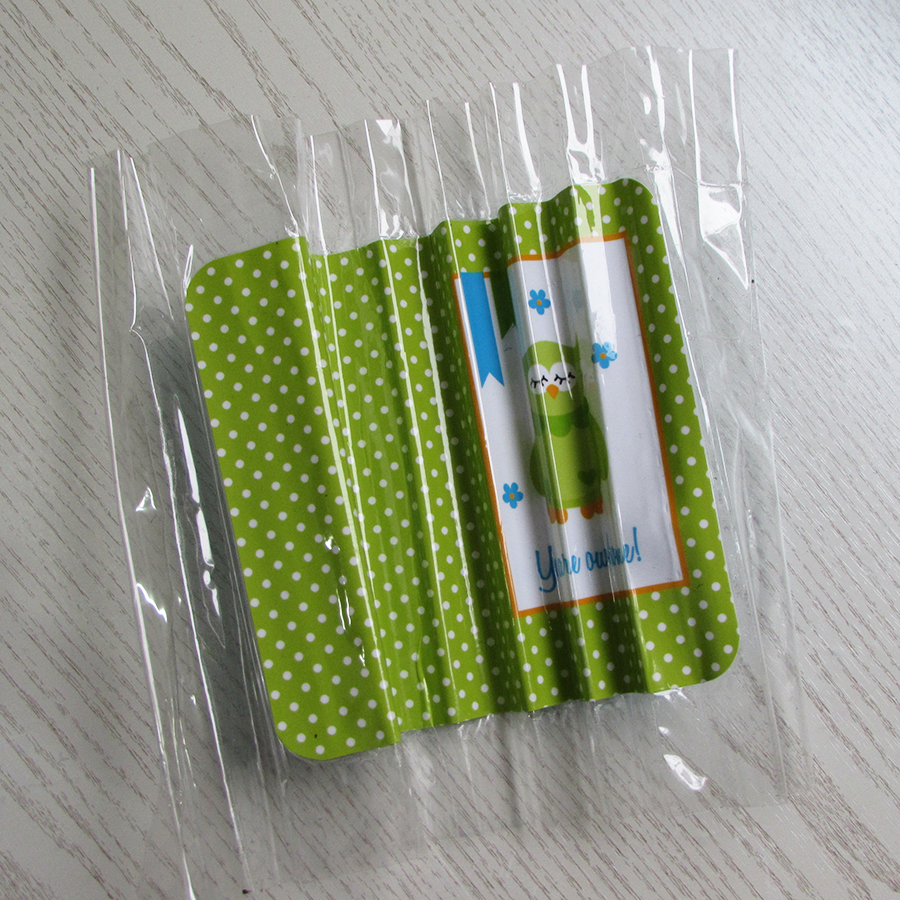
For the next step, I was going to laminate my dashboard but this is what happens when laminating goes bad!!

So without a laminator I resorted to using sticky plastic to cover my dashboard. I’ve also cut a strip from another piece of green paper to become my pocket.

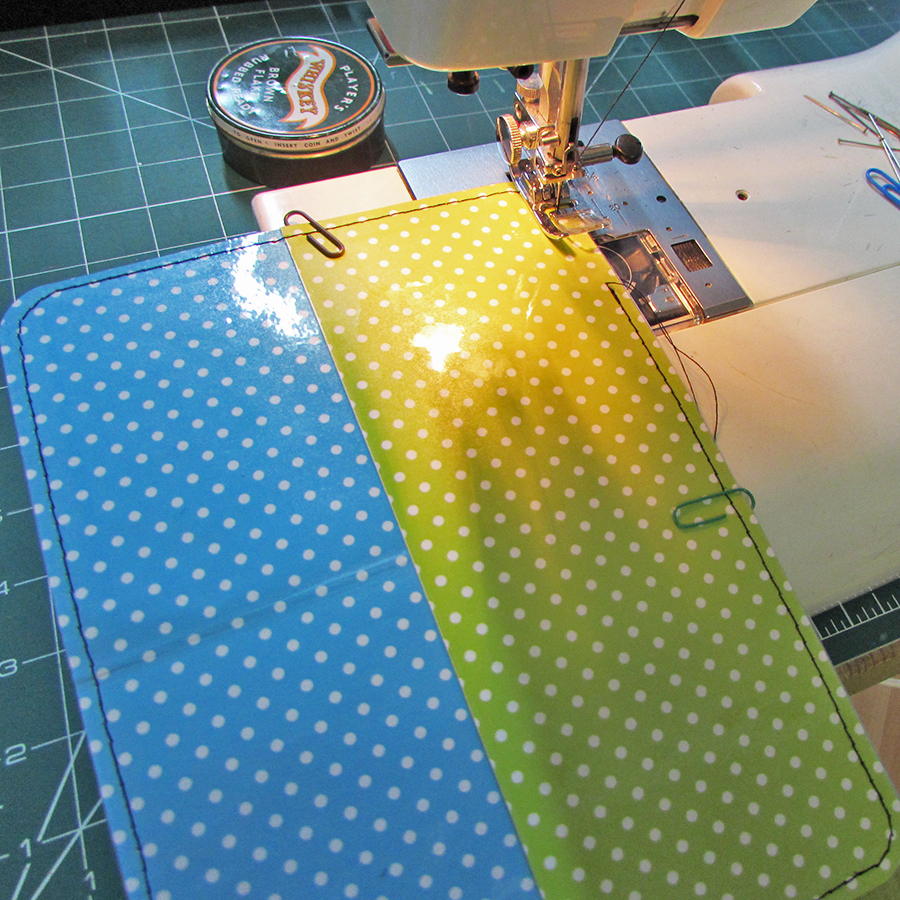
With the both sides covered with plastic I used my sewing machine to attach the pocket to the dashboard plus it just gives it a decorative finish. You could use hand stitches with embroidery thread in the same way, just pierce the holes with a paper piercer.

When I use my sewing machine I always use a jeans needle and go very slowly. I also rounded the corners for a neater finish.

So here it is.

On the original I added a small tab with some spare green dot paper which I ended up covering too with plastic to protect it.

If you love my owl themed bits you can find these and goodies just like them at Paperpenandplan and if you quote JAINE10 at checkout you’ll get 10% off your order.

Happy Sunday

Jaine xx

My Faux Dori And A Not So Messy Monday

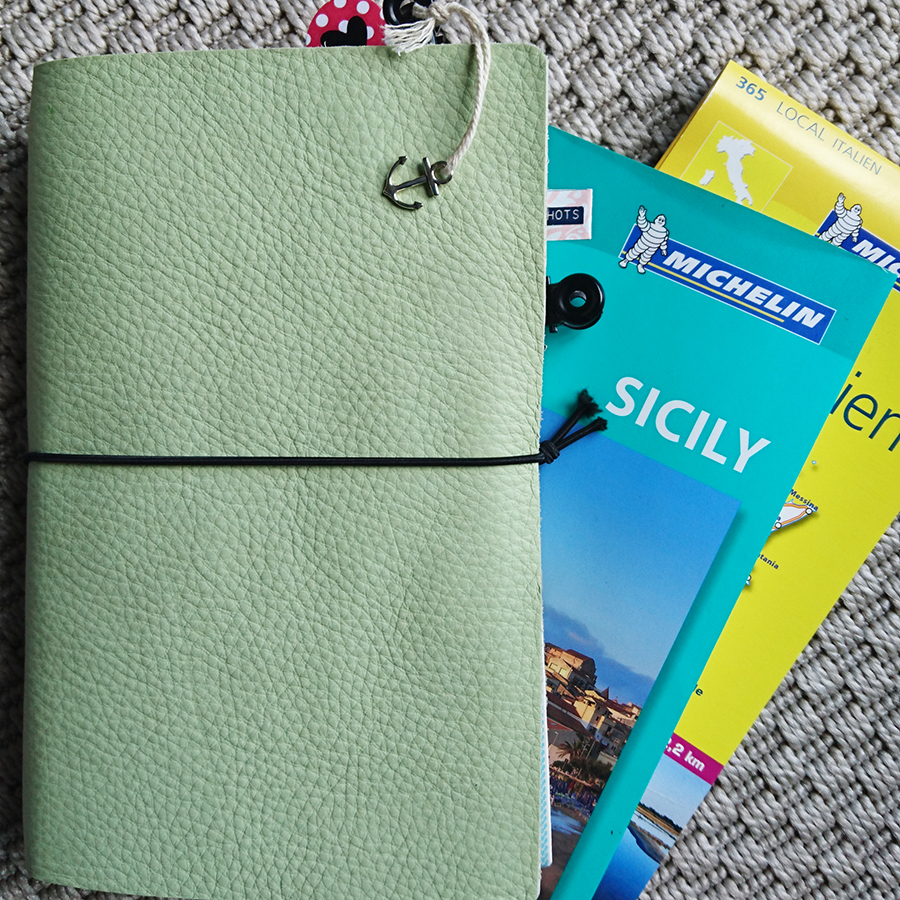
Good morning, well it is right at this moment. The sun has been out for several consecutive days now, I’ve no idea what’s going on? It’s cardie on – cardie off!! Two weeks and I’m off on me holls in gloriously hot Sicily, woo hoo.

Before that though it’s still project doggy proof the garden and my personal get fit campaign and both are progressing nicely. We visited the fur baby (still no name) at the weekend and he’s grown a bit. He spends alot of time outside with his brothers and sisters in the sunshine which is great. Meanwhile I’ve been steadily getting stronger at the hill climb on my mountain bike and pushing myself to go ever higher and I’m happy to say it’s paying off. The morning views are the best.

fog

Anyway, back to the studio and I’ve really caught the travellers notebook bug. I’m not much of a planner person but I’m loving the fauxdori style planner keeping and the best thing is making my own cover and inserts to suit my style.

dori Continue reading My Faux Dori And A Not So Messy Monday

Faux Wood

A few weeks back I posted this amazing photo of a piece I was working on using the Tattered Angels Naturally Aged Paint System in Weathered Birch Fine Wood as I was so impressed with the finish compared to the real thing.

IMG_2917

photo 1

Canvas Corp have used my tutorial on their blog to demonstrate how easy it is to use the kit. You can find the full tutorial on the Creative Studio Blog  .

Happy Friday

Jaine