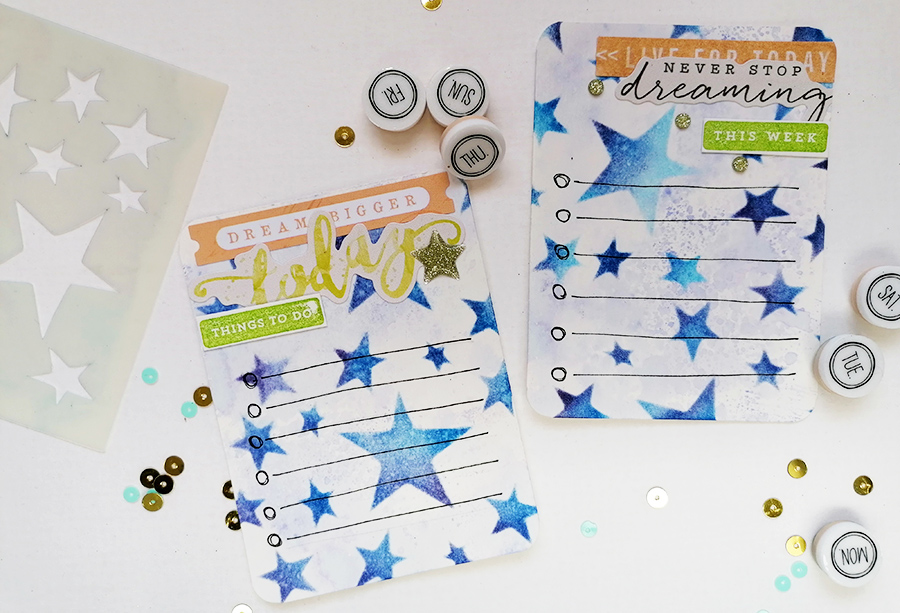
Hand made journal cards

Creating your own journal cards is very satisfying. You can create them in your own style or colour to match your planner or bullet journal and have fun on these small surfaces at the same time.

I made these two while testing out a new stencil for Paper Pen and Plan (which will be included in their Sweet Treat box for December).
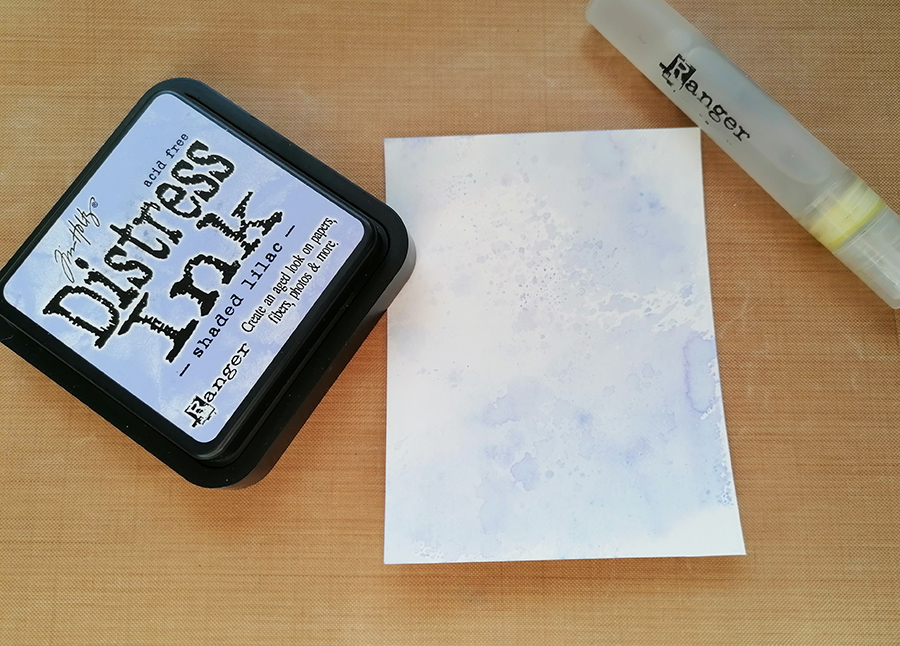
I used a piece of smooth watercolour card so I could add a watercolour effect on top. Smearing Shaded Lilac Distress ink on a craft mat, I sprayed it with water to activate the ink and smooshed (very technical term there) the card through it to pick up the colour.

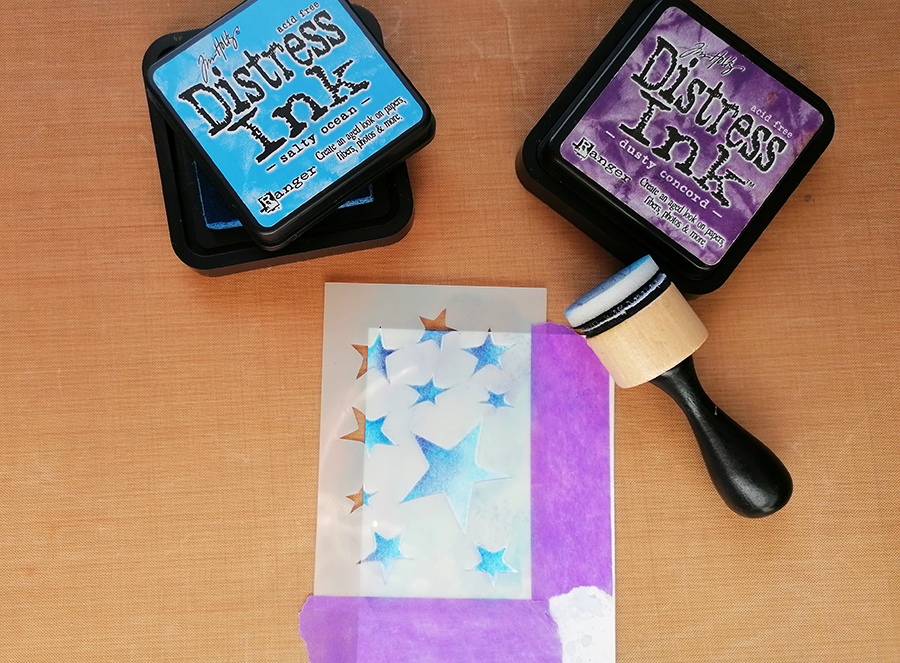
With the background dry, I stencilled first Salty Ocean then Dusty Concord through the stencil. My stencils for Paper Pen and Plan go almost to the edge so I masked the edges.
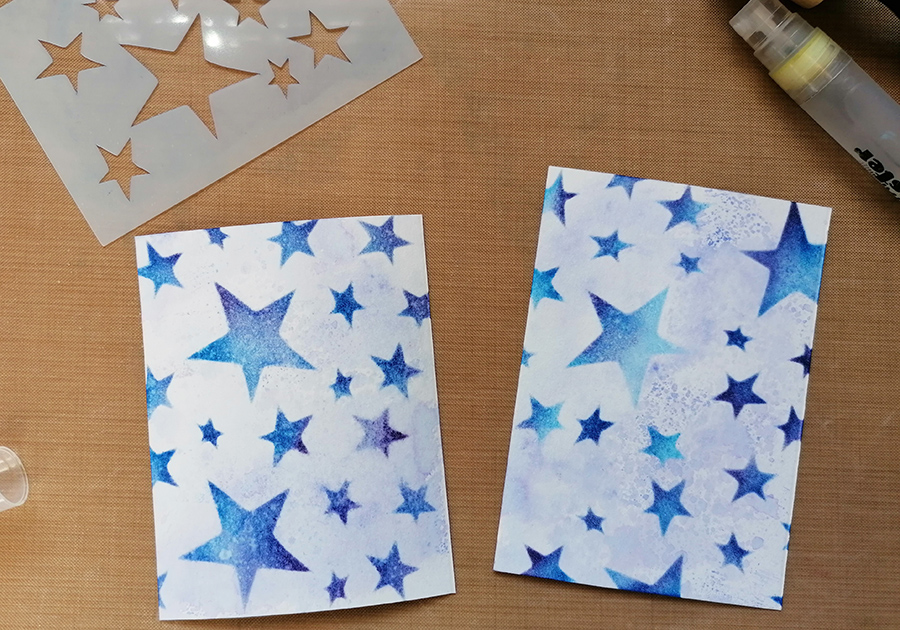
I gave these a spritz with water to give them a mottled look.
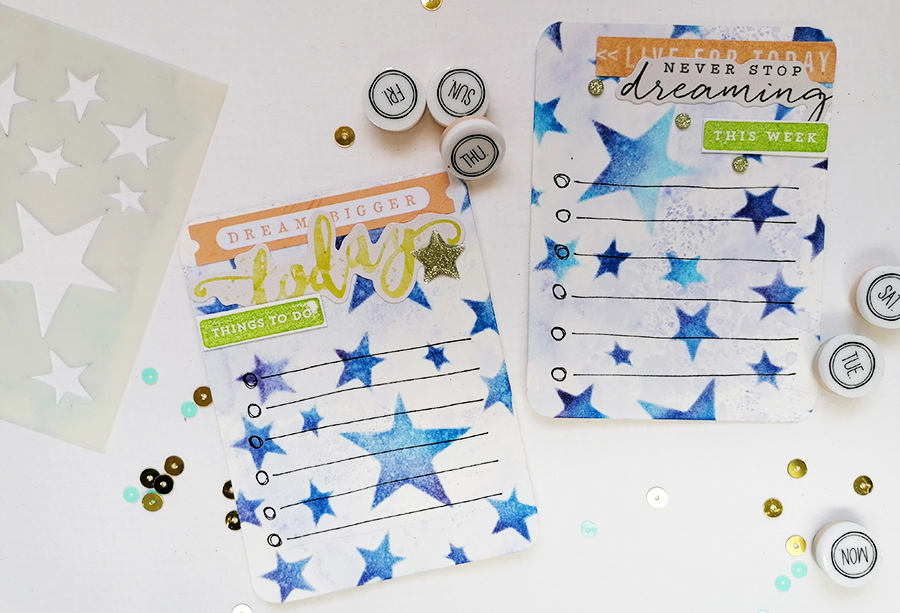
Once dry I could then add my details on top like the stickers from Simple Stories which I’ve been hanging on to for ever, some stamping with a Prima Travelers Journal stamp set and a Micron Pen to draw the lines.

If you’d like to get hold of the stencil it’s available as part of the December Sweet Treat box with Paper Pen and Plan which you can pre-order here.

The Distress inks can be found in my shop following this link as well as the Spray Mister bottles and Micron Pen.

Have a great weekend

Jaine

new release from #wowembossingpowder

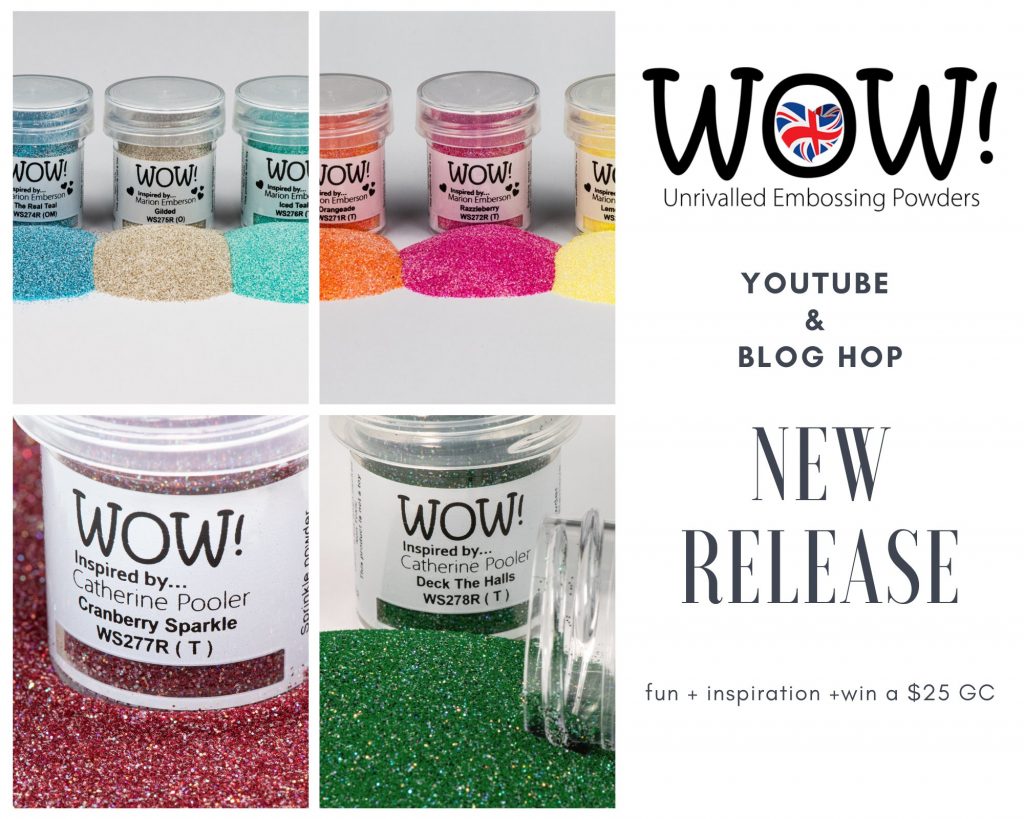
Hello and welcome to the WOW! Embossing Powder New Release giveaway Hop!  We are so excited to show case to you our New Release collections. Bright, fun and seasonal, these powder collections have it all.

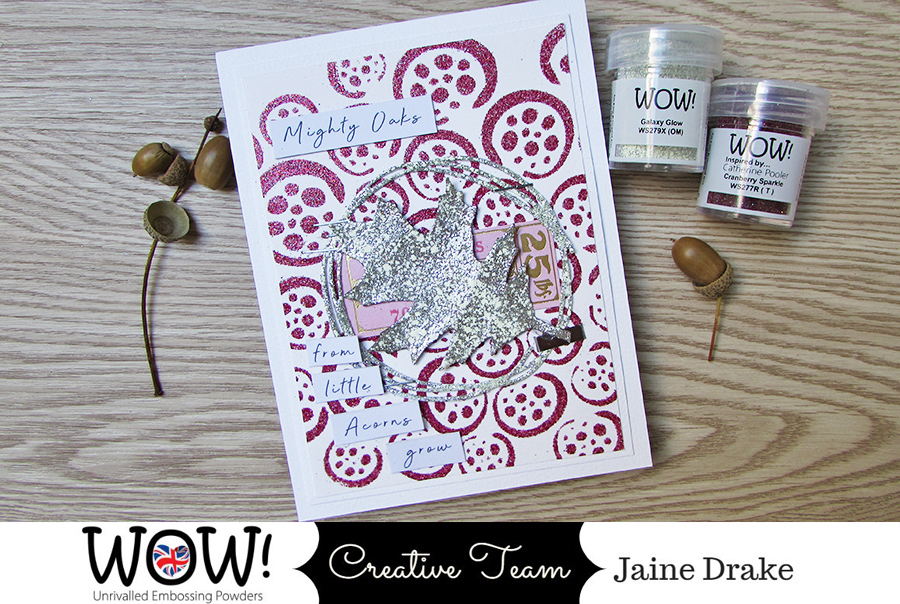
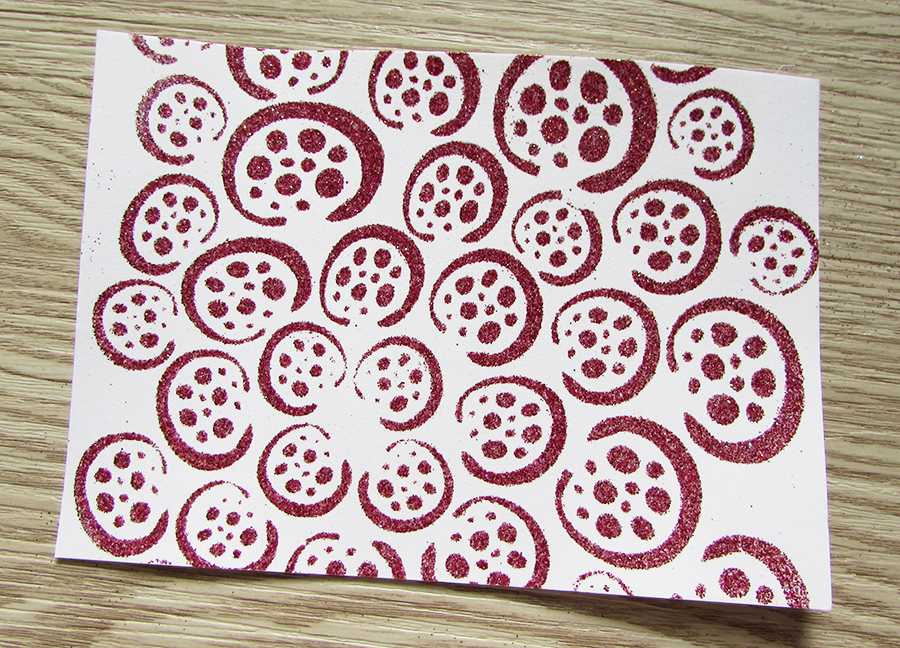
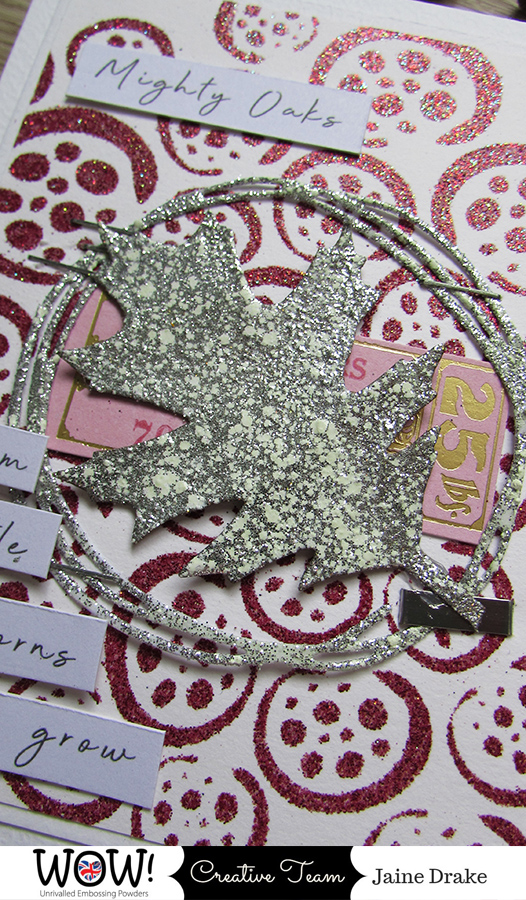
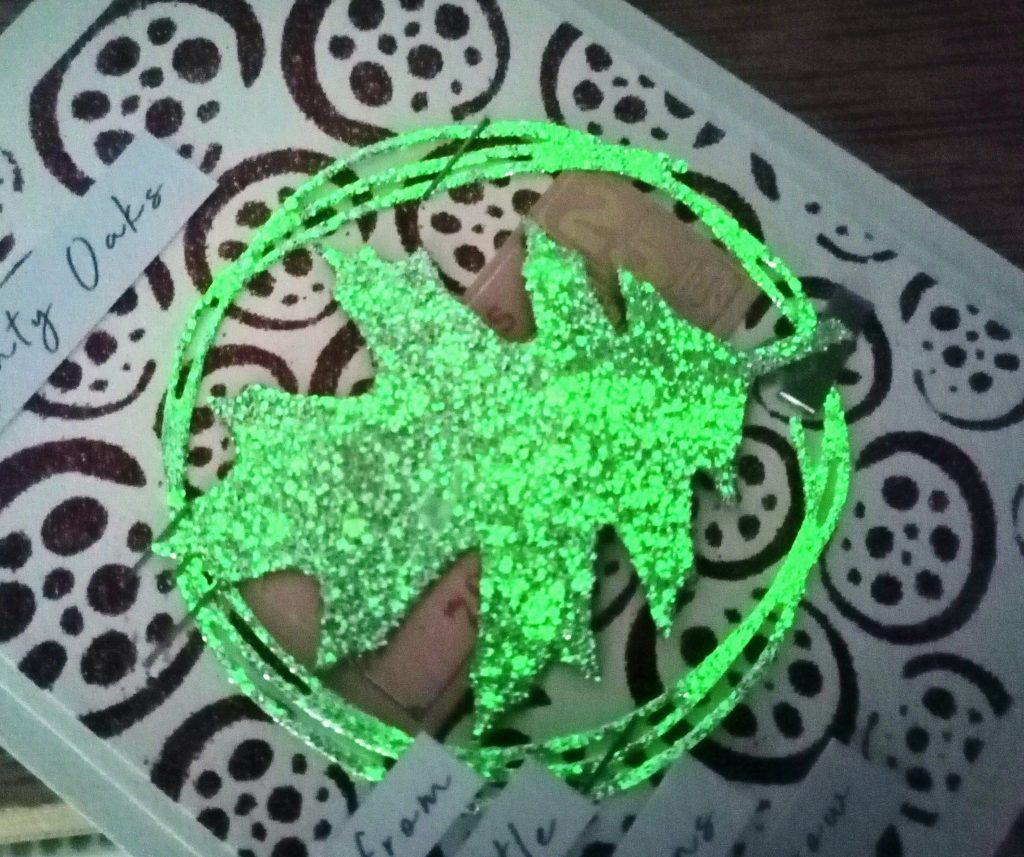
The new Catherine Pooler powder Cranberry Sparkle is a perfect go-to colour for Christmas crafting, but I thought I’d show how it could be used for any kind of project. Here I used it through one of my favourite stencils to create this stunning background and teamed it with Galaxy Glow, which is gorgeous as it is but really comes alive in the dark!

Cranberry Sparkle has so many different colours running through it.

Just look at how stunning this powder is in the dark!!

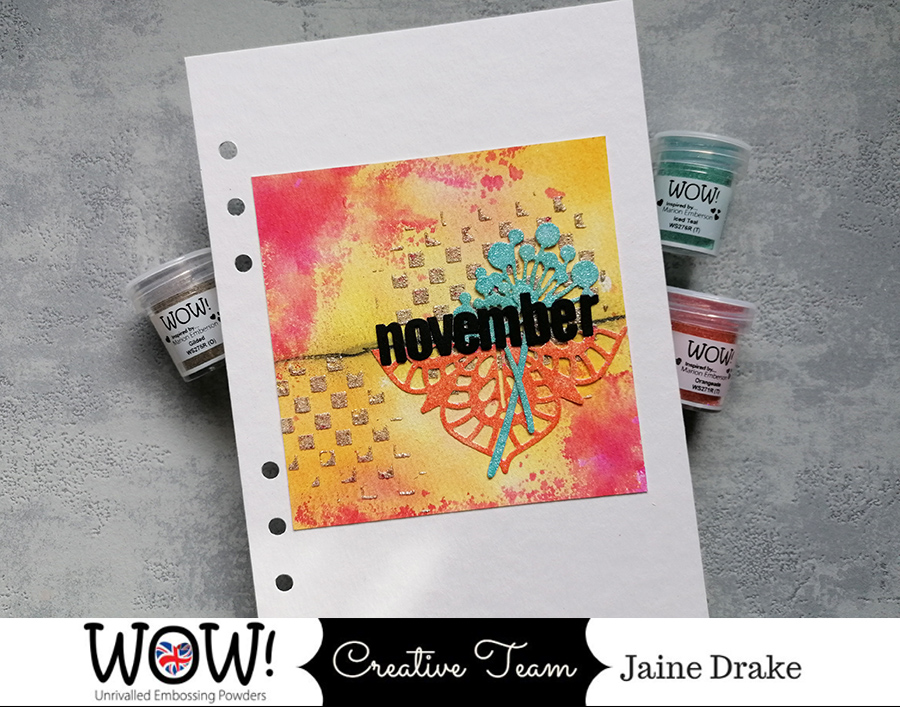
Using the same technique I couldn’t resist making a new monthly dashboard for my planner inspired by the colours I see around me at the moment.

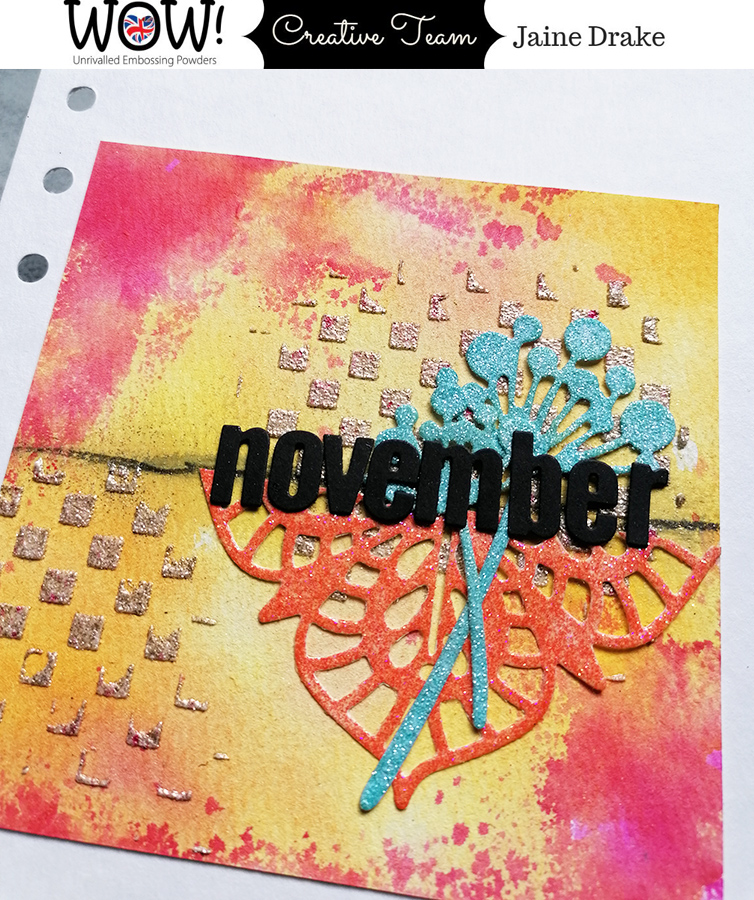
Over an ink smooshed background, I stencilled the squares with texture paste and added Gilded powder from the Toteally Amazing trio, while it was still wet. I used my heat tool to set it and speed up the drying of the paste. The die cut shapes have been embossed with Iced Teal from the same set and Orangeade from Summer Scoops trio. I kept the letters of November plain and black so they would stand out on the colourful background.

The colours and feel on both of these projects are so very different but still created with the same mixed media which I love.

Materials used: Toteally Amazing Trio, Summer Scoops Trio and Galaxy Glow.

To begin your hop or to find out about the YouTube hop which is also taking place go to the WOW! blog.

WOW! Embossing Powders is giving away a $25 gift certificate to either their UK or USA store.
The Winners will be chosen at random from the comments left on ALL OF THE BLOG POSTS.
To join this GIVEAWAY you must leave a comment on each blog post to have a chance at getting your hands on the prize. This hop is open internationally. This is the full line up below;

Karen J Reategui

Ericka Strange

Gemma Campbell

Daniel Diaz

Ashlee McGregor

Jaine Drake – That’s Me! so next up is…

Isha Gupta

Tenia Renee Nelson

I hope you’ve enjoyed the hop so far, thank you for visiting and I hope you continue to be inspired by the rest of my team mates.

Jaine x

Playing with lines

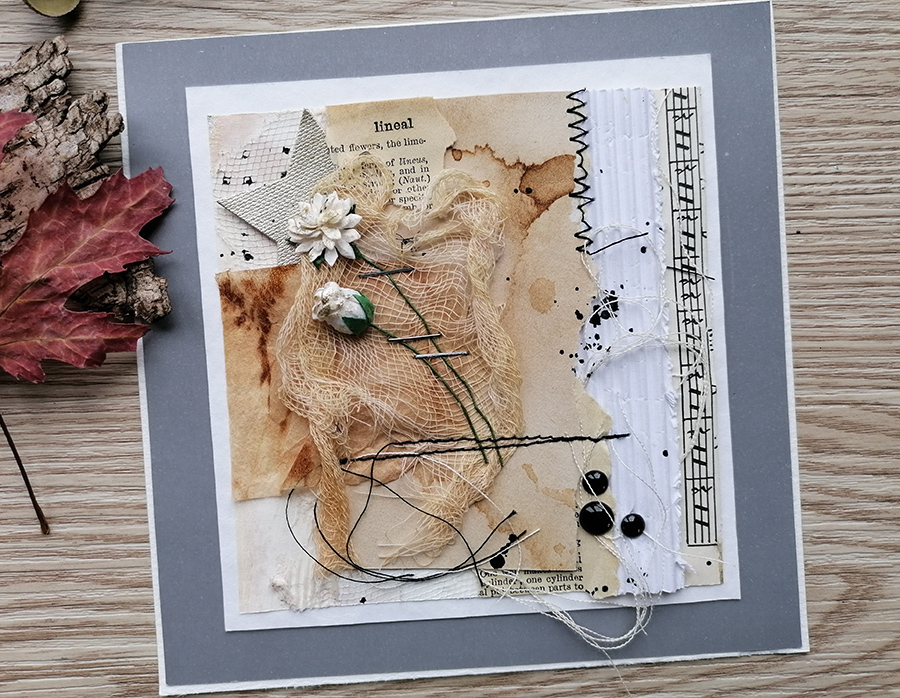
LINEAL :Composed of or arranged in lines :Consisting of or being in a direct male or female line of ancestry :Descended in a direct line.

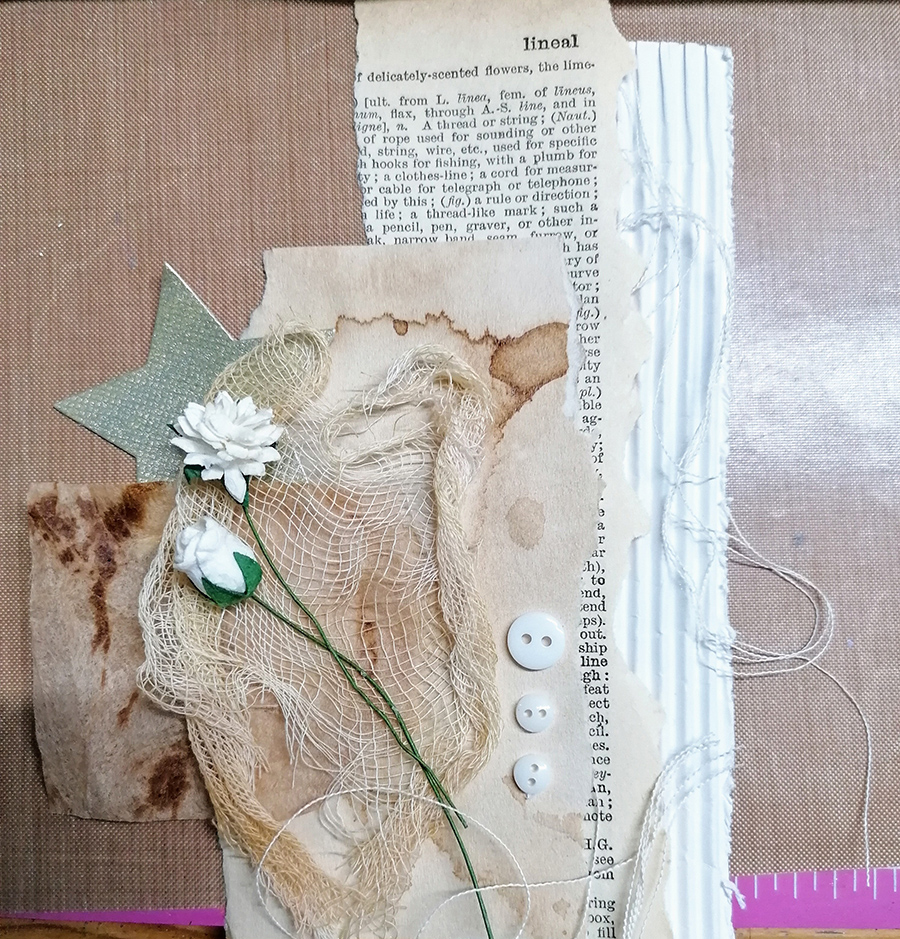
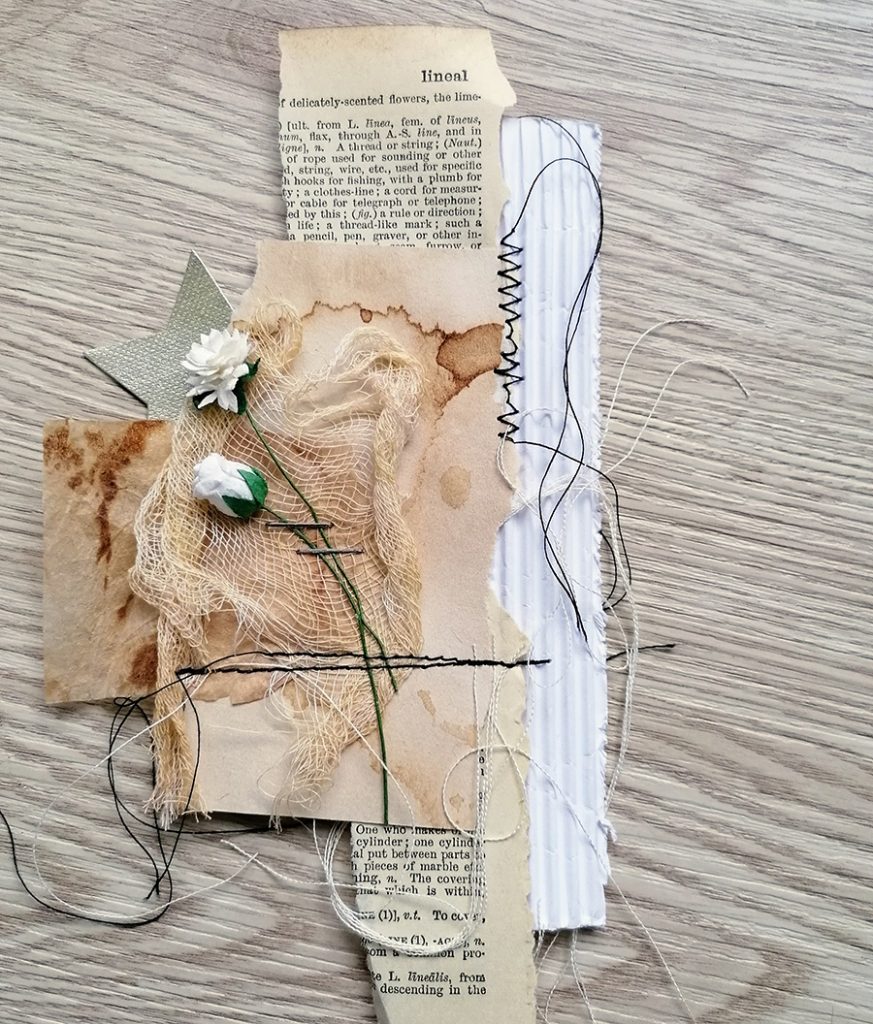
This little collage of papers, tea bag, flowers and another scrap of that tea dyed muslin I’d used before, was fairly easy and quick to put together. Dipping into my collage box, I chose the papers for their colour and arranged them pretty much vertically. I took this little photo to help me put them back in the same arrangement after I’d added glue and tape.

I added some stitching and staples to give some extra texture as well as holding things in place. I like to create my collage pieces separately like this then add them to the background in one piece.

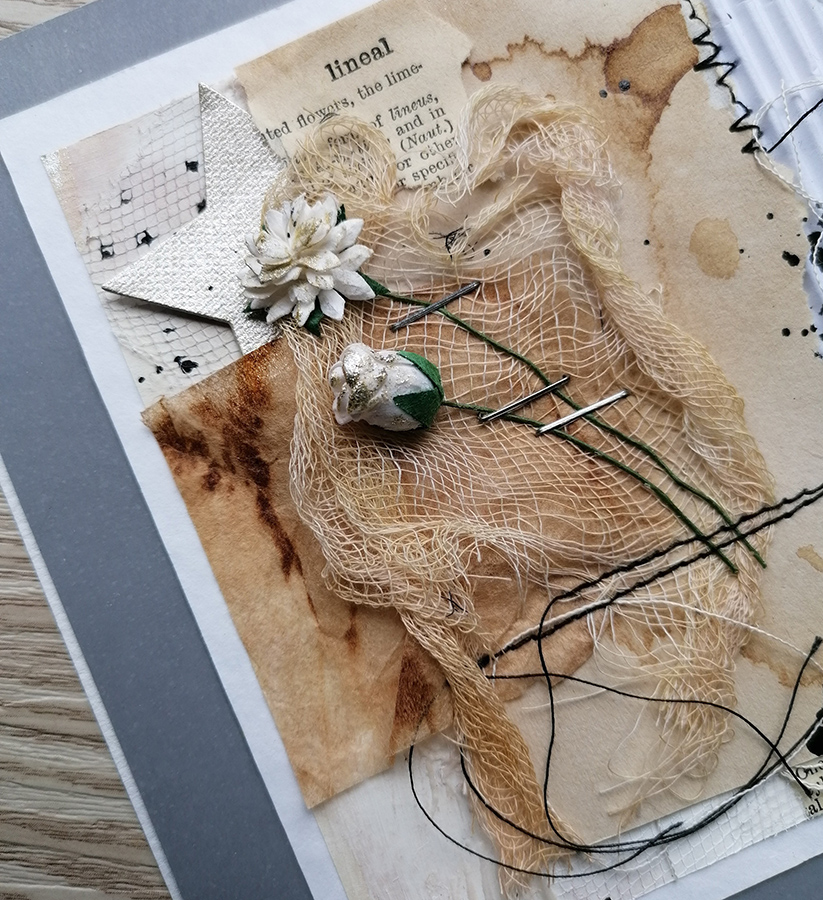
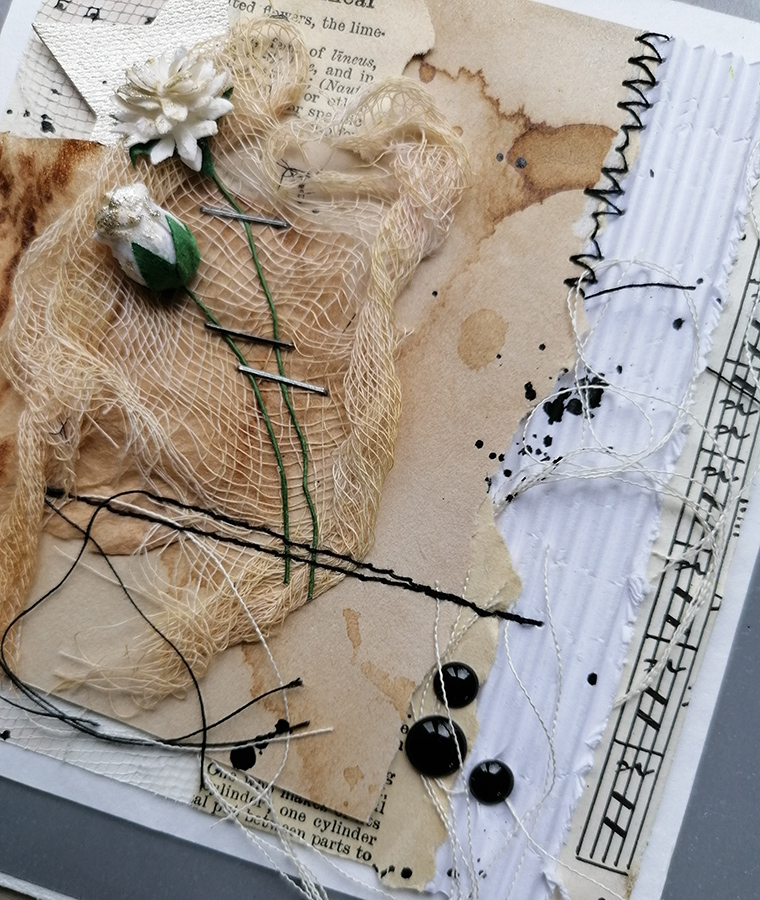
Once added to the textured background, to stop the whole piece looking too random and bitty I trimmed it down to square off the edges making it much neater. As I’d cut off the word lineal I decided to add it back onto the collage by tucking it under the muslin.

The collage is filled with lines, from the texture paste in the background to the stitching lines and staples. All horizontal or vertical to create a harmonious whole. I love the shabby chic look but it has to be structured and tidy for me to accept it. A bit of a contradiction I know but it’s just the way I like to look at things.

The muslin and flowers come from this month’s box from Paper Pen and plan on Etsy.

Have a good weekend

Jaine xx

Serendipity in art

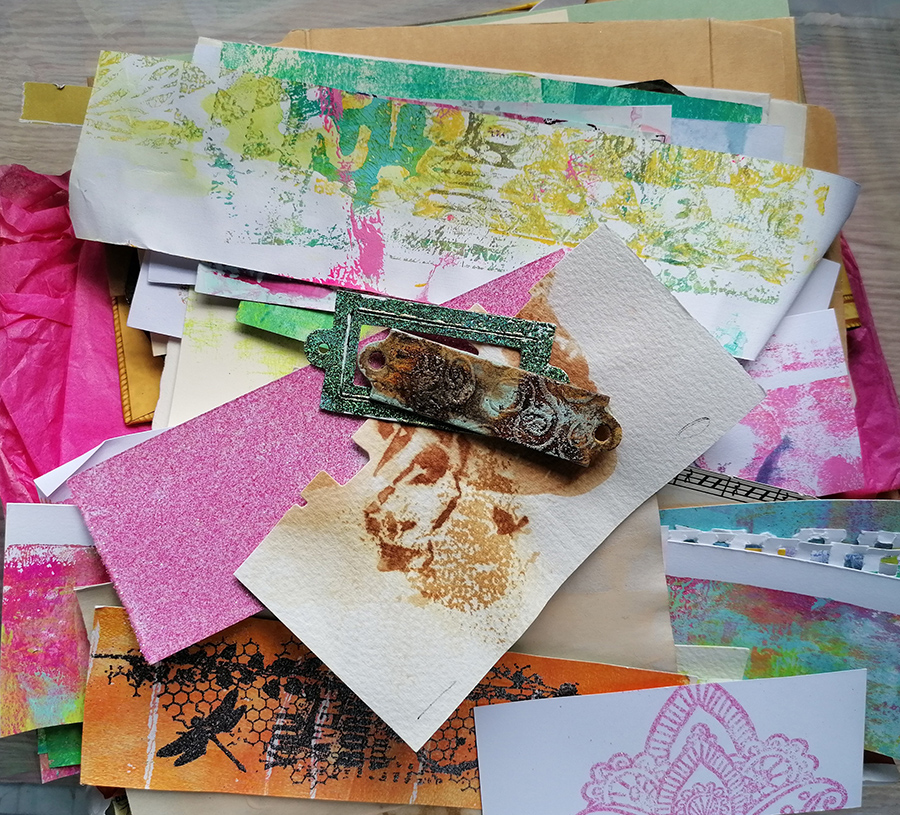
It doesn’t matter how much time I spend planning and creating a piece of work, my favourite pieces are the ones which have been created from the afterthoughts, the discarded rejects and happy accidents. This is why most of my art journals are made using clean up sheets and practice papers. A lot of the time a background which may look totally chaotic, looks completely different when die cut and used in some unfinished journal page. A flat journal page may need a spot of colour to complete it and a box of off cuts and rejects is a good place to look.

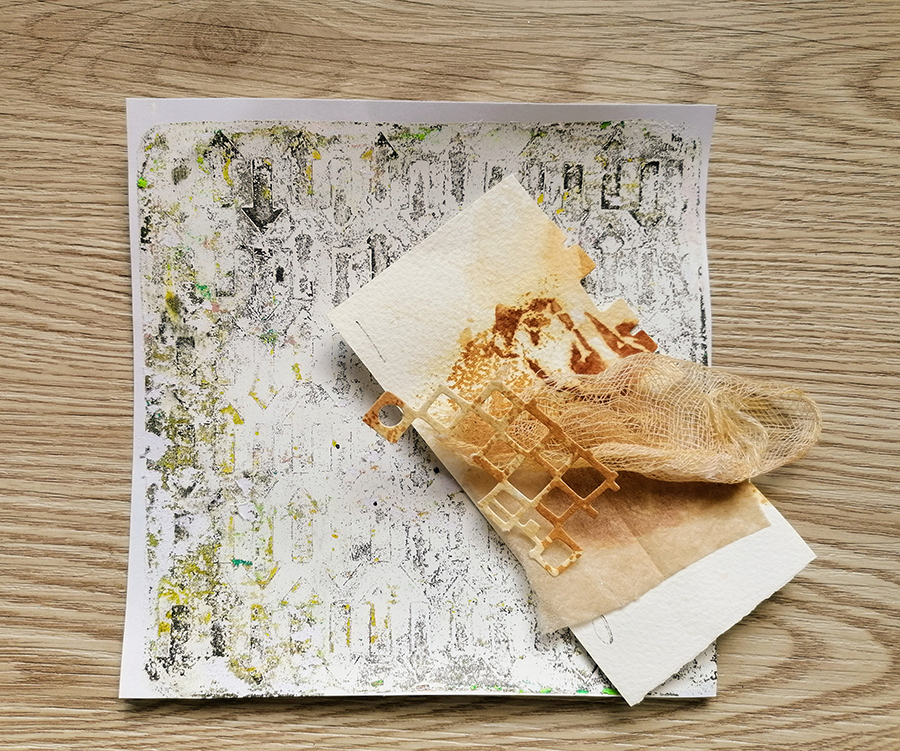
It was after a gel printing afternoon that the final prints to come off the plate were the clean up ghost prints. I always love these prints, they’re grungy, dirty and contain many different colours mixed together in an old peeling paint sort of way.

Next to me on the table was a box of off cuts which I use for collages and on the top was this piece of watercolour card, stained from having a teabag left to sit on it. You never know when these things will come in handy I say! Underneath all of that I also had dry tea bags which are great for collages too. The piece of muslin, stained from Tea Dye ink from Ranger was the only planned piece as I’d used it earlier in the day for a project with Paper Pen and Plan.

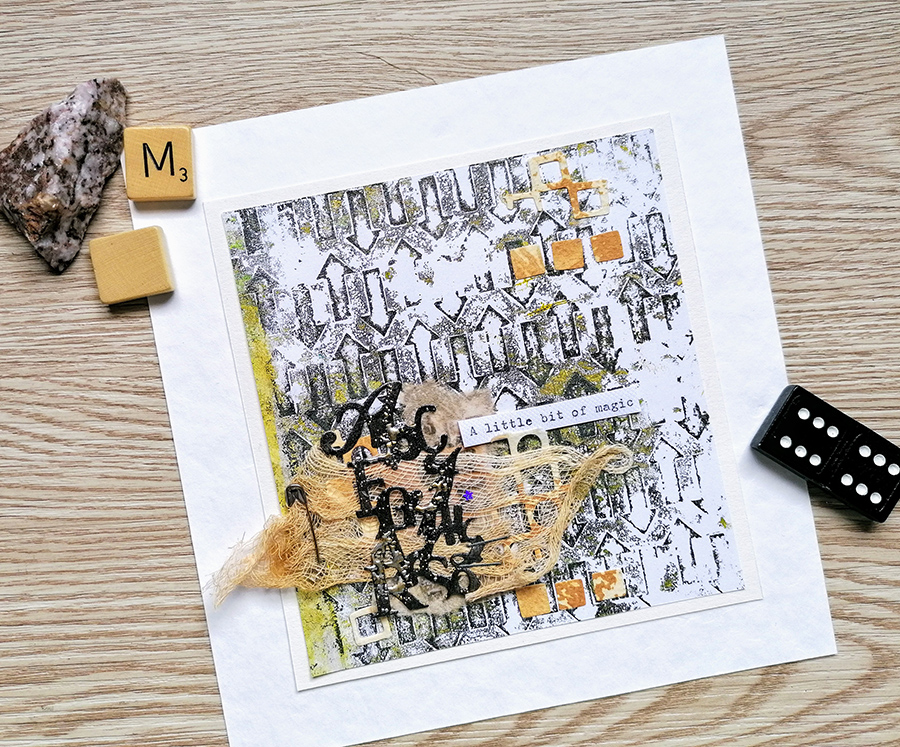
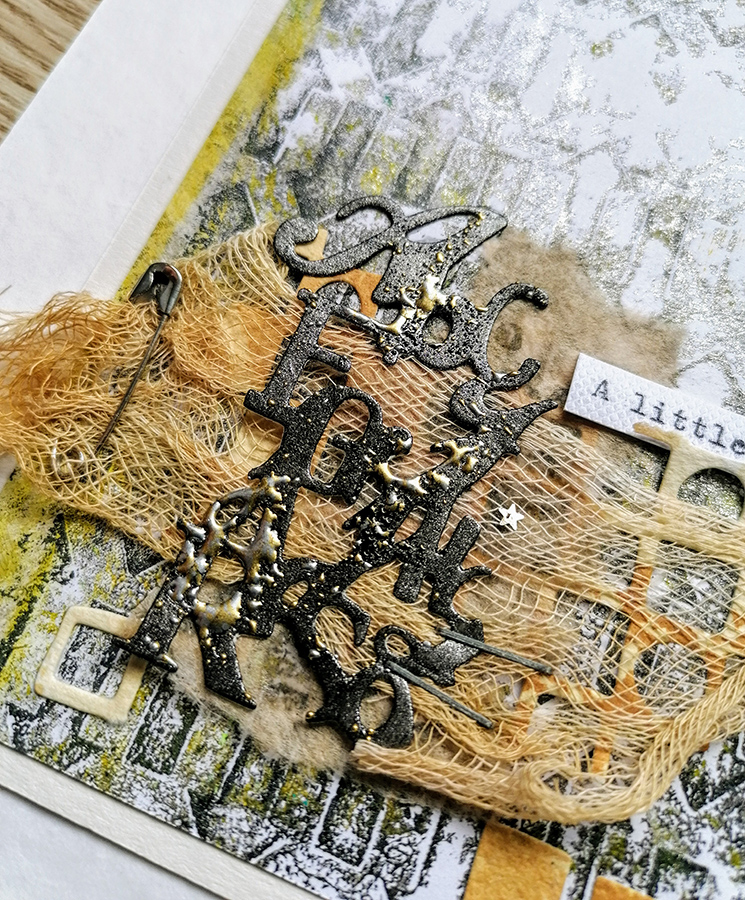
I die cut the tea stained card to use in a collage, tucking it under the tea bag and muslin. I didn’t waste the little shapes which came out of the die cut either and used those to continue the colour on the rest of the background. I used black paint to cover the die cut letters and whilst this was wet sprinkled some Black Magic powder from WOW! in patches. I swear to you the safety pin has been sitting on my table for weeks now waiting to be used and literally caught my eye as I needed something to catch the muslin down!

The craziest part about this whole process is that little star shining out from the centre of the collage. It wasn’t planned and I only noticed it when taking these photos. You couldn’t make it up!

I love mixed media.

Jaine x