Friday In The Studio, Small Is Beautiful

Oh bother, I’ve missed a few posts, I’ve not been well so I’m afraid my best of intentions went right out of the window.

I’m having a good day today so I can catch you up on the good stuff which did happen last week.

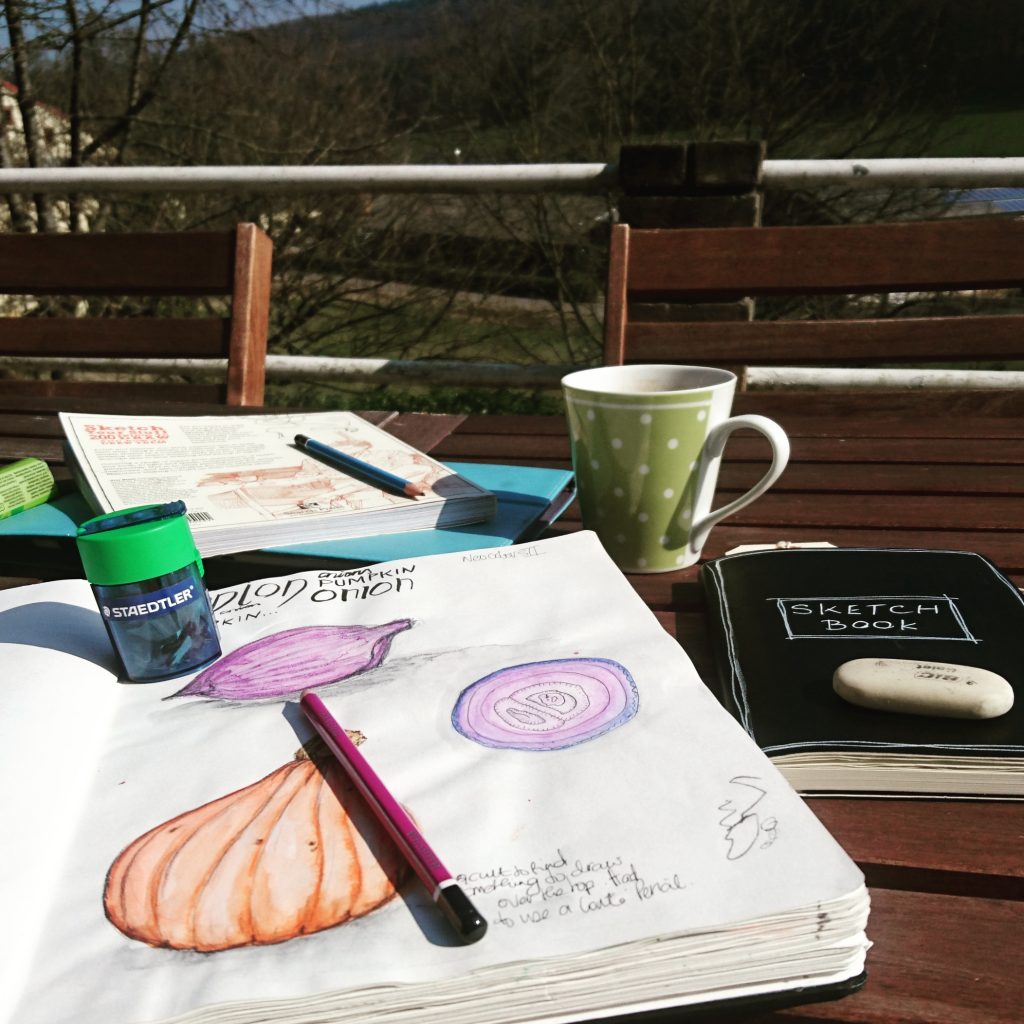
Well for starters the sun came out and made us all feel really Springy. As much as could be done outside was done outside and a spot of sketching was right up there. By the end of the week it started pouring with rain and I  ended up with a jumper on again which goes to show we shouldn’t take these moments for granted.  As I said I wasn’t feeling well so I ended up watching my neighbours digging over their plots ready for the new season and all I can do is imagine their thoughts as they look over at mine, destroyed by the dog and full of weeds.  Hubby and I have got a plan up our sleeves though which will knock their socks off!!  Maybe.  This week the sun came back and we were treated to some truly warm days.

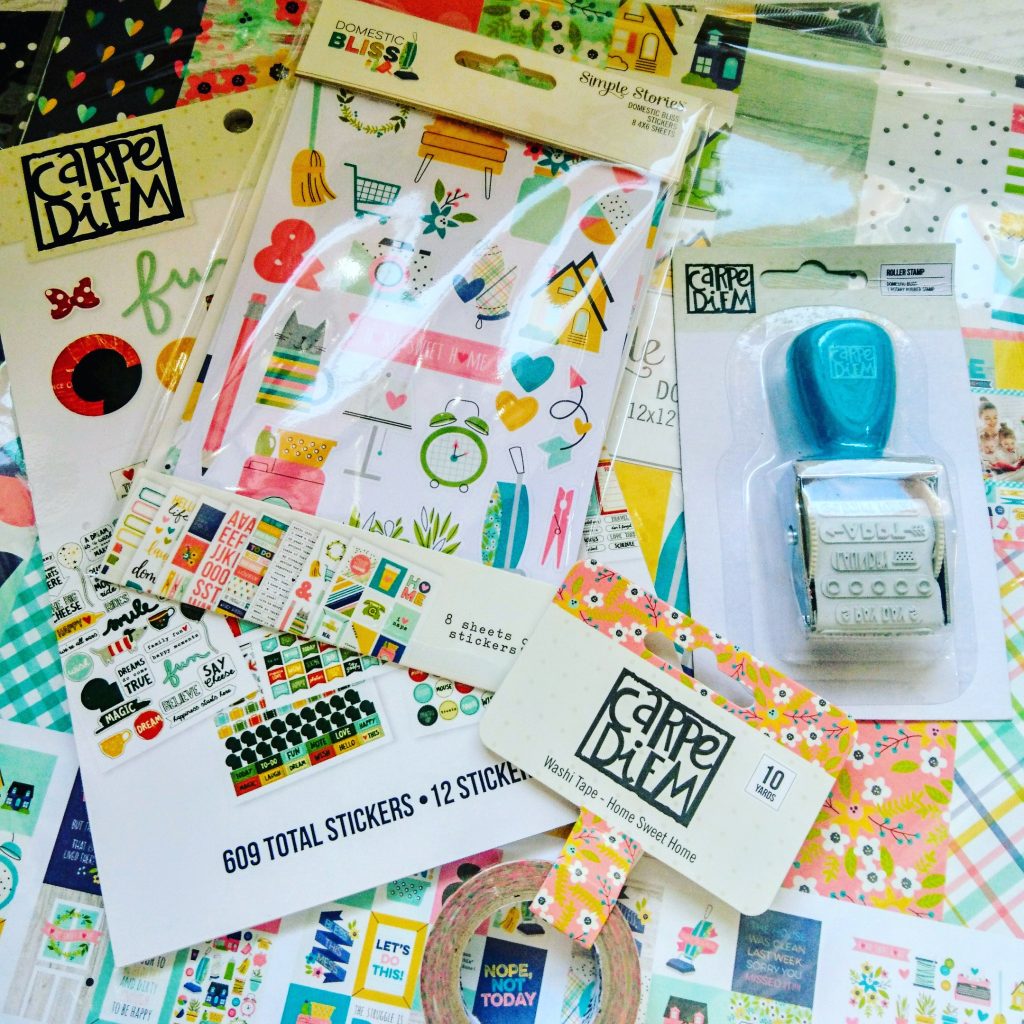
I did receive a very welcome package from Paperpenandplan just over a week ago containing some Simple Stories goodies. Planner stickers, stamp, washi and paper pack. I couldn’t wait to open and use it.

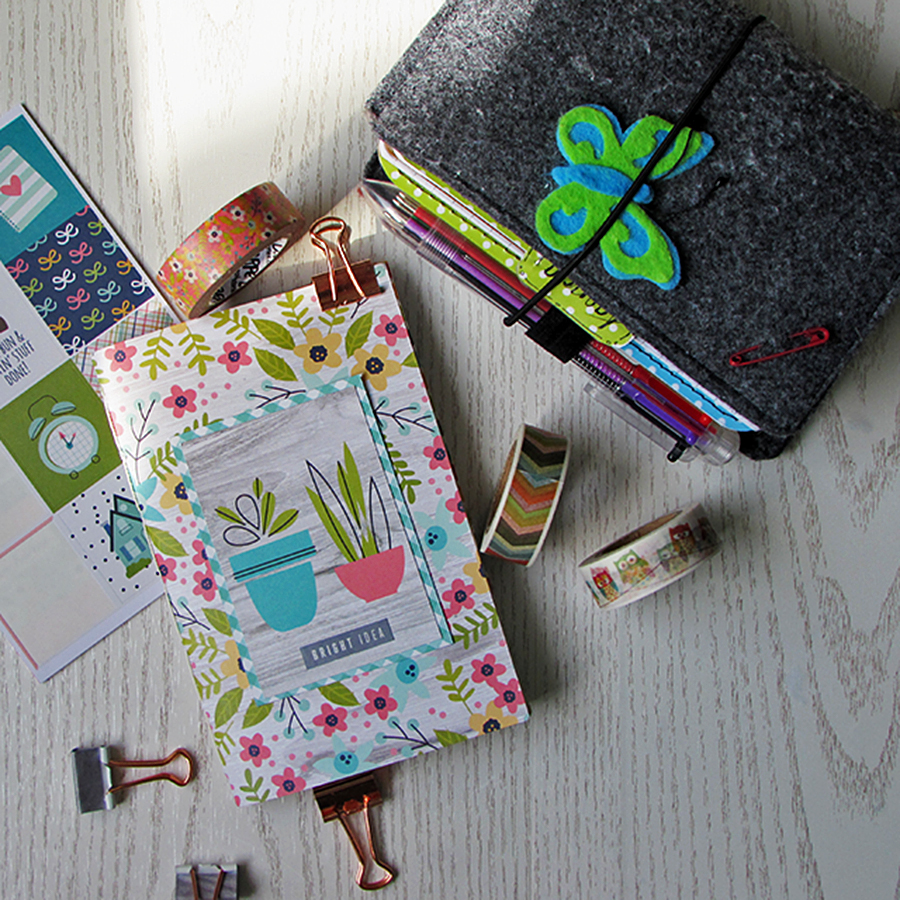
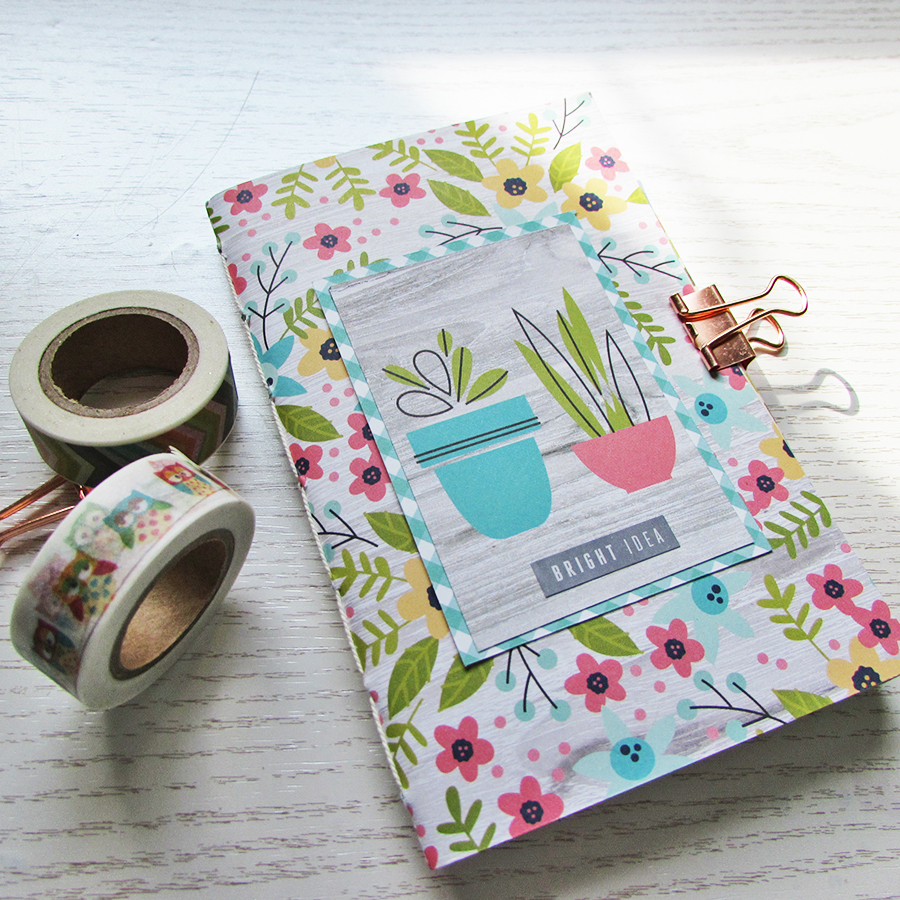
As the title suggests, small is indeed beautiful to coin a cliché and my passport sized Travelers Notebook is fast becoming my absolute favourite planner of all time.
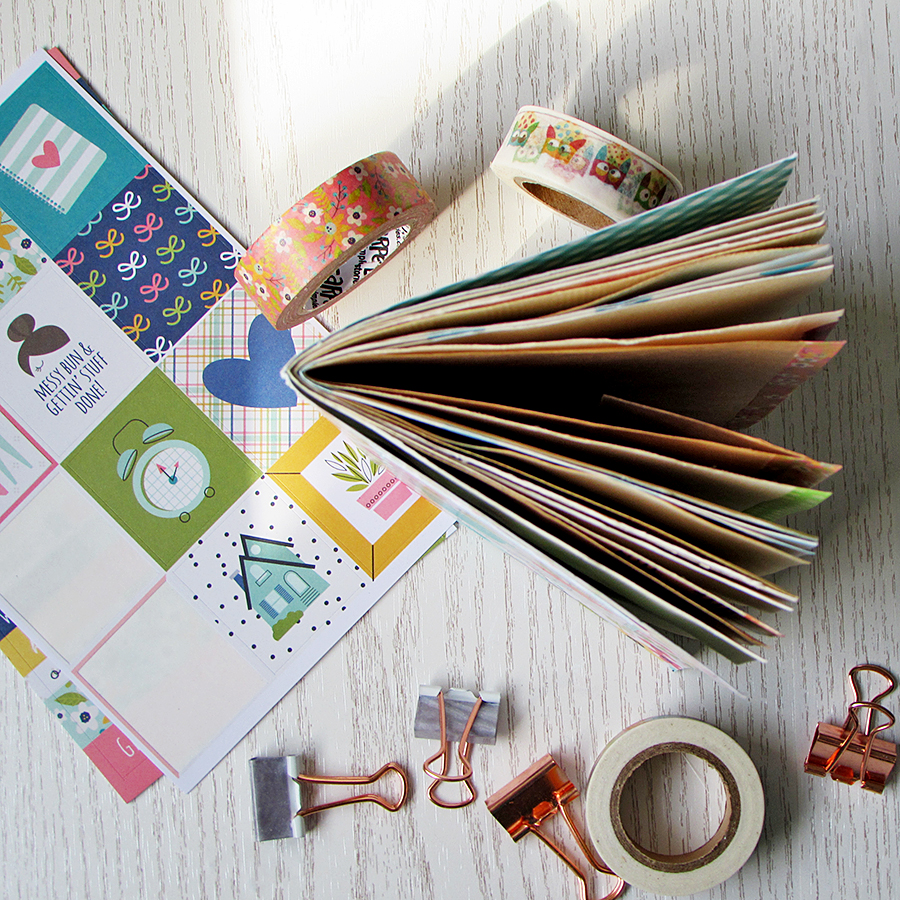
I decided to make a mini insert for it using some of the Simple Stories Domestic Bliss papers which arrived from Paperpenandplan.

As before the binding is hand sewn as that’s my favourite method of binding.

I love it.

Have a good weekend and for now Happy Friday.

Jaine x


Messy Monday is back

Well, almost back anyway. Clare and I had a bit of a session making Travelers Notebook inserts but sadly Clare had a paper cutter crisis and ended up binning it for something else. She promises to get back to it next week so I’ll hold her to that.

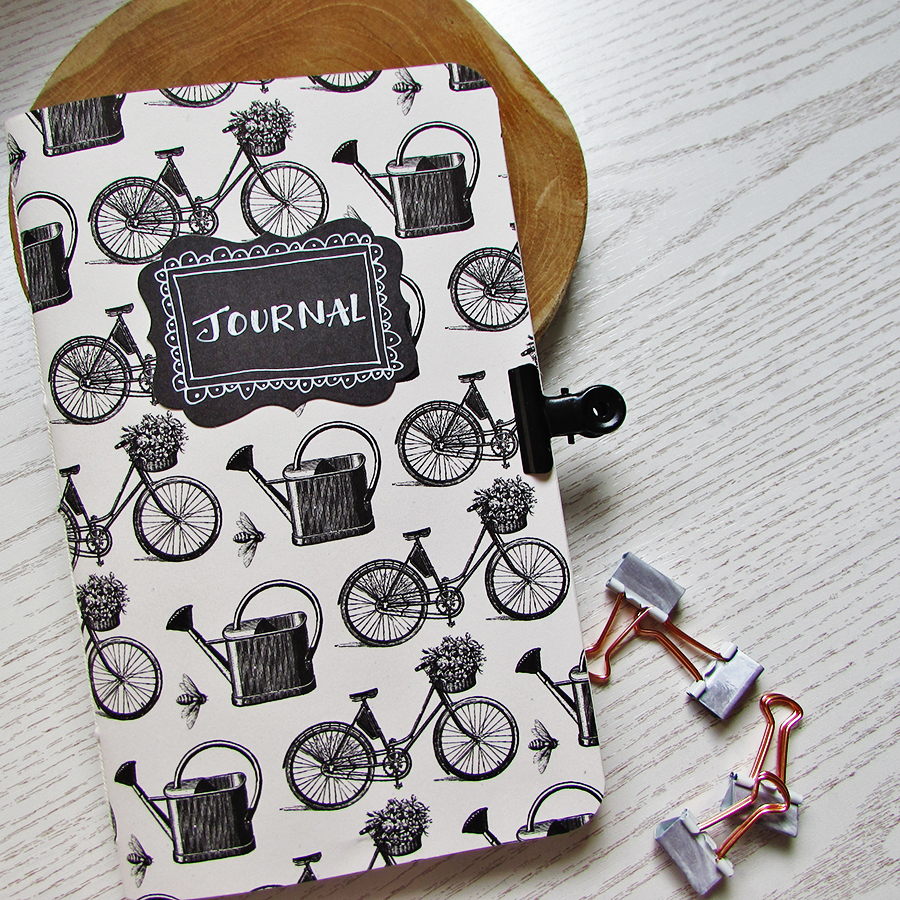
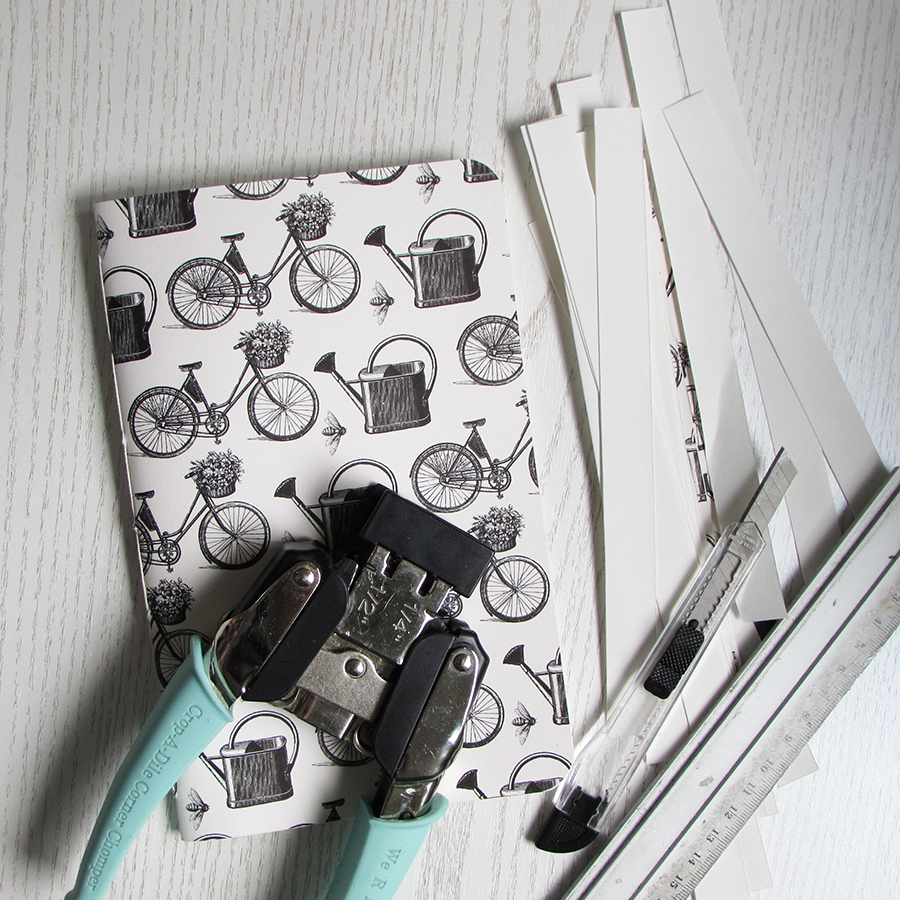
I turned it into a tutorial for Clare to follow next week and anyone else who wants to know how to hand sew a binding.  This is the finished booklet. I think uit looks quite smart. I used a piece of Canvas Corp paper called Bikes And Baskets for my cover.

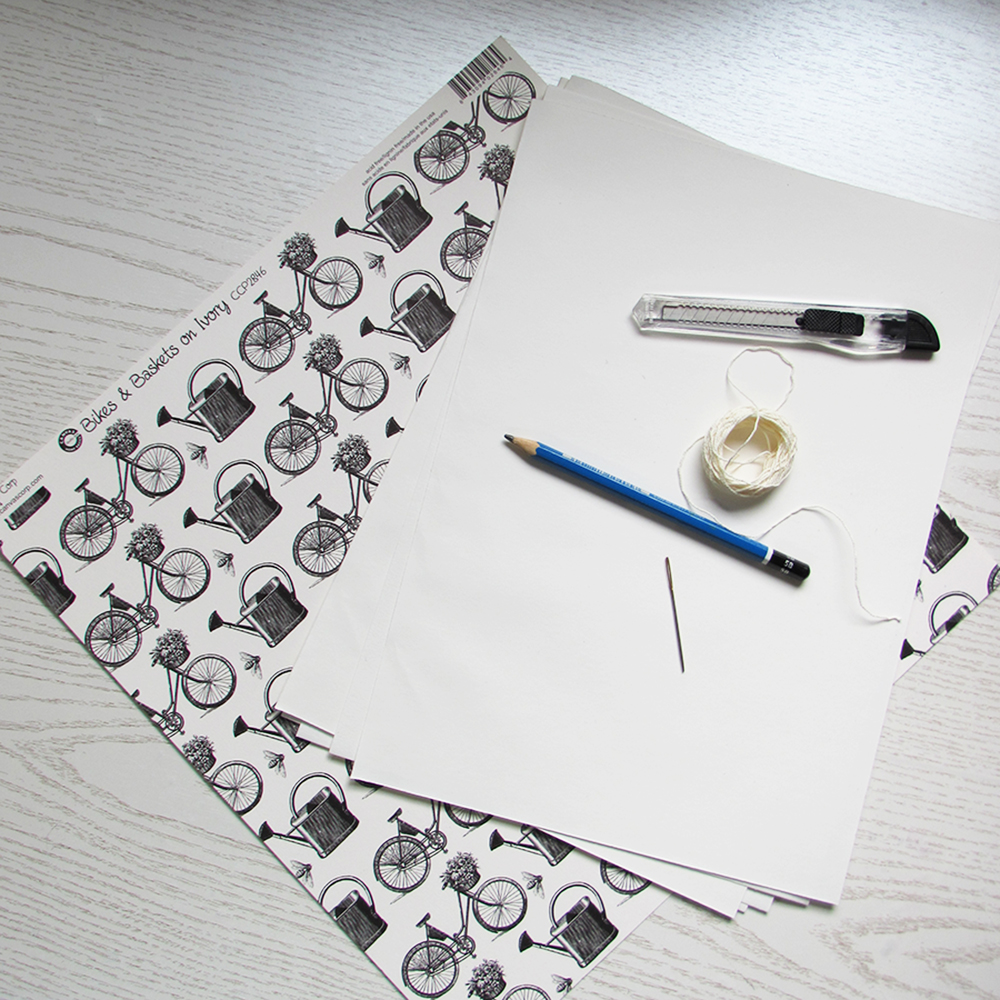
To make my notebook you’ll need a piece of scrapbook paper for the cover and I used 14 sheets of A4 watercolour paper at 125gsm.  I find this perfectly adequate for what I want to do with my journal, any thicker and it’s hard to fold. You’ll also need a knife and ruler, pencil, cotton thread and a needle.

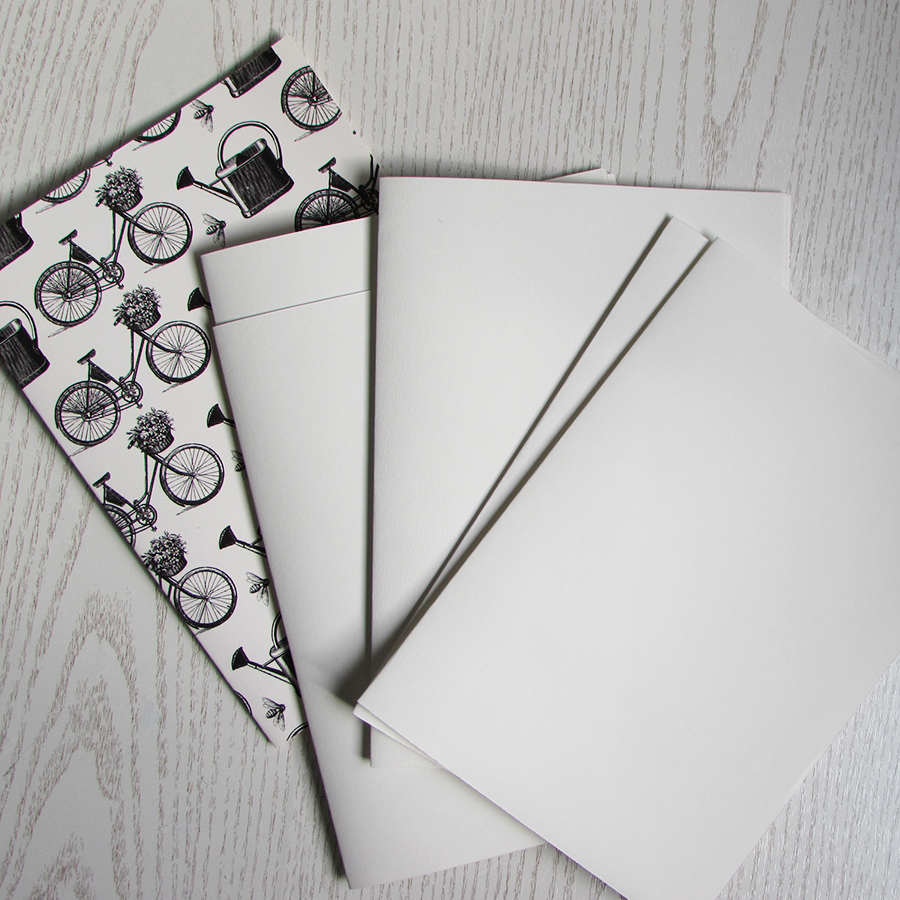
Fold all of your papers in half and place them all inside one another.

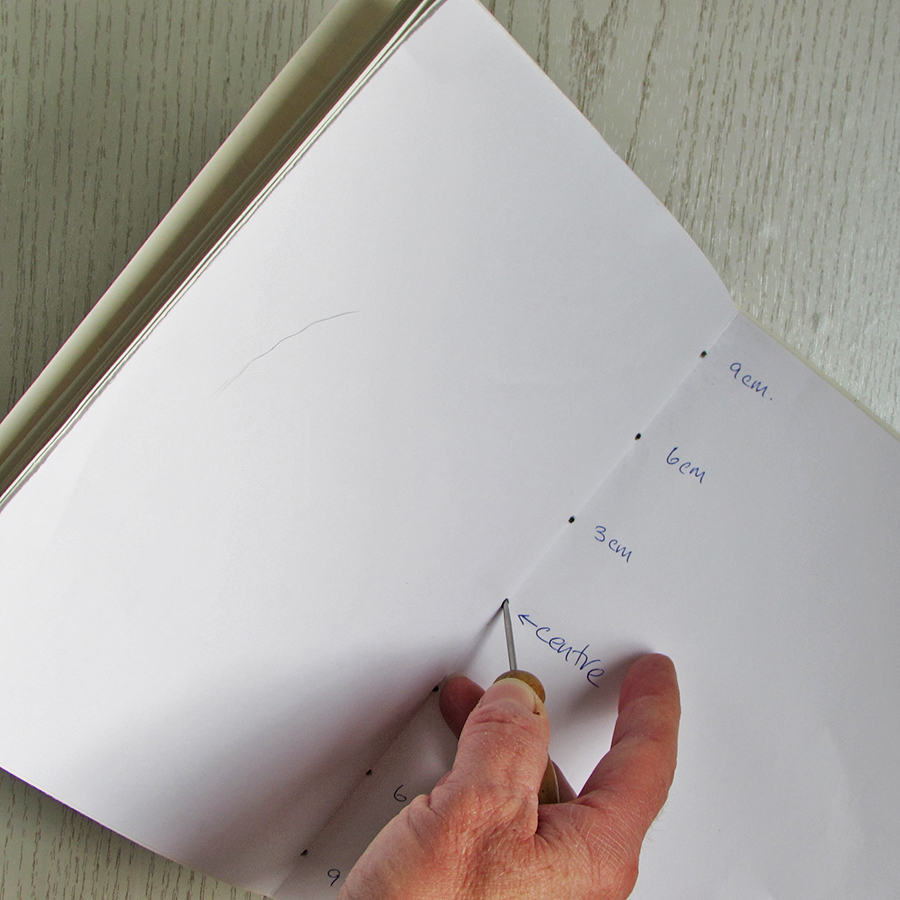
It’s easier if you make a stitching template before you make your holes, you can use this again and again. I used a 7 hole stitching method (you always want to have an odd number of stitching holes). Find the middle of the page then make three marks either side of the centre hole at 3cm, 6cm and 9cm.

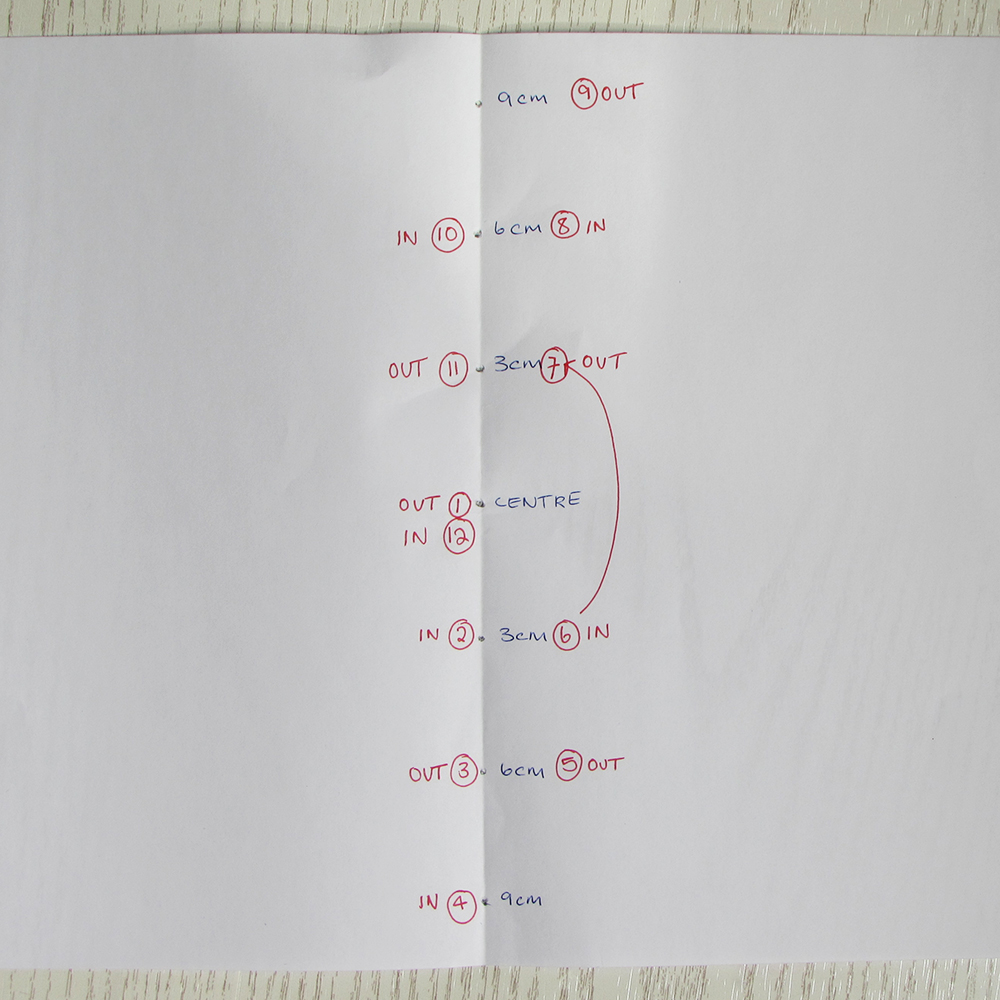
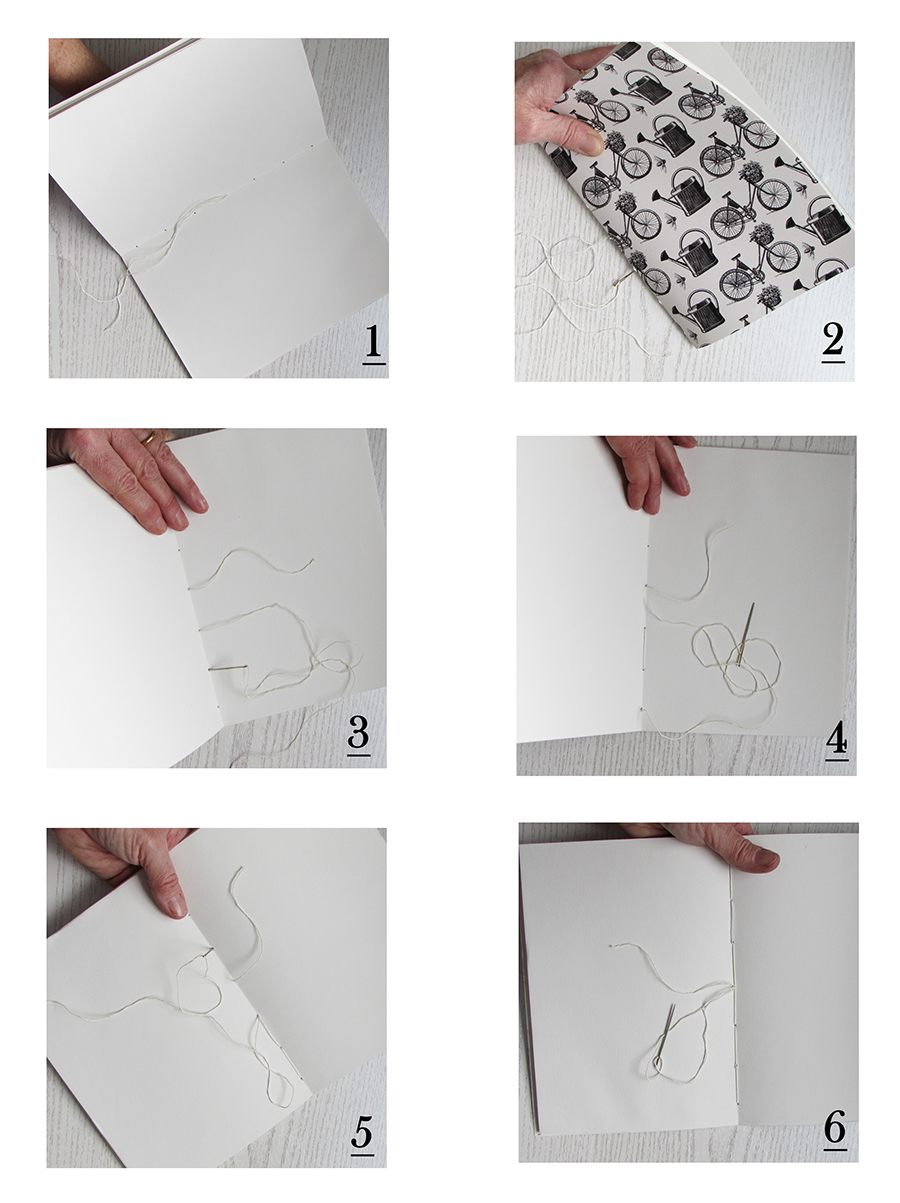
This is my stitching chart if you can follow it. So basically starting with the centre hole stitch from inside to out leaving a small tail of thread on the inside. then it’s back up through hole number 2 and out through 3 etc until you’re back in at number 6 where you jump over the middle hole and go out through 7. Continue going in and out until you’re back in the centre hole again.

If that’s a bit confusing here are the picture steps.

When you’ve finished sewing, trim the sides and round the corners and you’re done.

I’ll be back again on Friday from the Studio.

Have a good week

Jaine xx

Meet My Latest Obsession

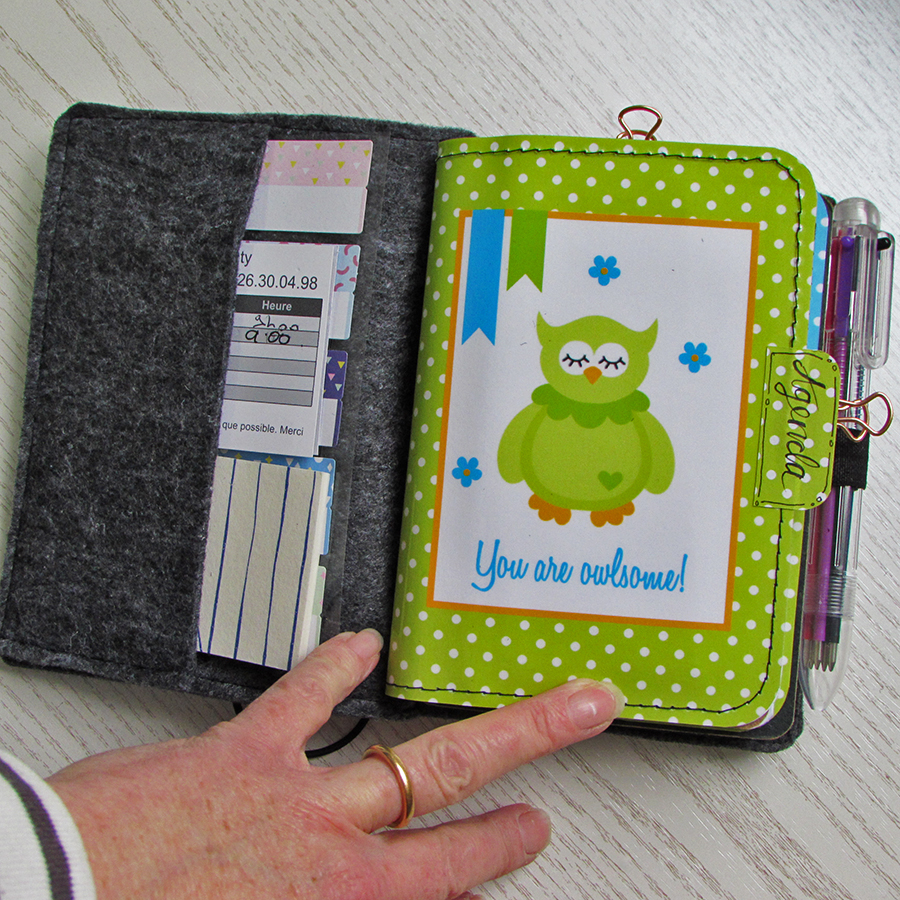
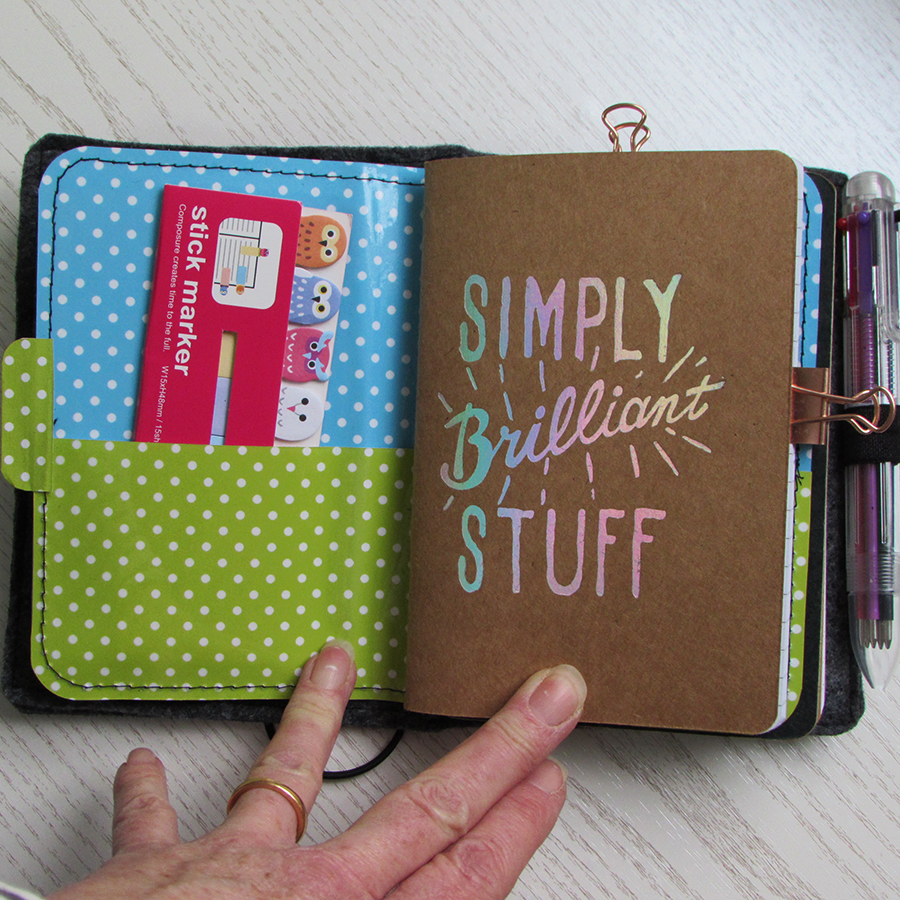
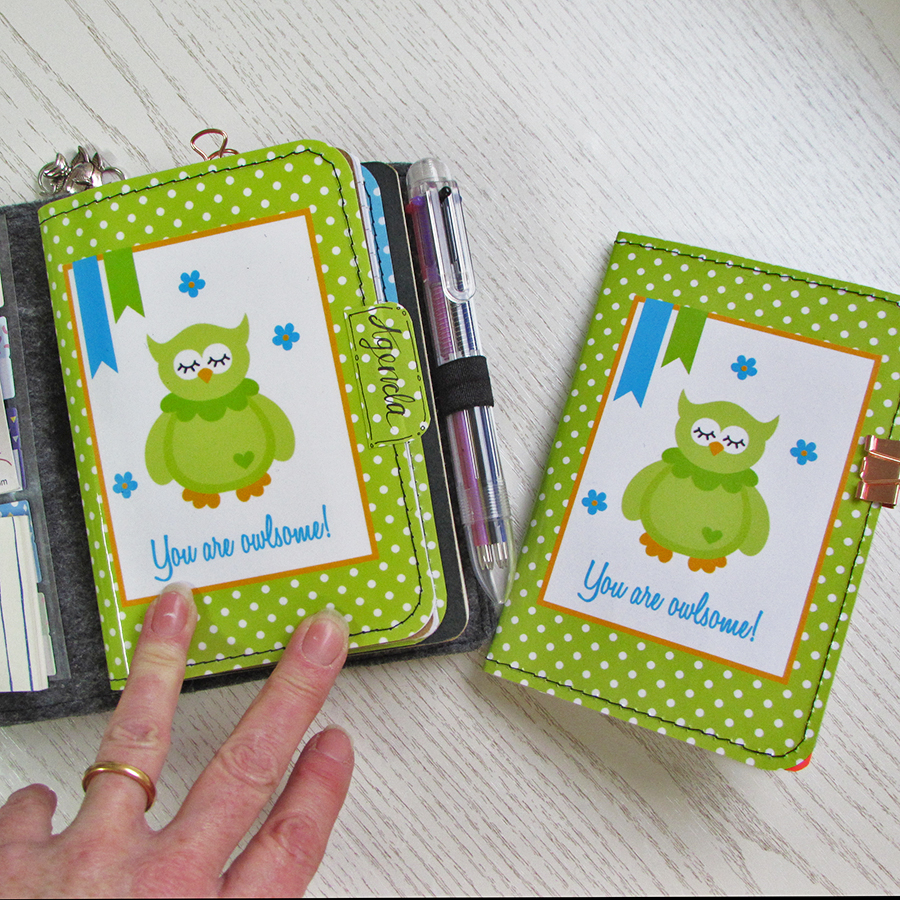
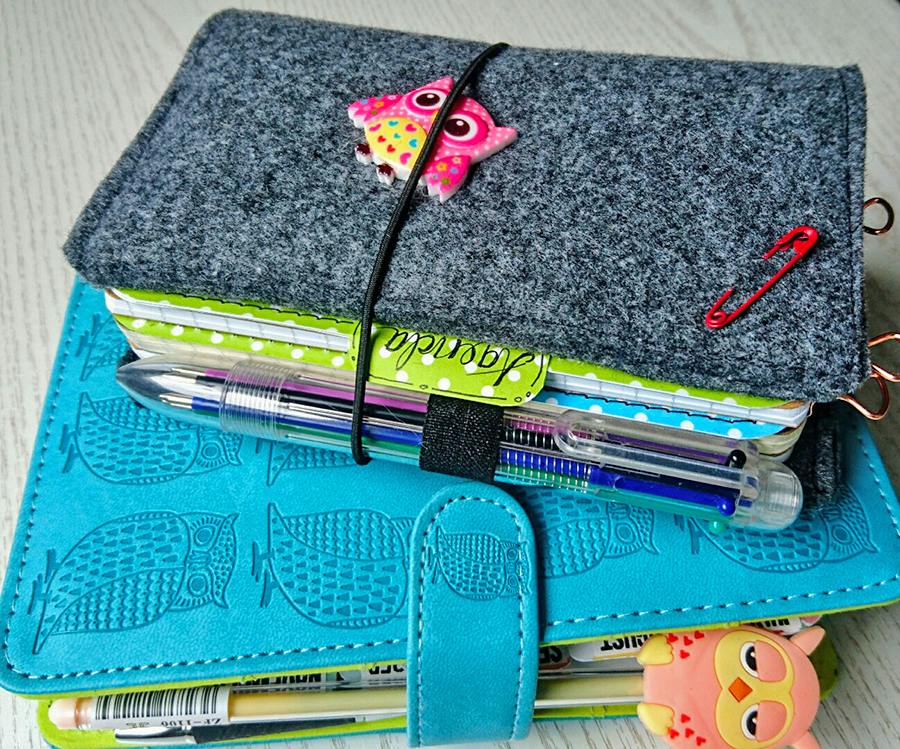
Meet my latest obsession, this little passport sized travelers notebook. It’s become my handbag companion containing my mini agenda, notebook plus two other blank books which I’ve yet to decide what to use for. I always had a little notebook in my bag for list writing and jotting down notes on the go but everything else was in my personal size agenda. Since buying this gorgeous turquoise and green planner from Paperchase recently and filling it with owl pretties from Paperpenandplan I didn’t really want to have it thrown into the bottom of my bag to get dirty and beaten up like the old one had been so I thought I’d have a go at making my own travelers notebook style from felt.

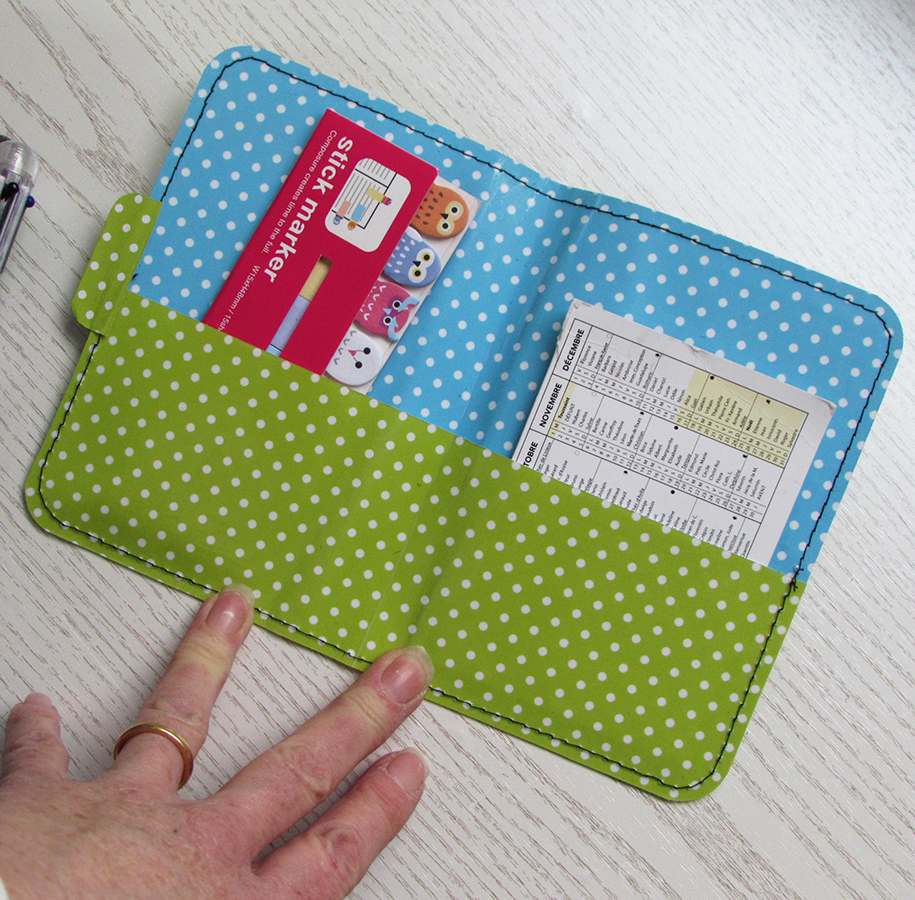
I also made a dashboard insert with a pocket using the digital papers from the March Sweet Treat box from Paperpenandplan. 

I wrapped it around one of my notebooks and the pockets are perfect for page markers and stickers.

It’s super easy to make your own so here’s how I did it.

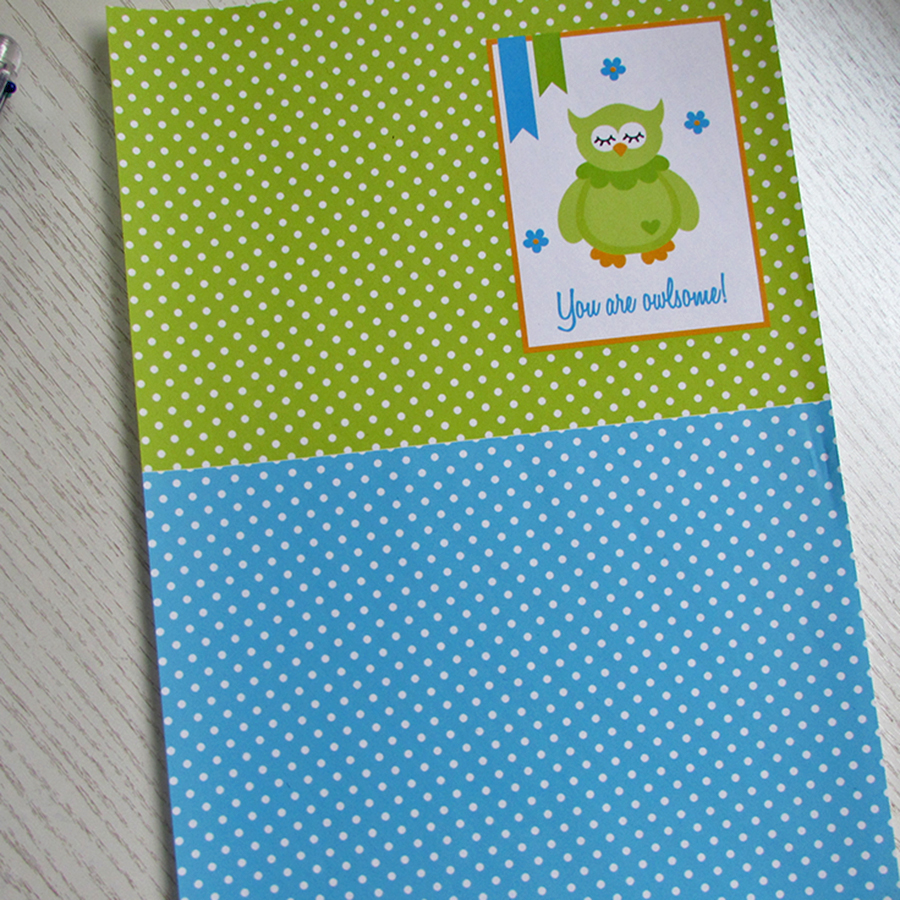
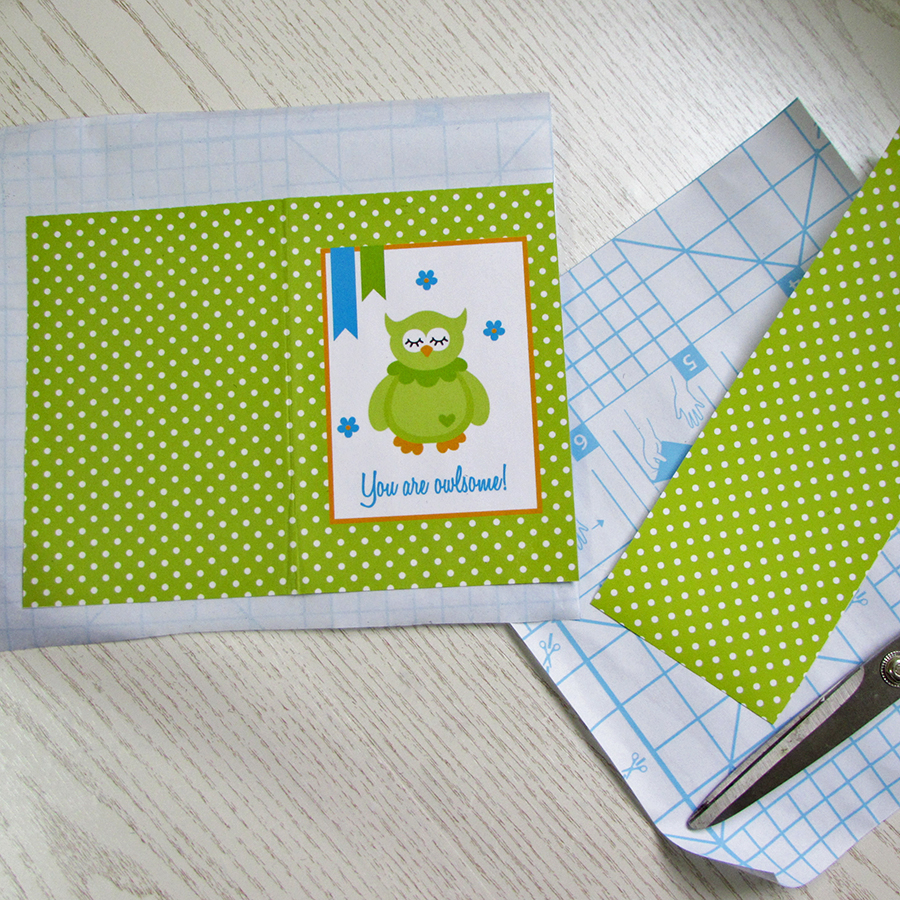
I have a digital image manipulating program so I was able to put the two spotty papers on one A4 sheet and drag the owl journal card on the top right hand side. If you aren’t able to do that on your computer, don’t worry, just print all of the pieces out separately and cut them to size.

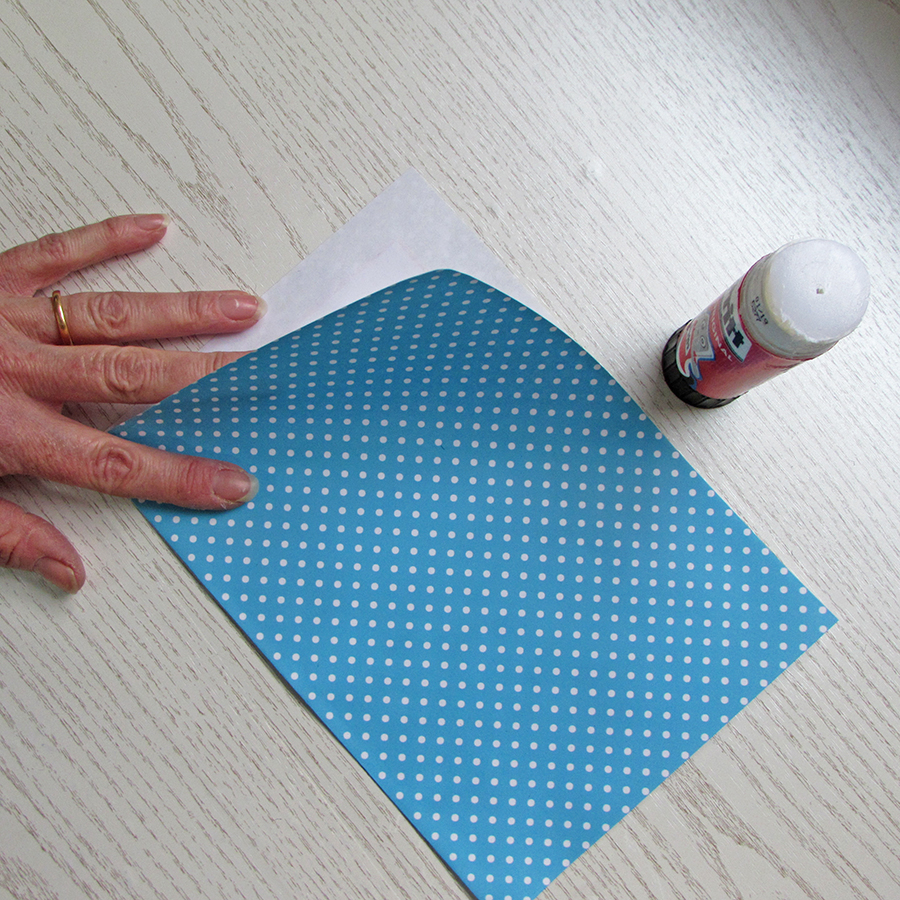
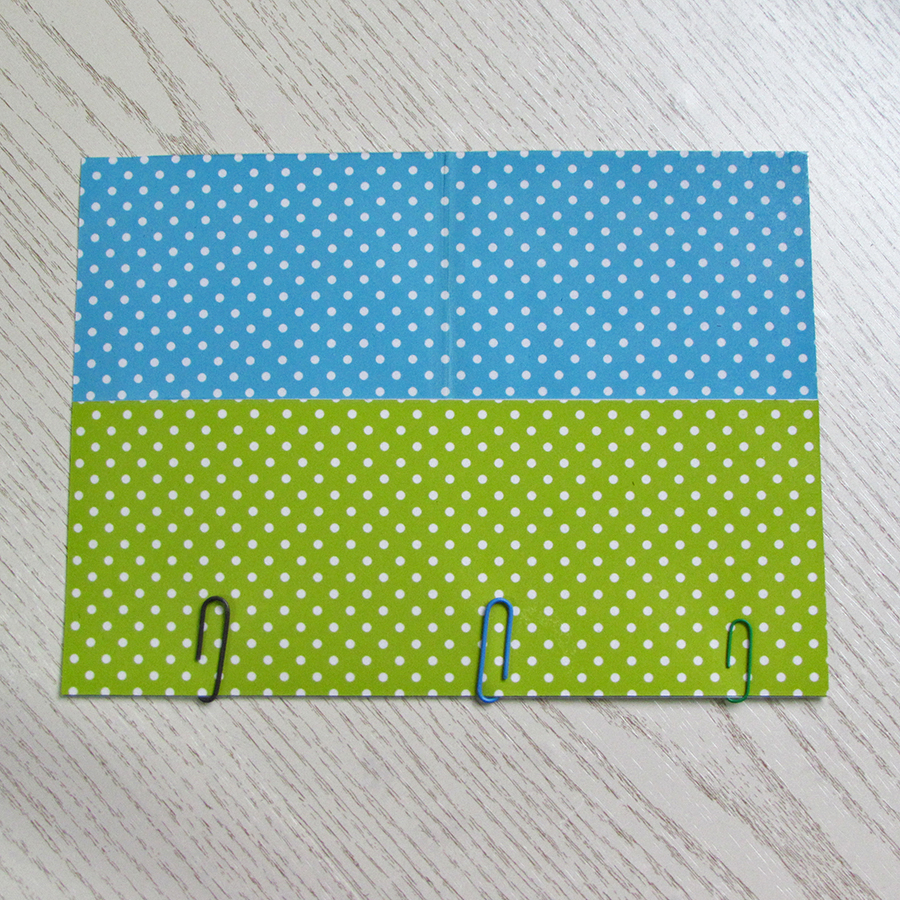
Without cutting the two halves apart, I folded them in half and glued them together. I find doing this is more accurate than trying to glue one piece on top of another separately.

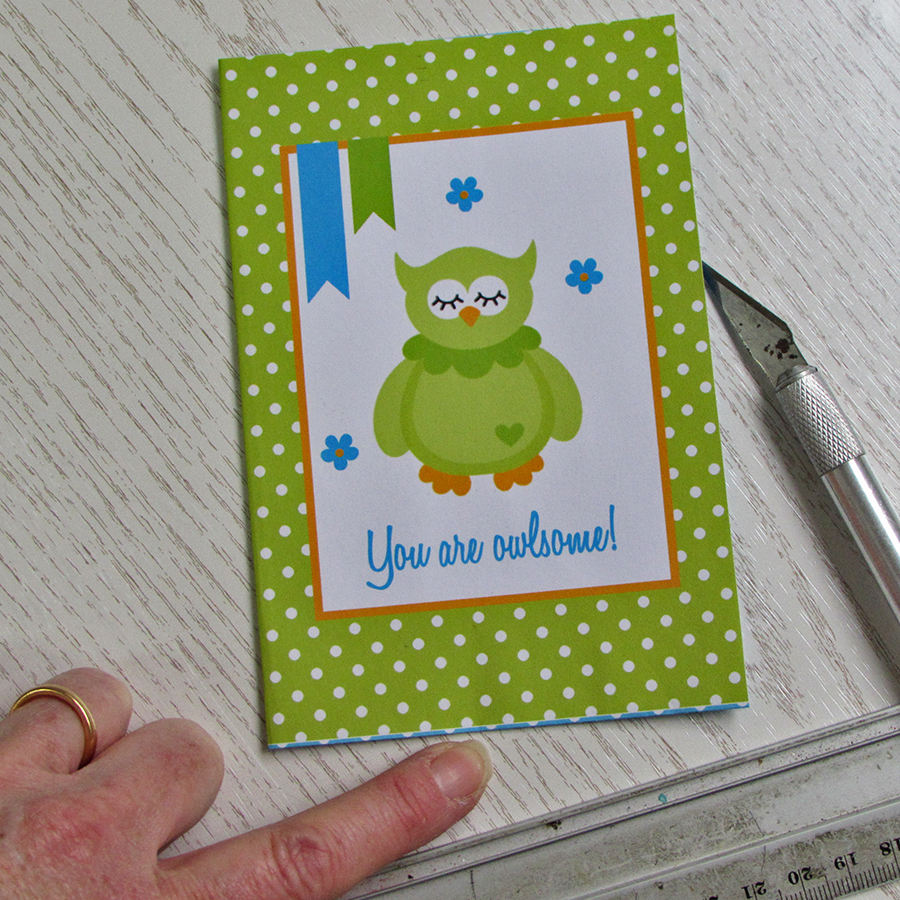
Fold your dashboard in half again widthways and trim off any overhang from the top or bottom.

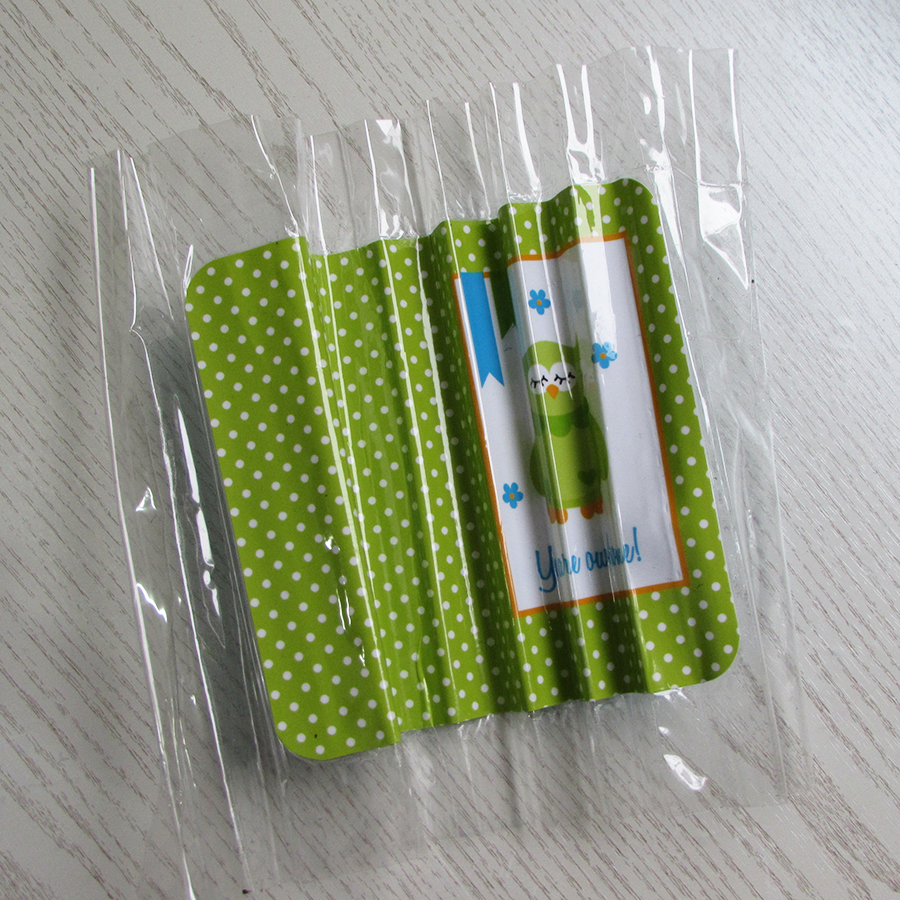
For the next step, I was going to laminate my dashboard but this is what happens when laminating goes bad!!

So without a laminator I resorted to using sticky plastic to cover my dashboard. I’ve also cut a strip from another piece of green paper to become my pocket.

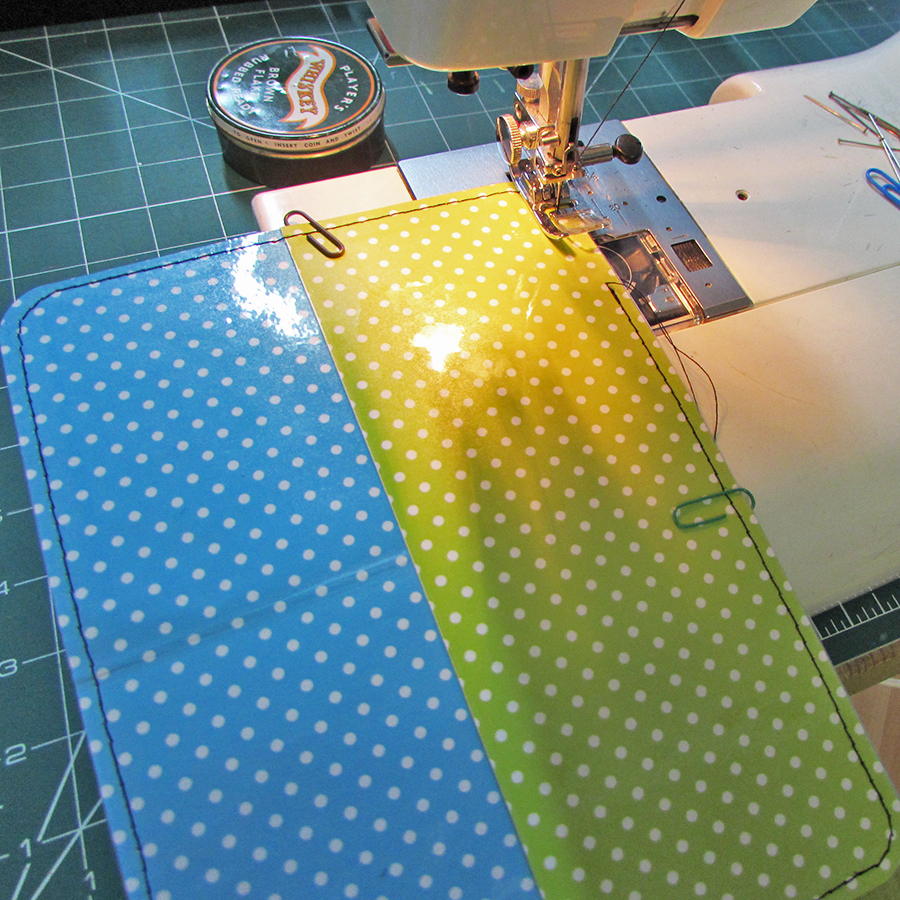
With the both sides covered with plastic I used my sewing machine to attach the pocket to the dashboard plus it just gives it a decorative finish. You could use hand stitches with embroidery thread in the same way, just pierce the holes with a paper piercer.

When I use my sewing machine I always use a jeans needle and go very slowly. I also rounded the corners for a neater finish.

So here it is.

On the original I added a small tab with some spare green dot paper which I ended up covering too with plastic to protect it.

If you love my owl themed bits you can find these and goodies just like them at Paperpenandplan and if you quote JAINE10 at checkout you’ll get 10% off your order.

Happy Sunday

Jaine xx

Friday In The Studio and A Return Of The Mixed Media

This past year my art Journals have been left on the shelf while I concentrated on other things. I didn’t know how much I missed it until I got involved with a journal project with Canvas Corp called The Traveling Art Journal. Over the course of a year, a group of us are sending out our journals to friends all over the world where they’ll be worked in before being sent on their journey and finally arriving back home to the owners. Along the way it’ll make a fantastic monthly project on the Canvas Corp web site for anyone who wants to follow our progress.

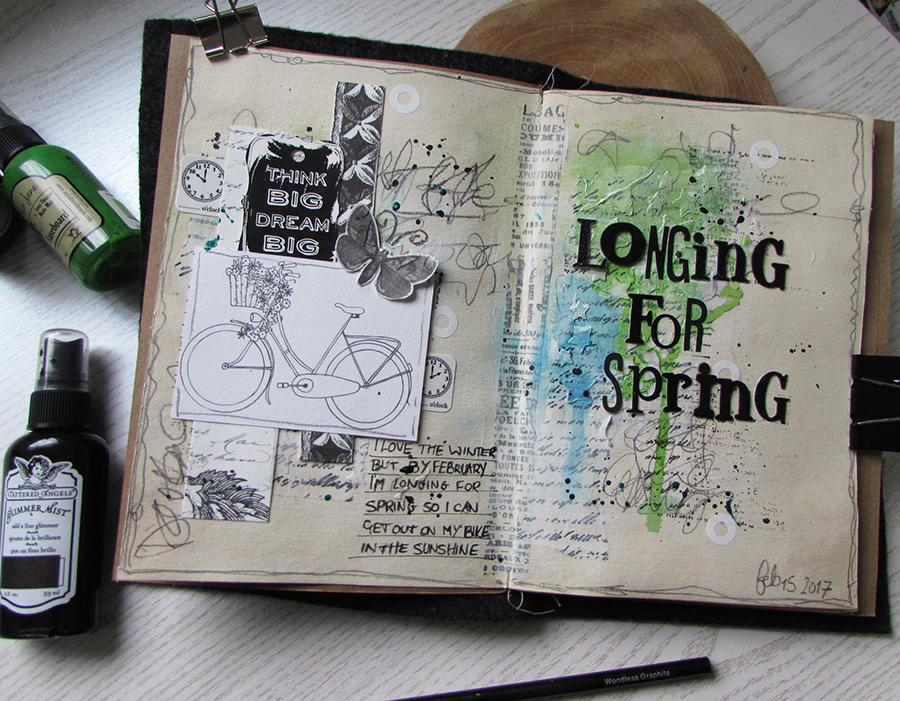
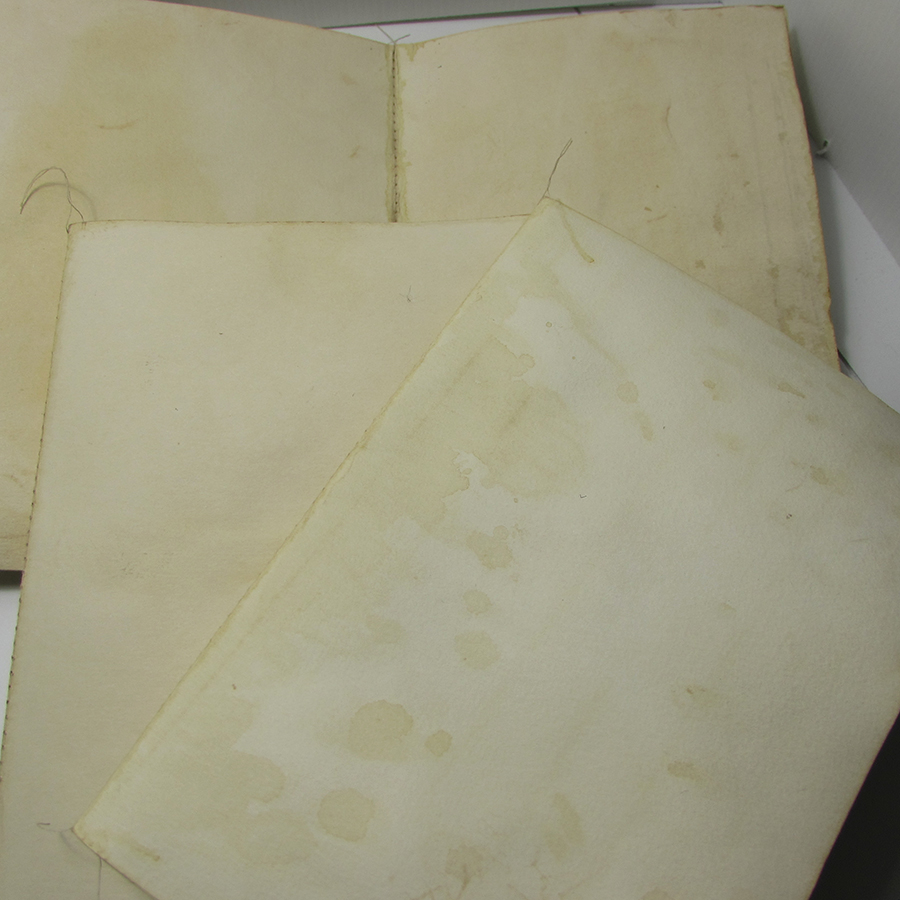
For my journal I chose to make a Travelers Notebook style binding with two simple hand sewn books inside. The pages are watercolour paper so should stand up to most mediums and as the paper was very white and stark, I tea dyed every page to give it a bit more character.

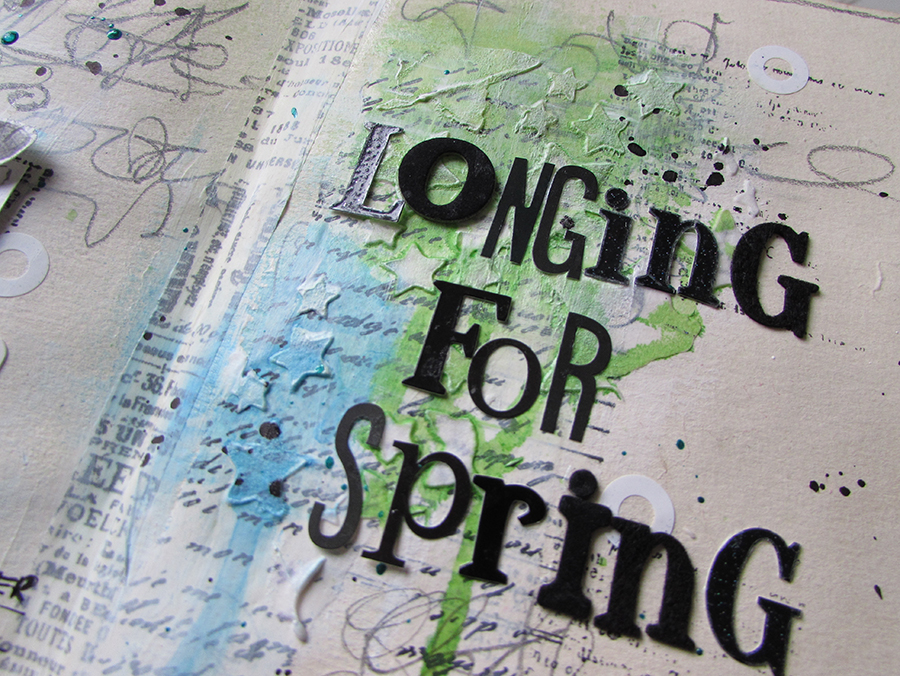
I used, texture paste, inks and stamping to create a background and collaged some papers and images on top. At the time of creating the page, the weather was anything but Springlike so I added the title to reflect how I was feeling while I was working.

These are the tea dyed pages before putting them together  in the journal. I loved how they came out, it made them look so old.

If you want to see how everyone else created their journals and pages then go to the Canvas Corp web site here and follow along monthly to see how it’s going.

Have a good weekend

Jaine xx