my journal inspiration

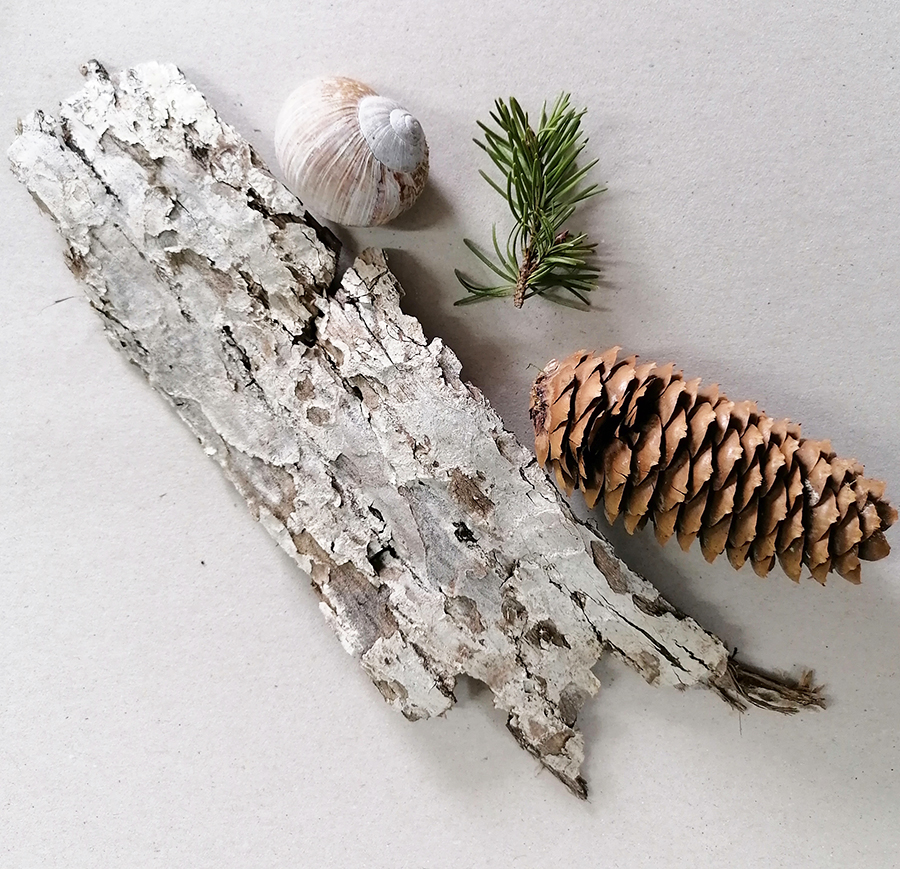
I think in a previous life I must have been a magpie or something because rarely do I come home from a walk without a few leaves, a stone, bit of rusty metal or stick in my pocket. I may be a little obsessive about it even to the point where I carry a little bag with me just for that purpose!

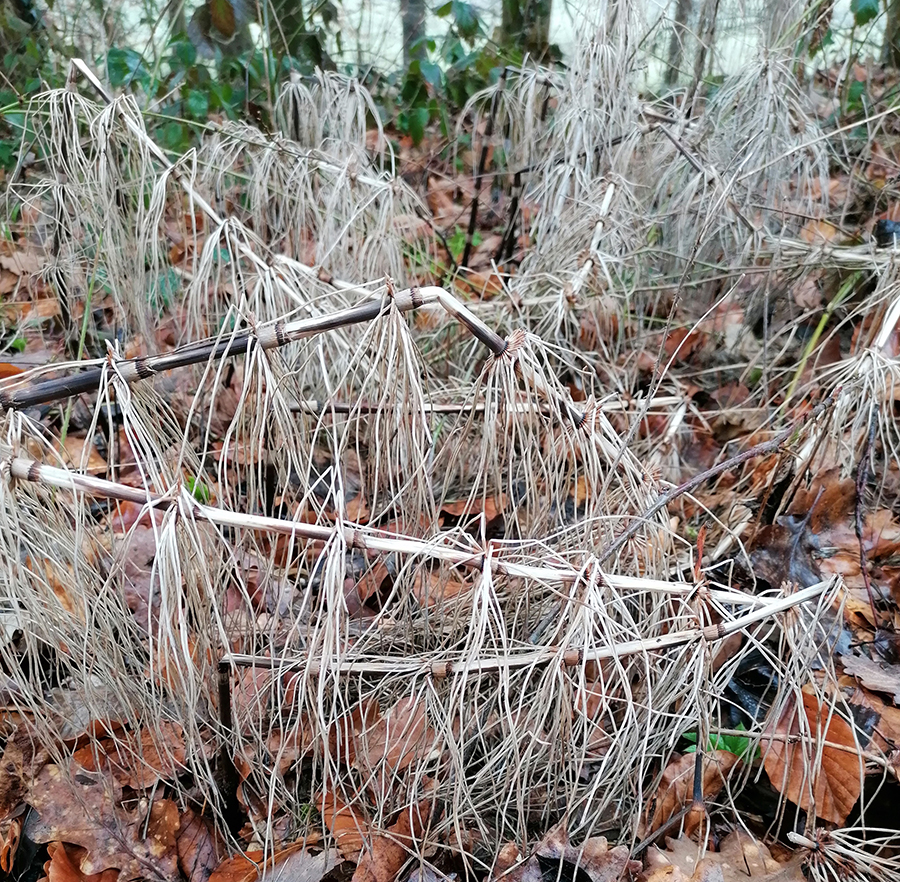
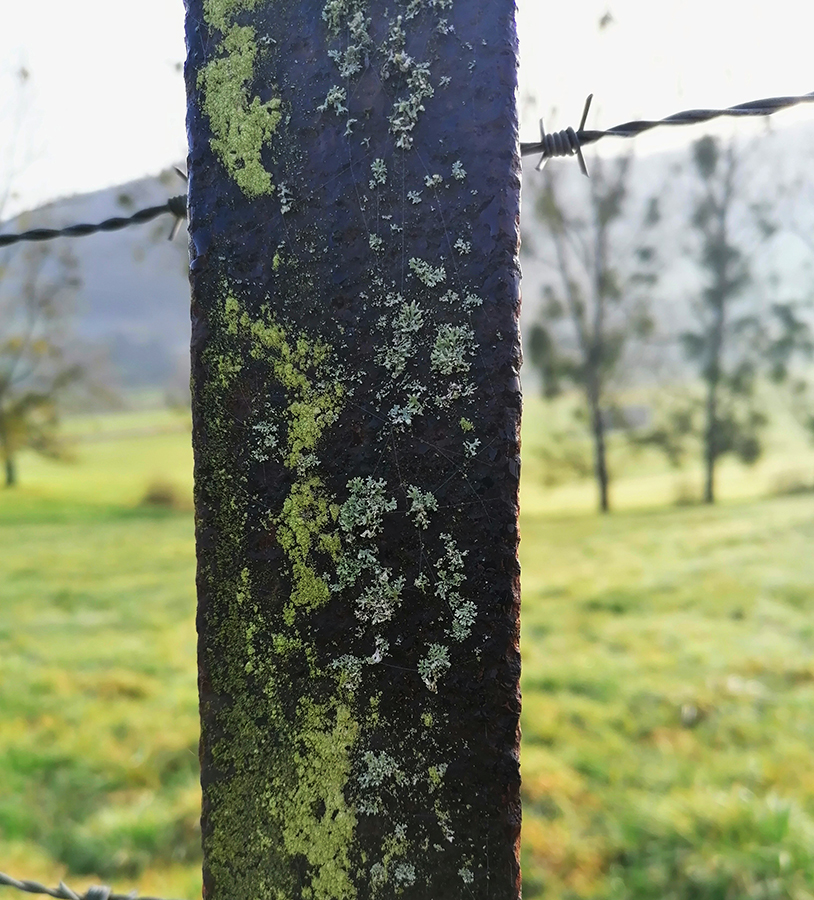
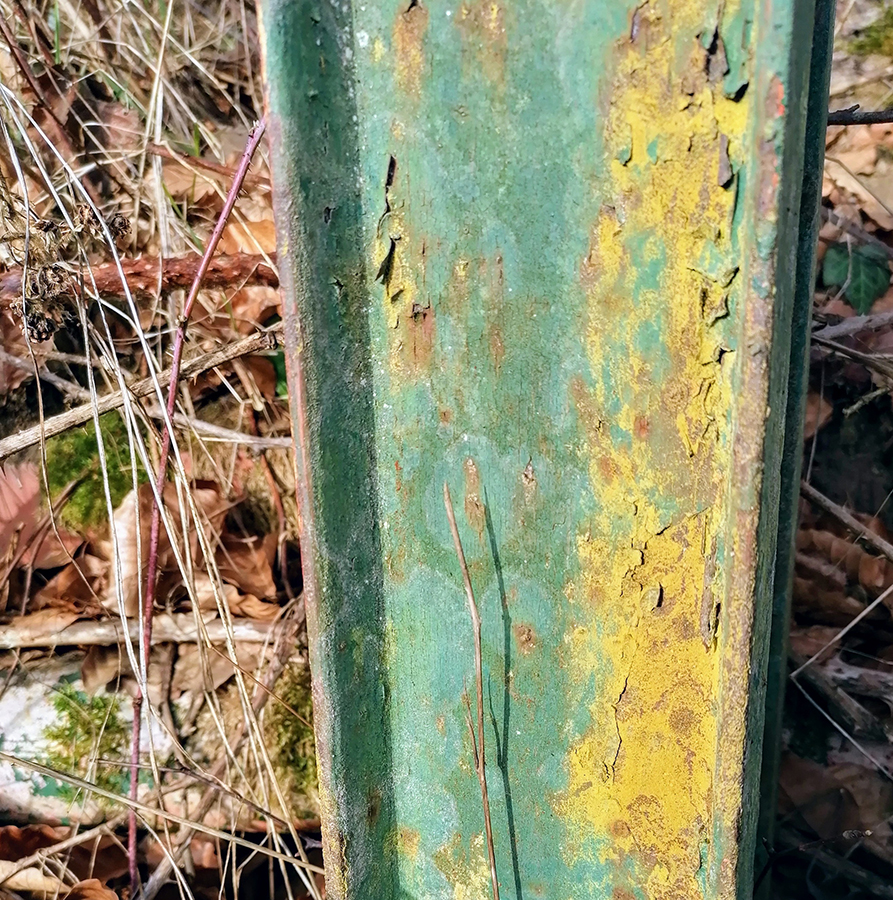
These things usually end up on my inspiration shelf until a time when I might use them in some project. Alot of the time I might photograph them or scan them into the computer to keep as collage images, especially if they’re fragile like leaves or obviously bulky like wood. I take lots and lots of photos when I’m out too, mainly of trees and things from the forest floor, or like here, mosses or rusty posts.

All of these things can become colour schemes or shapes and patterns.
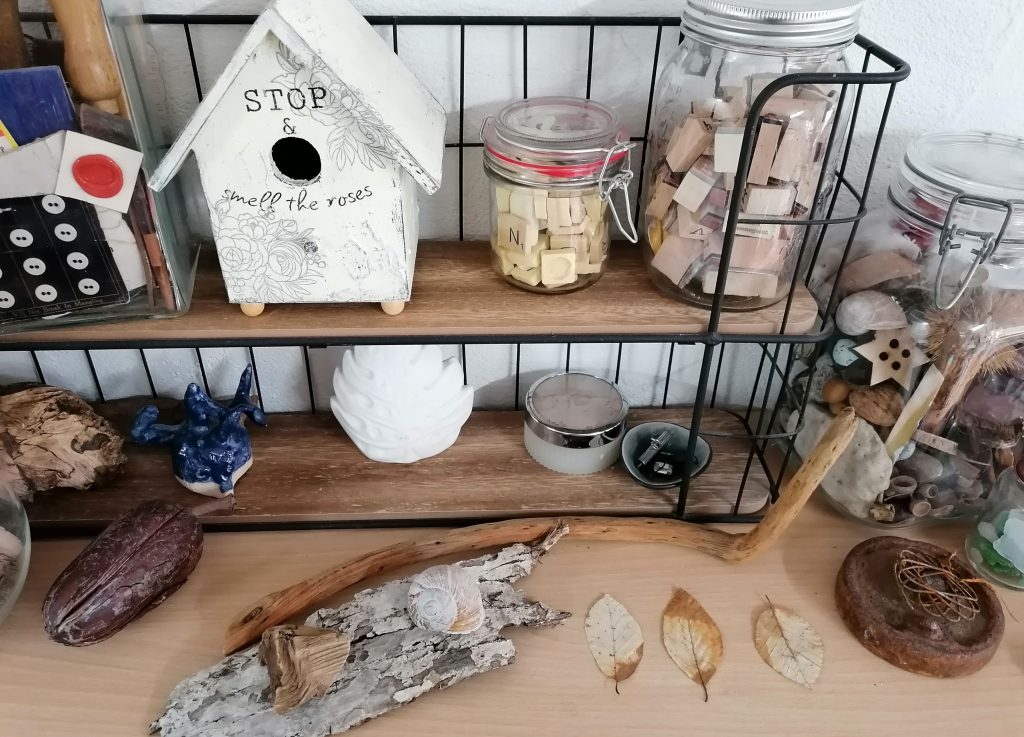
I use these as inspiration for colours or themes in my journals and sketchbooks.

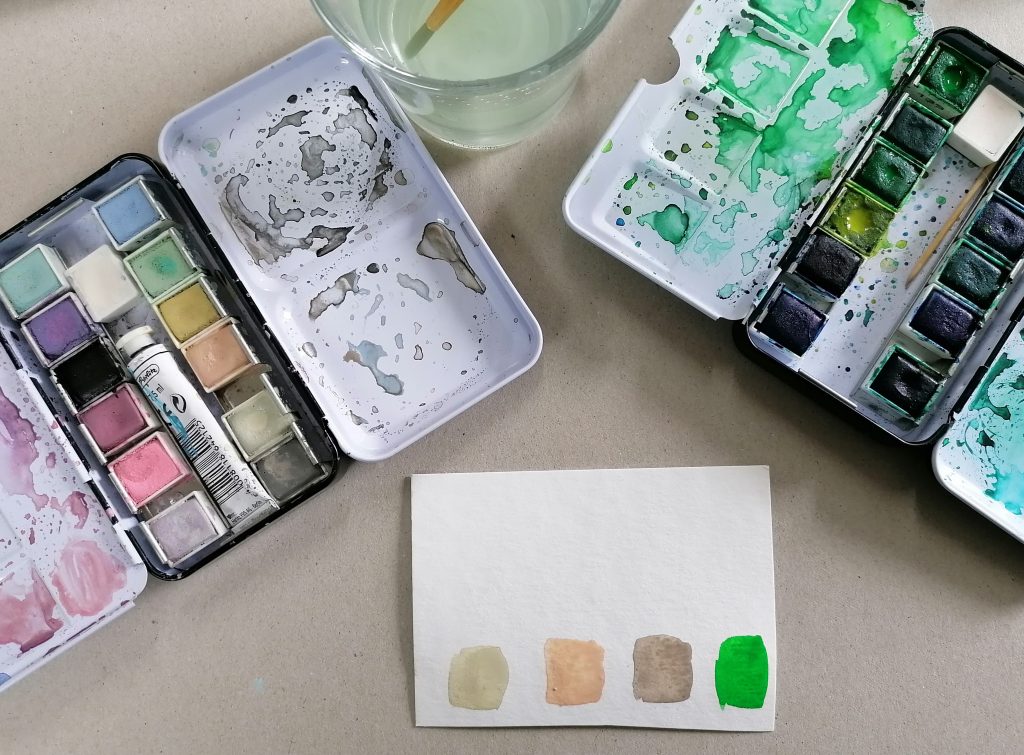
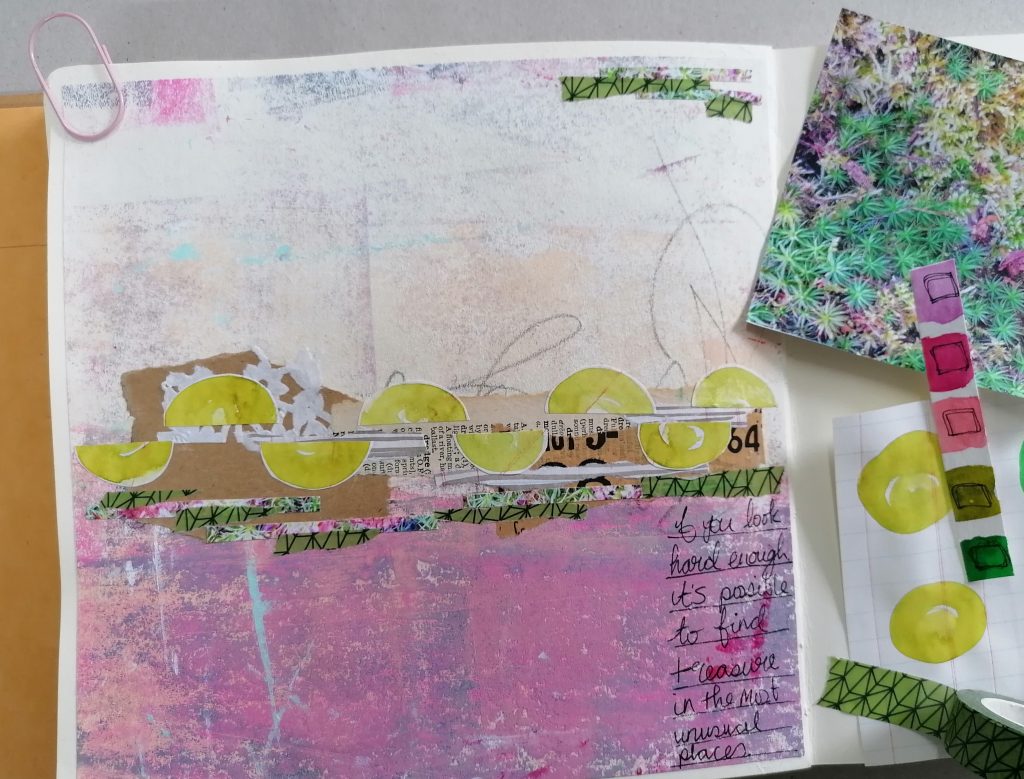
For example, I took the little collection above and created a colour palette with my watercolours.
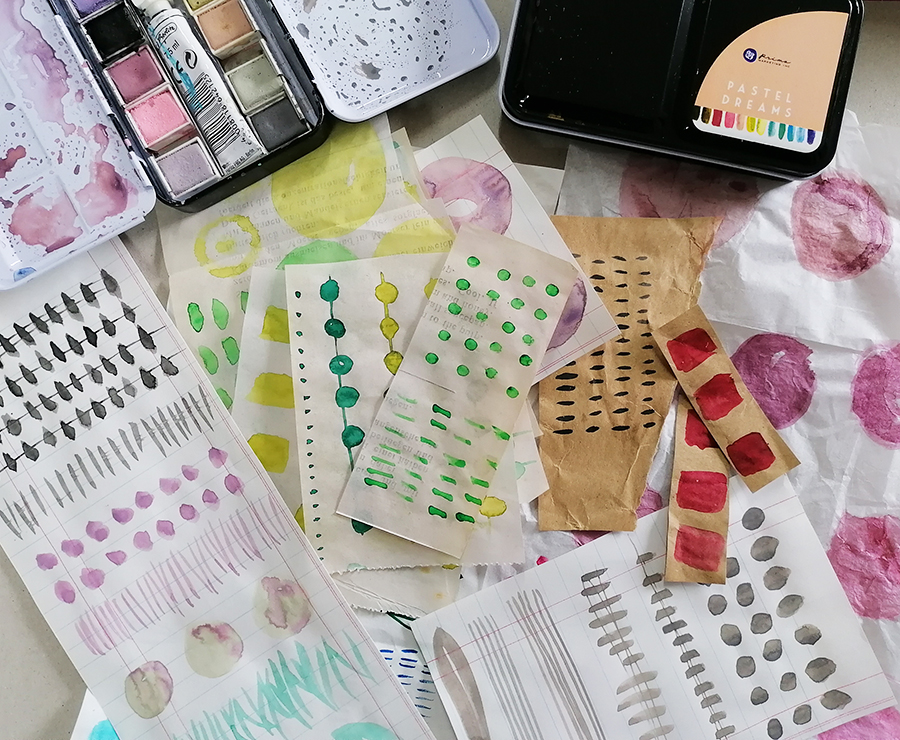
Another thing I like to do is create collage papers to use in my journals too either using the scanned images or the colours as inspiration. The collage papers are made from tissue paper, brown paper, book page, anything really which I can paint on and is thin enough to use on a journal page. This idea isn’t mine I have to add, I’ve seen lots of people on the internet do the same thing so I can’t take the credit for this one! For example check out the work of Laura Horn on Instagram or Pinterest as I love what she does.
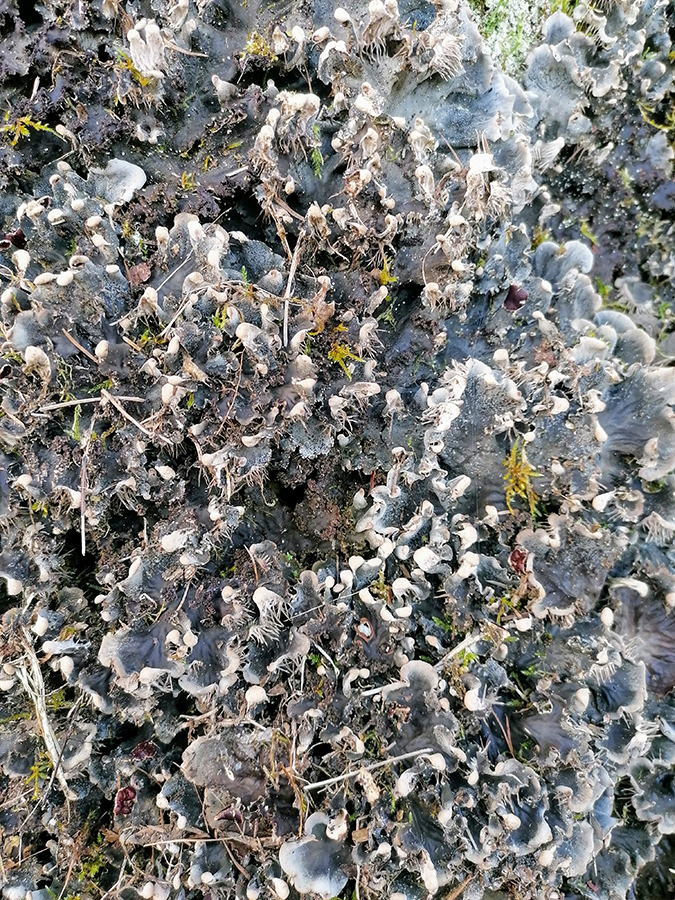
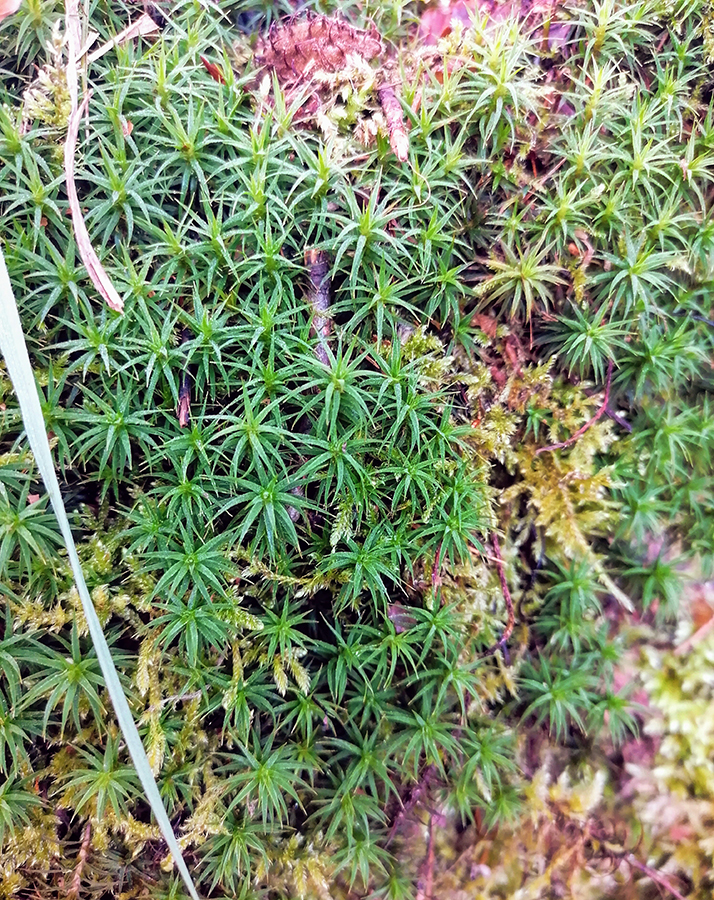
I really like the colours in these two mossy photos. When you look closely enough you don’t just see green but pinks and purples too. If I was smart I’d have a colour generator app on my phone perhaps to make the process faster. I’m sure it must exist?
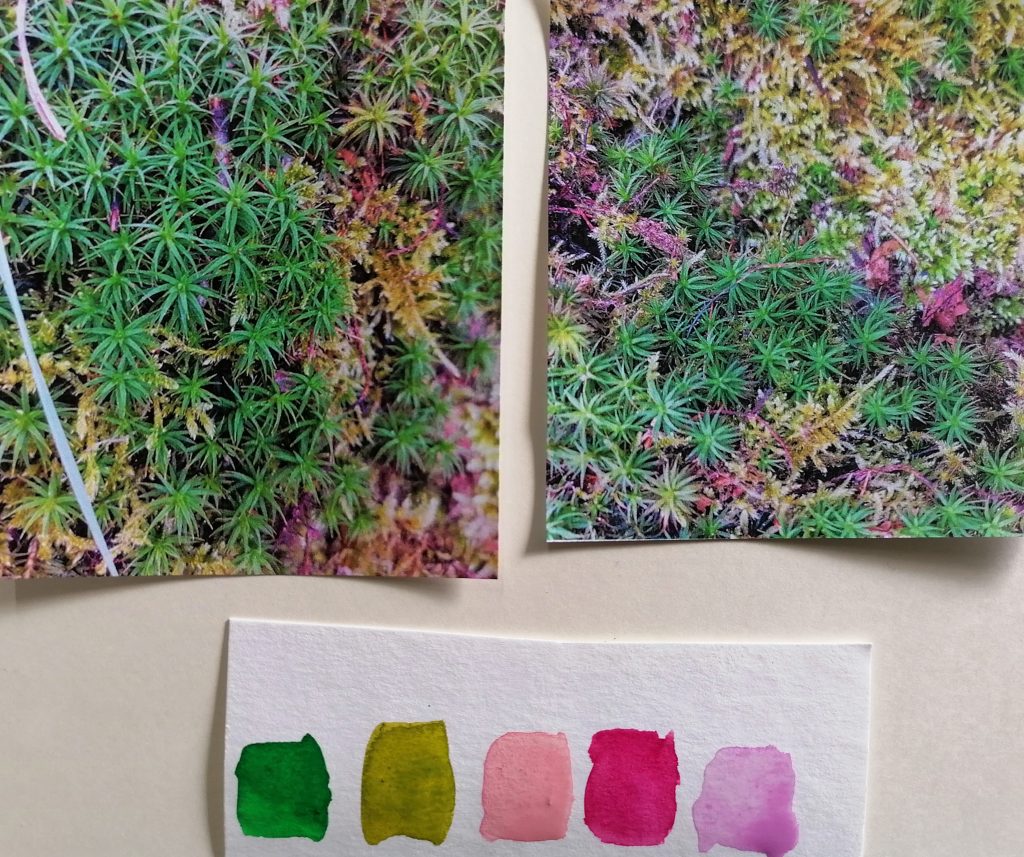
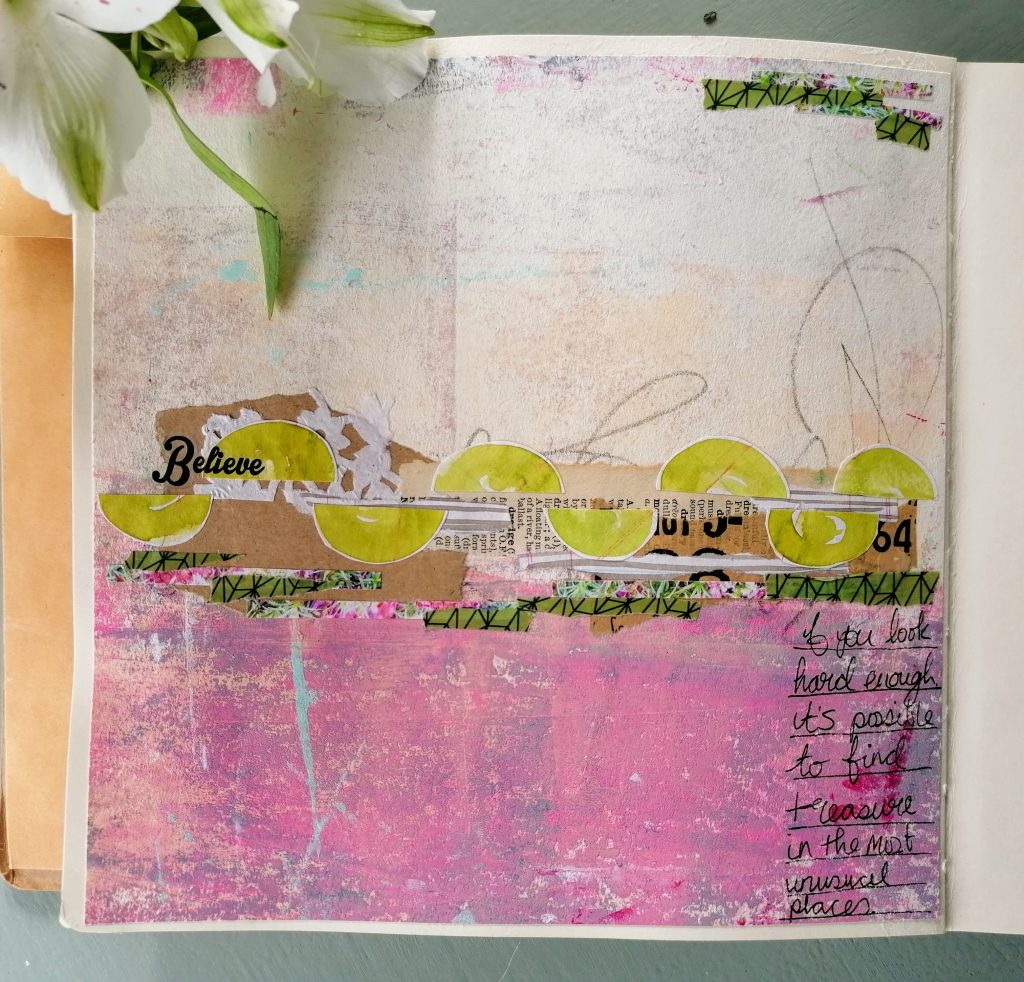
I work abstractly most of the time and the journal page below is an example of how I’ve taken inspiration from the mossy photos above.
I decided to go with more of the pinky purple tones and use the green as accents which is the opposite of the photo. I added my collage of papers, cut some of the photo into thin strips and the washi tape ended up being a perfect match not only in colour but after tearing it up I found it almost looked like the moss, happy accident!

So inspiration is all around you, all you need to do is look.
Have a great weekend

Jaine x
A Simple mini album part ii

Last week I demonstrated how I created a simple and quick mini album using the contents of my monthly subscription box from Paper Pen and Plan with a cover made out of the cardboard box it all arrived in.

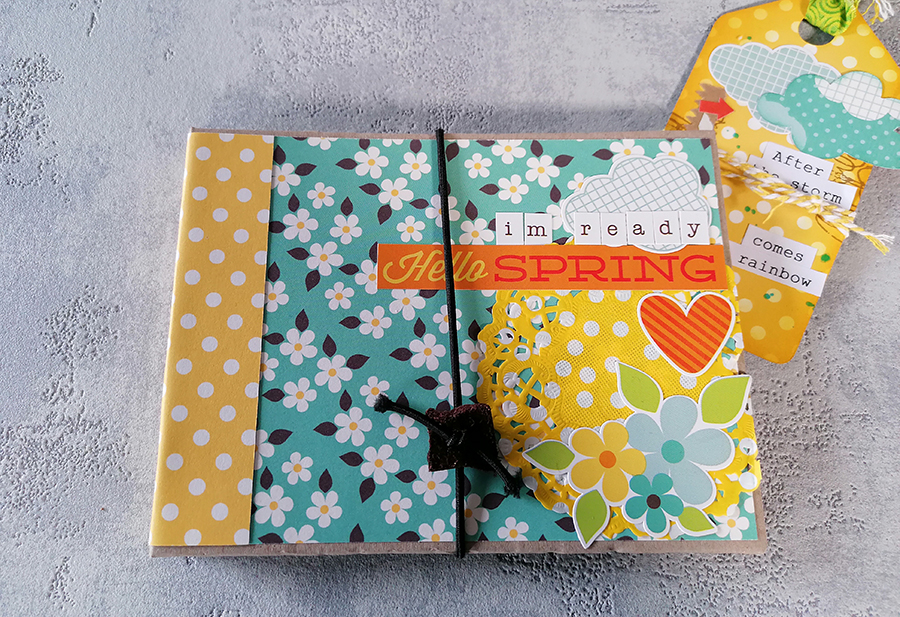
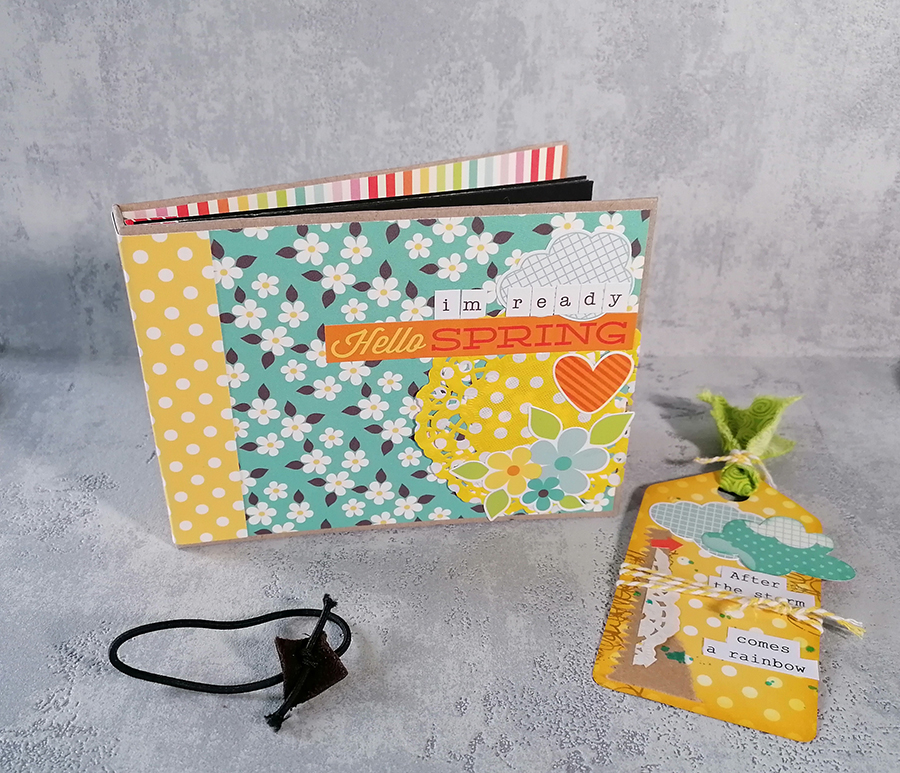
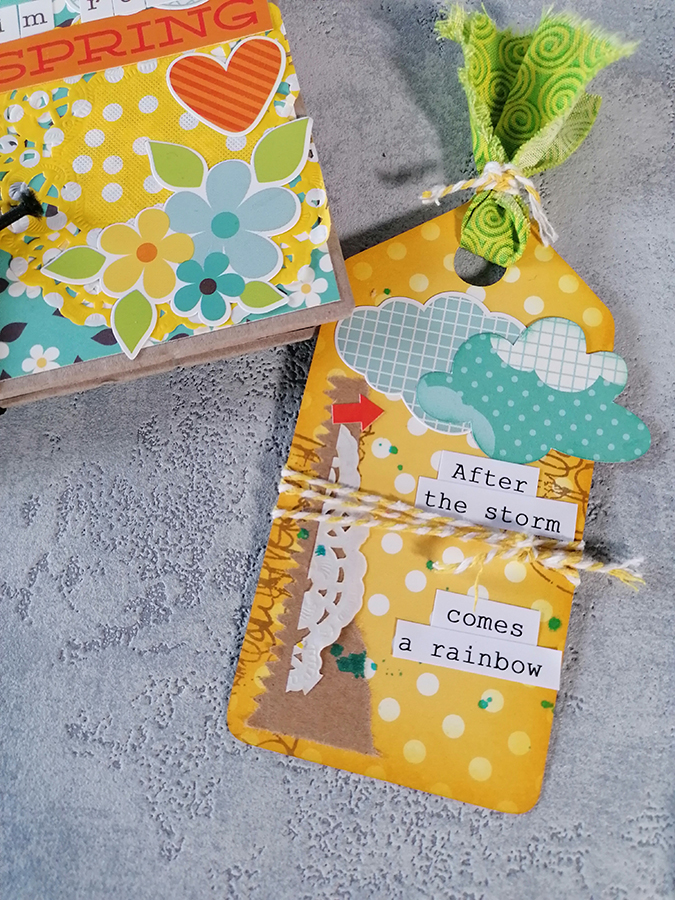
This week I can show you the finished mini all decorated and ready to go. I still need to fill its pages but it looks bright and cheery on my desk right now.

While I was at it I also made a little tag to put in it from some of the bits and pieces which also came in the box.

The strip of doily is actually the little piece which was trimmed from the book cover and turned over. So nothing is wasted.

I hope it’s sunny where you are? Spring is definitely here today at least so I’m off to do some garden chores.

Have a good one and I’ll be back soon

Jaine xx

a simple mini album Pt1

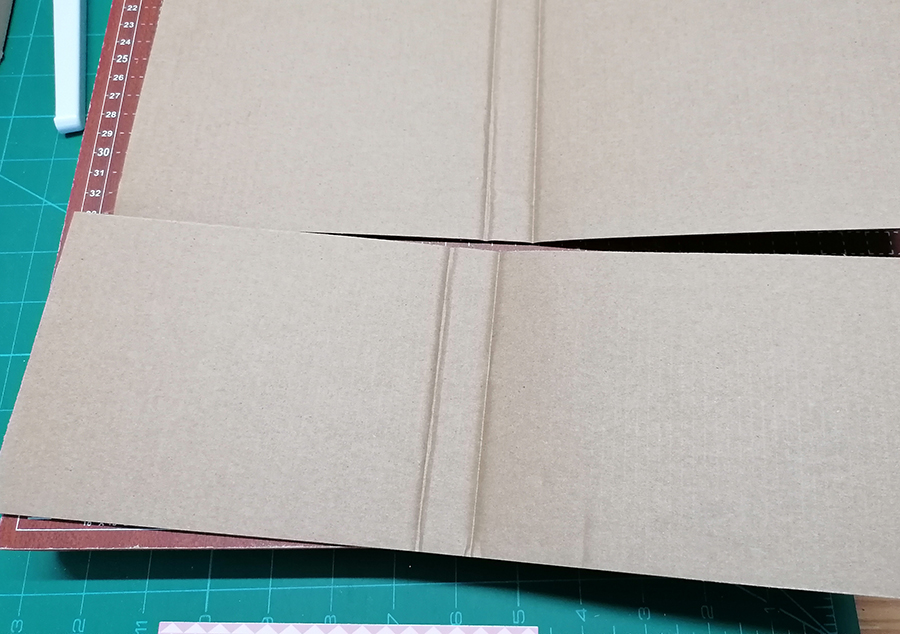
It’s been a while since I actually wrote a tutorial as such so I thought it was about time I made one! The inspiration for this little book came to me as I unpacked my monthly subscription box of goodies from Paper Pen and Plan (on Etsy and Facebook). The contents begged to become a mini book and as they sat there on my table on top of the box they arrived in, I could see the box itself becoming the cover. After taking the box apart I trimmed it to the size I wanted with the side of the box becoming the spine of the book. I ended up with two of these from my Sweet Treat Box so I can use the other one another time.

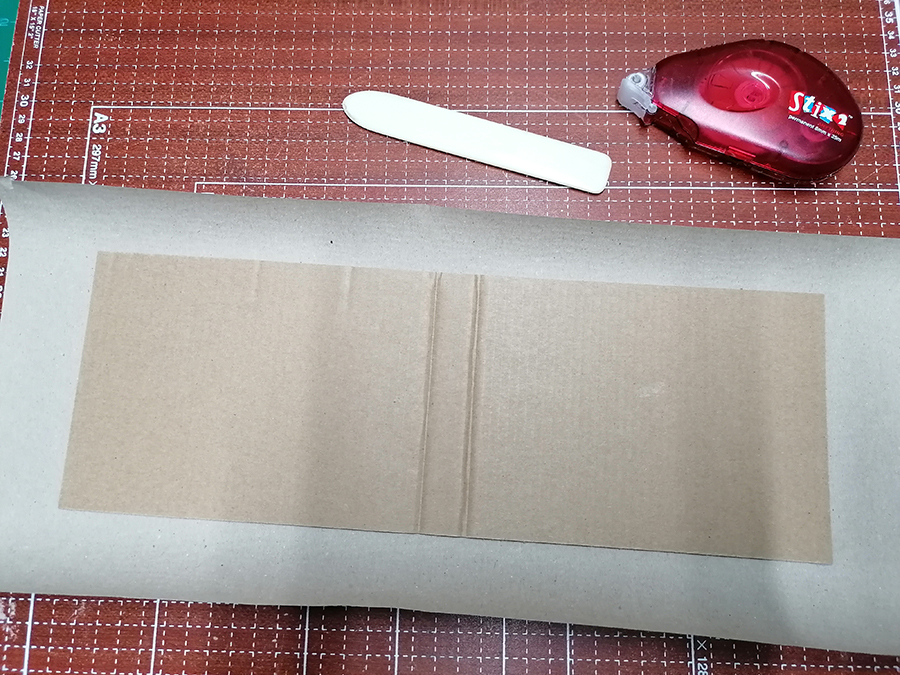
I sometimes use brown parcel paper to cover books. It comes on a roll so is wider than most papers, it’s sturdy enough and I rather like the kraft colour.

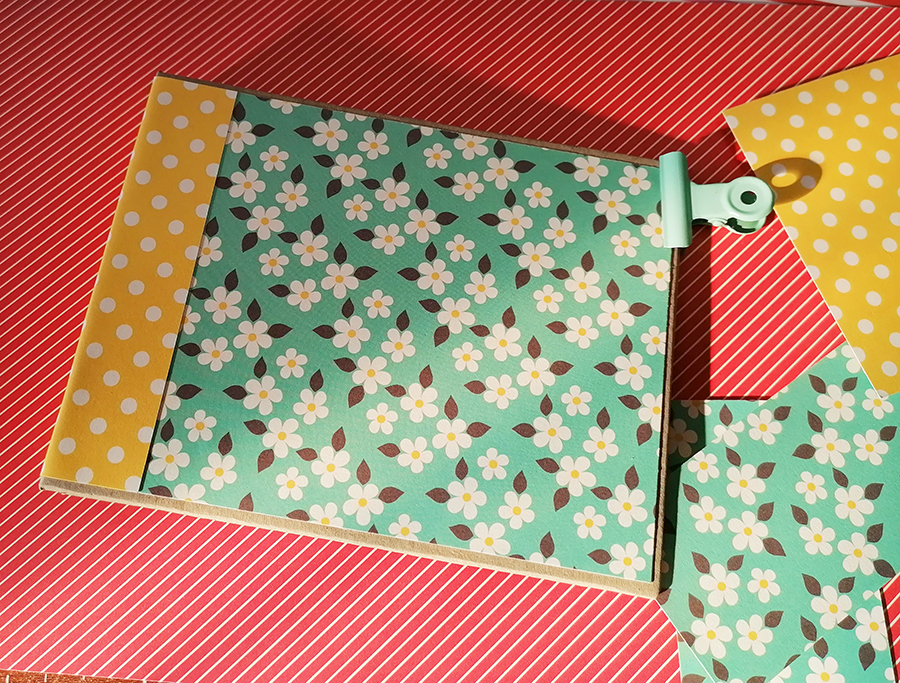
With the cover done, I could then move on to decorating the outside and inside with my patterned papers.

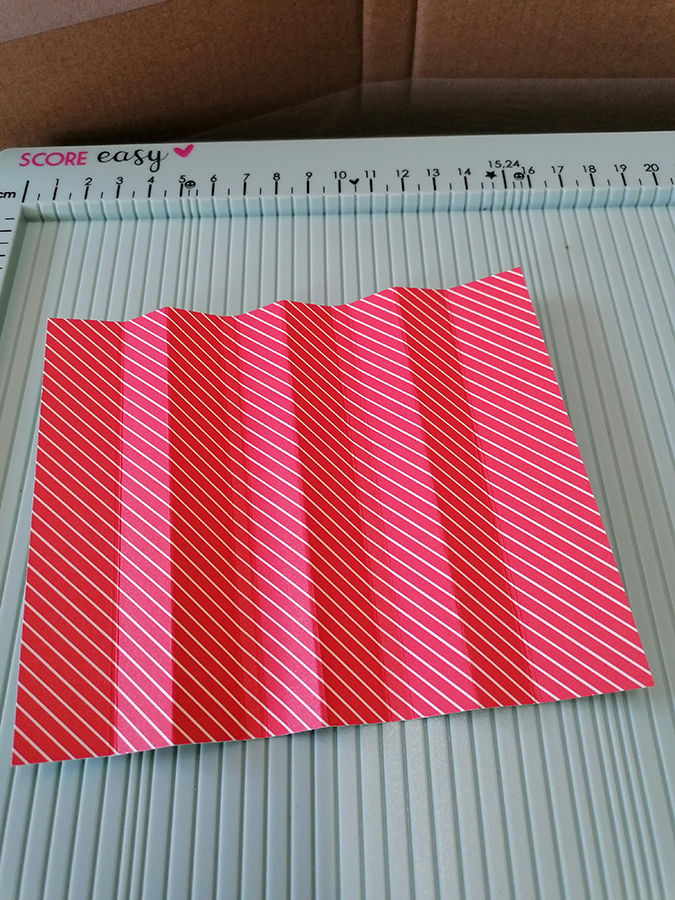
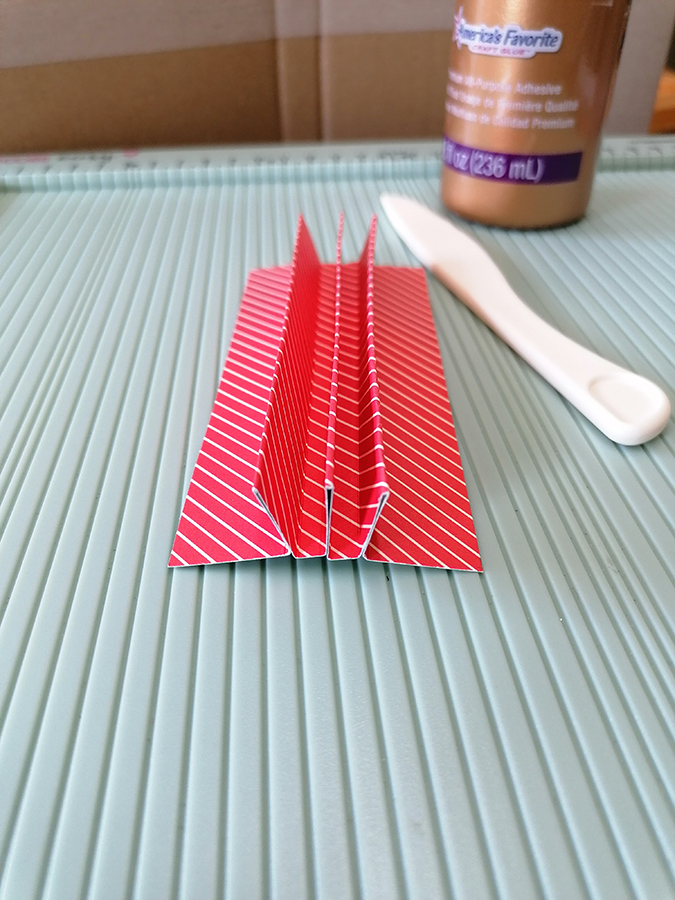
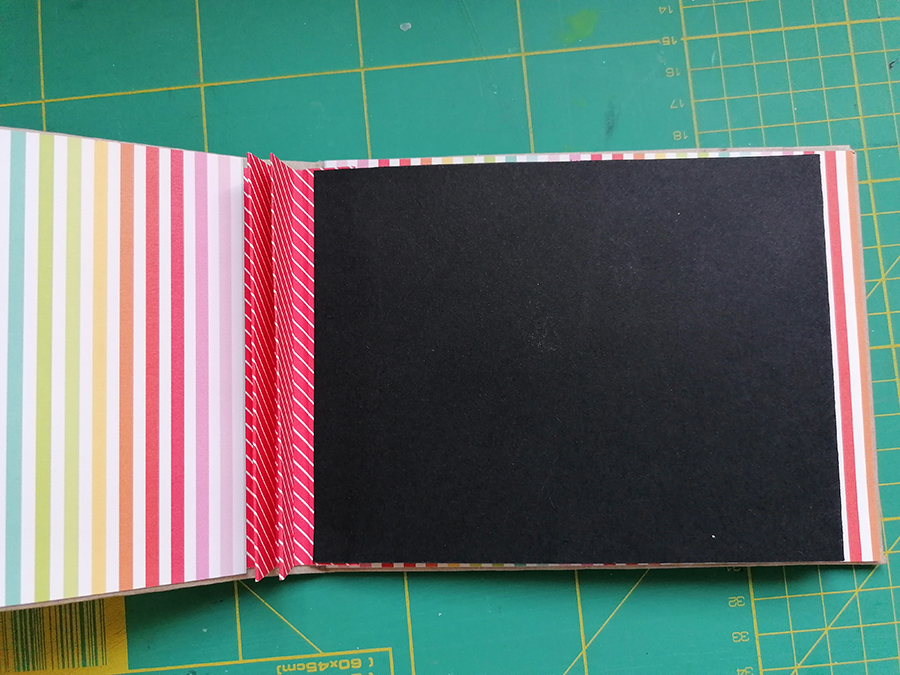
To attach my pages I made a very simple accordion hinge from a piece of patterned card. Slightly shorter than the book itself, I created three folded hinges with a half cm gap in between. So starting with a score at 2cm then 3.5, 5, 5.5, 7, 8.5, 9, 10.5, and 12.

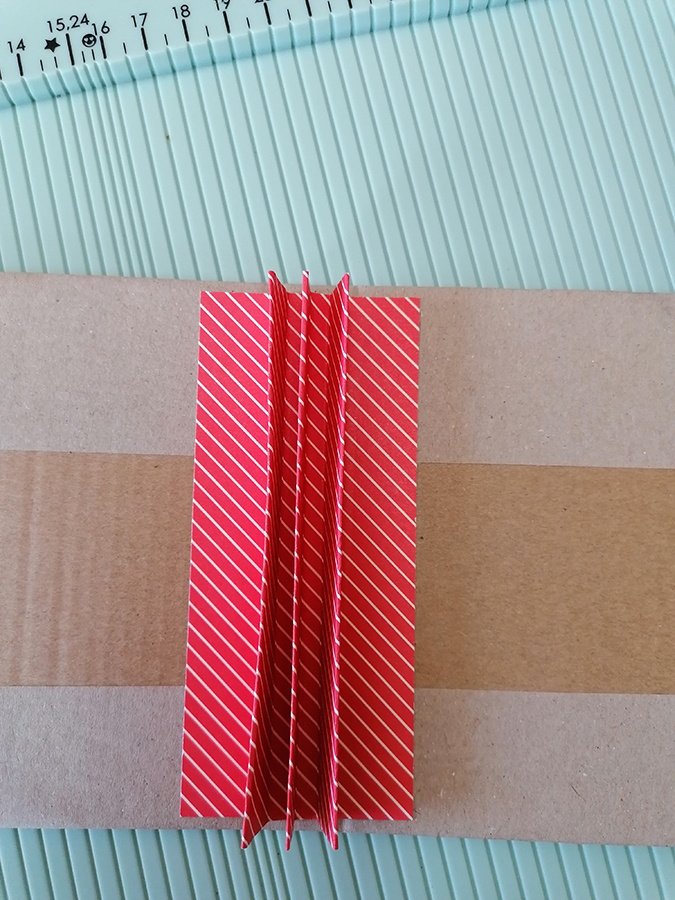
I glued the three mountain folds together to form the hinges for the book,

then glued this to the spine of the book. I scored each side where the book would fold and left it to dry.

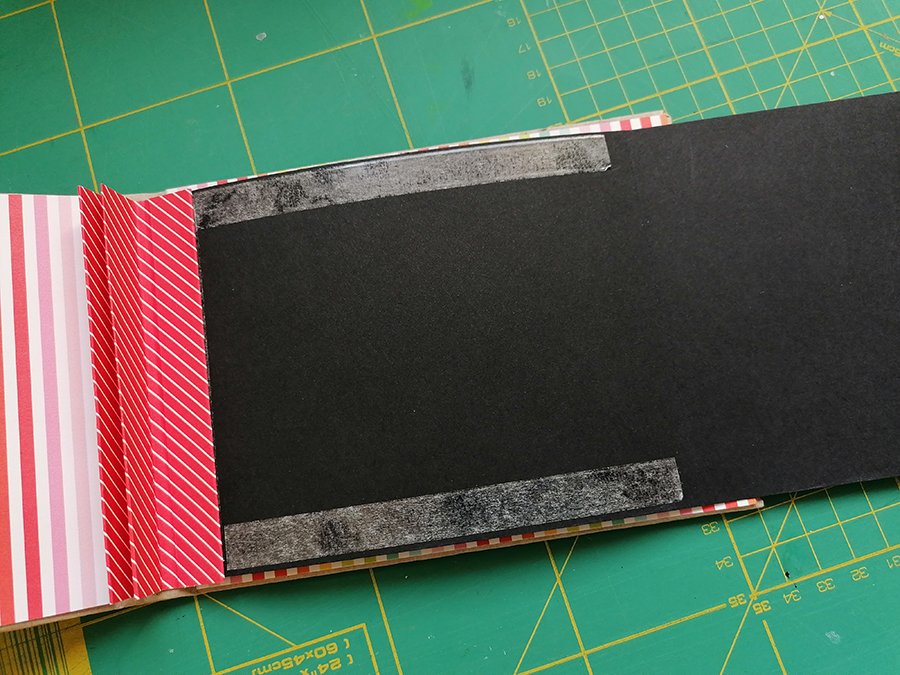
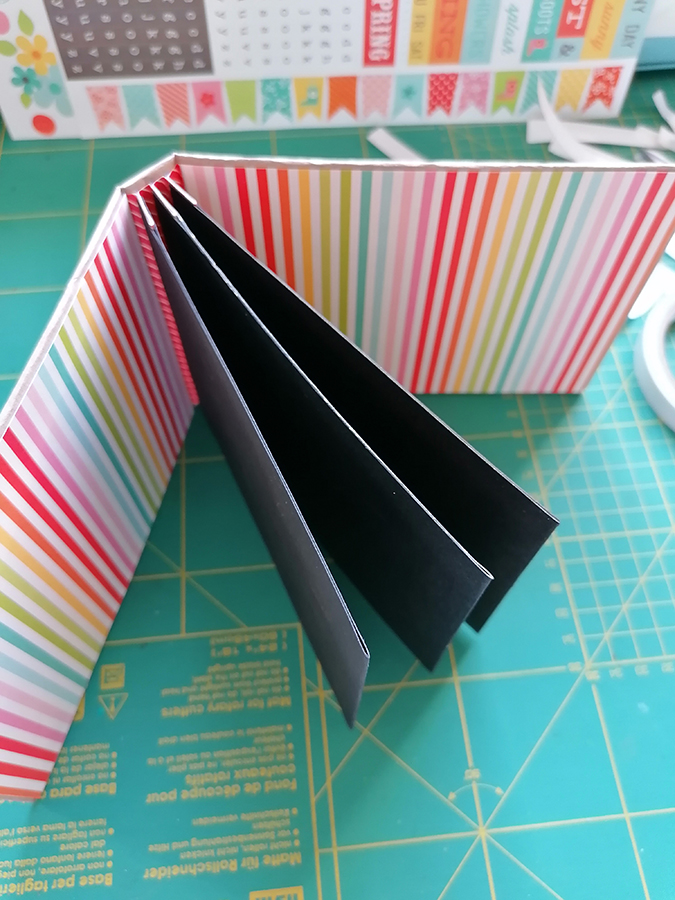
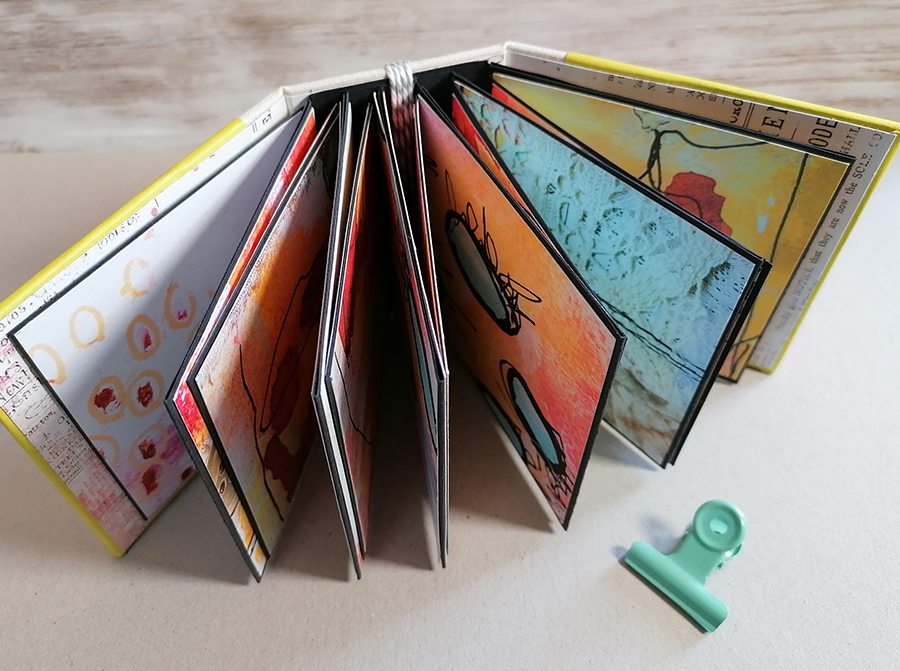
For my pages I took black card. I like using black card as it really shows off any paper you put on top of it. I measured how big I wanted the page to be and doubled it across the width to be able to fold it in half and added double sided tape on the ends and sides. I only needed to tape one half in actual fact. Laying the taped page under the first hinge I could press the hinge down onto the card. I then folded the page in half and pressed the other taped end down onto the hinge. First page done!

I did the same for the remaining two pages.

I think it’s cute. Now to decorate… For that one you’ll have to come back next week to see how it turned out.

Have a great weekend

Jaine xx

interactive albums

Imagine for a minute a friend comes over for a chat (it’s life after Covid!) and you want to show off the latest photos of your grandchild. You’re trying to find the pictures on your phone, then when you have found them it’s difficult to show and tell with them turning like some whirling dervish on the screen and anyway the images are too small to look at without glasses on. Now picture the same friend, same scenario but this time you reach for the beautiful album filled with lovely memories which you had commissioned from Basement Studio!

That’s my vision anyway because I am that person with fingers which do what they want and a challenged phone which somewhere holds a collection of wonderful photos of my grandson.

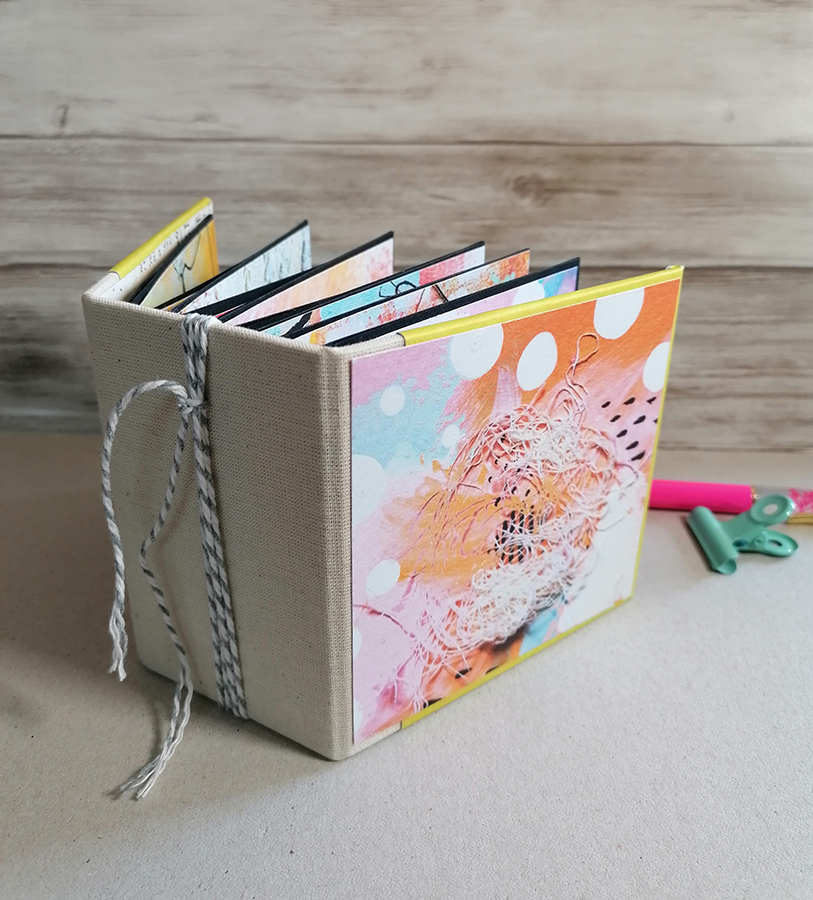
I’ve been spending as much time as possible in the studio experimenting with interactive albums. Finding different ways to put them together and how to make room for as many photos as possible in a small space.

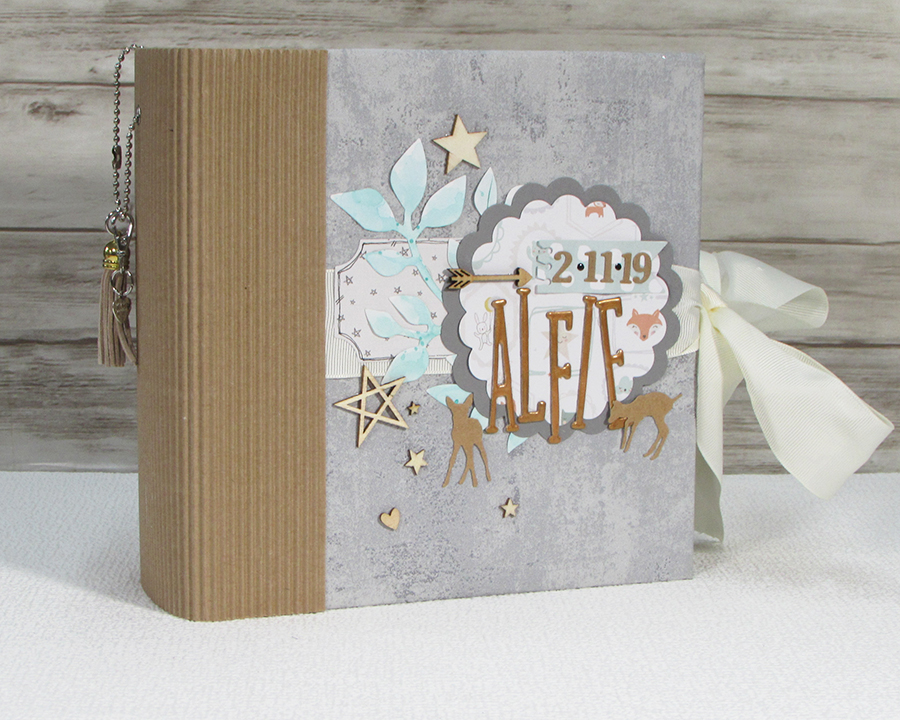
I think I’ve at last found my perfect place and settled on four sizes to sell in the shop. These will be made to order but I’ll also have a few ready made too.

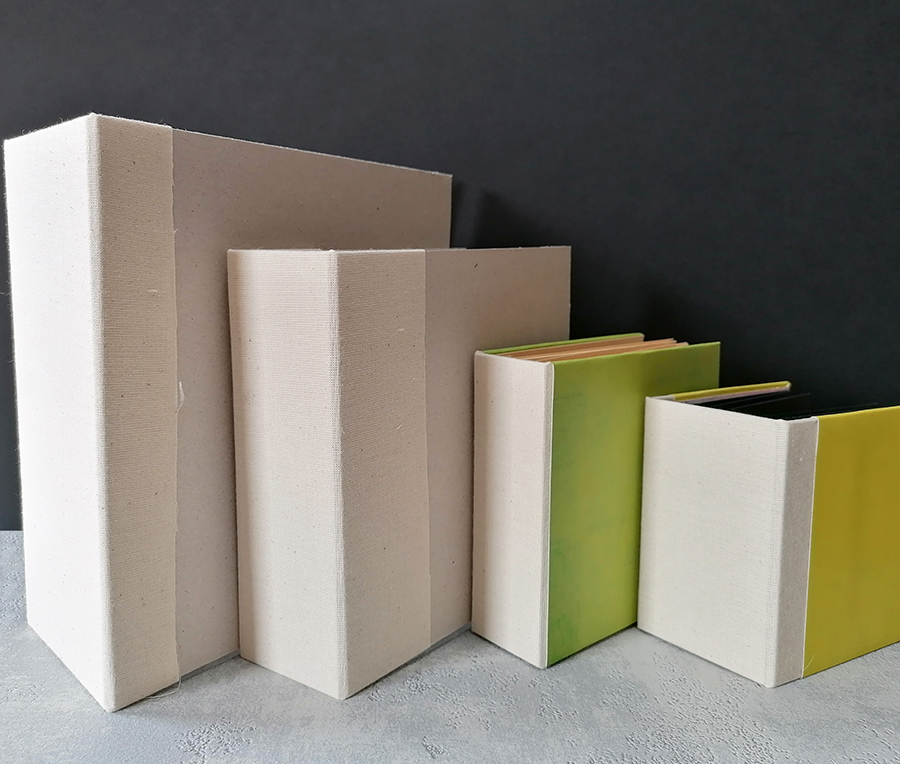
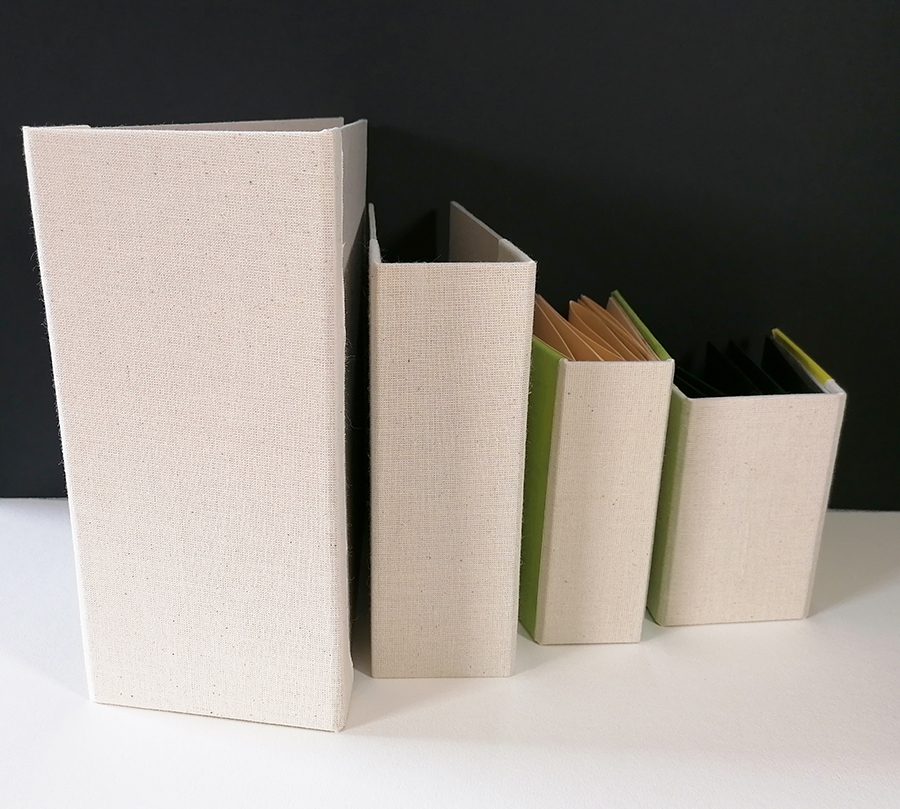
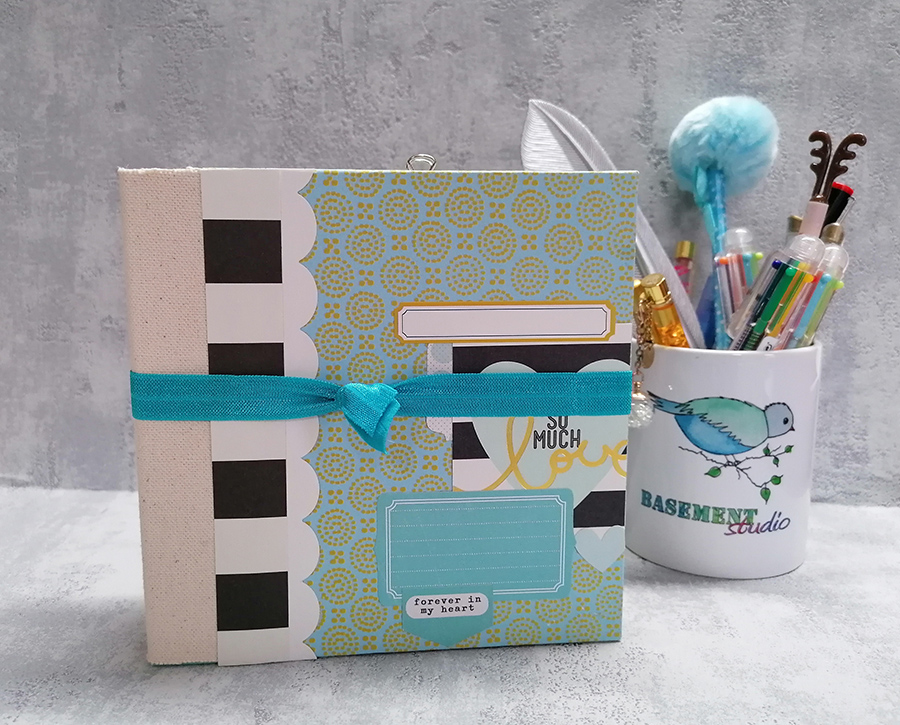
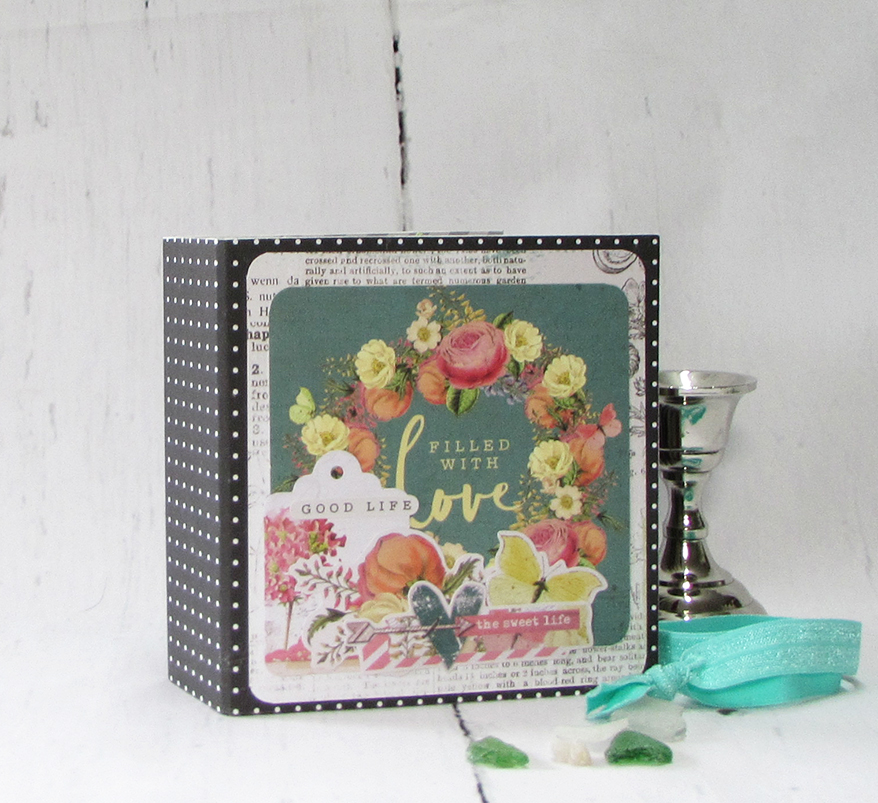
Sizes range from a Maxi at 20x20cm’s, a Midi at 16x16cm’s, Mini at 12×12 and my favourite Micro at 10×10.

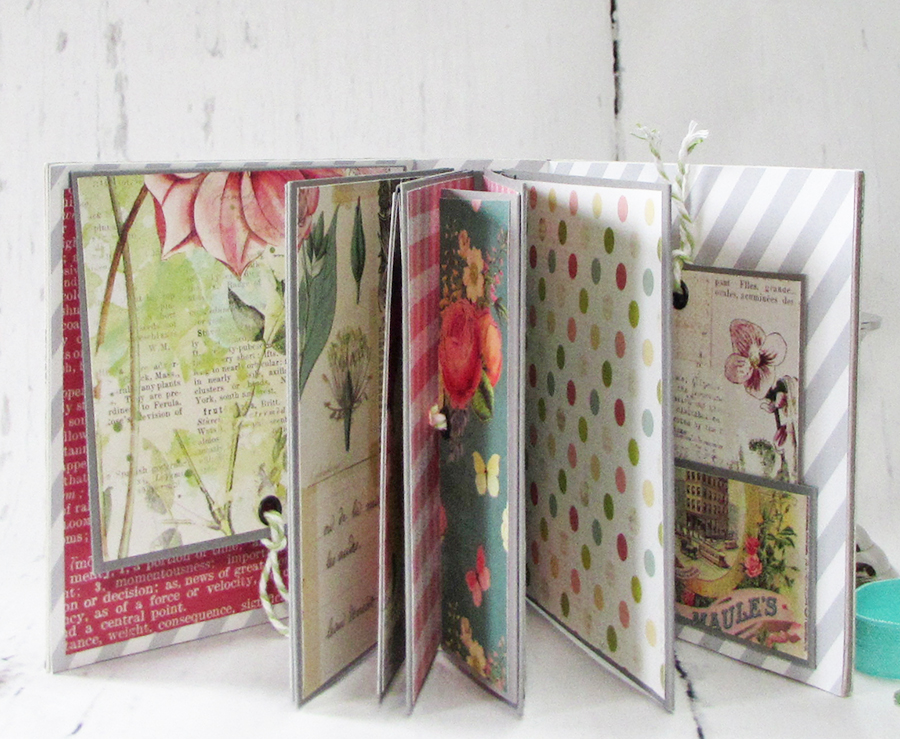
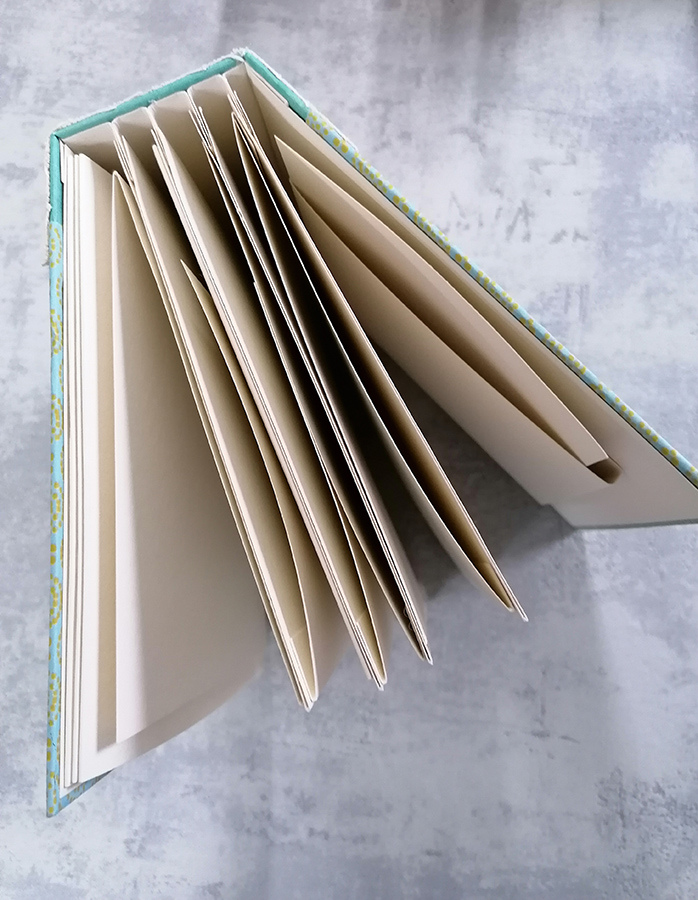
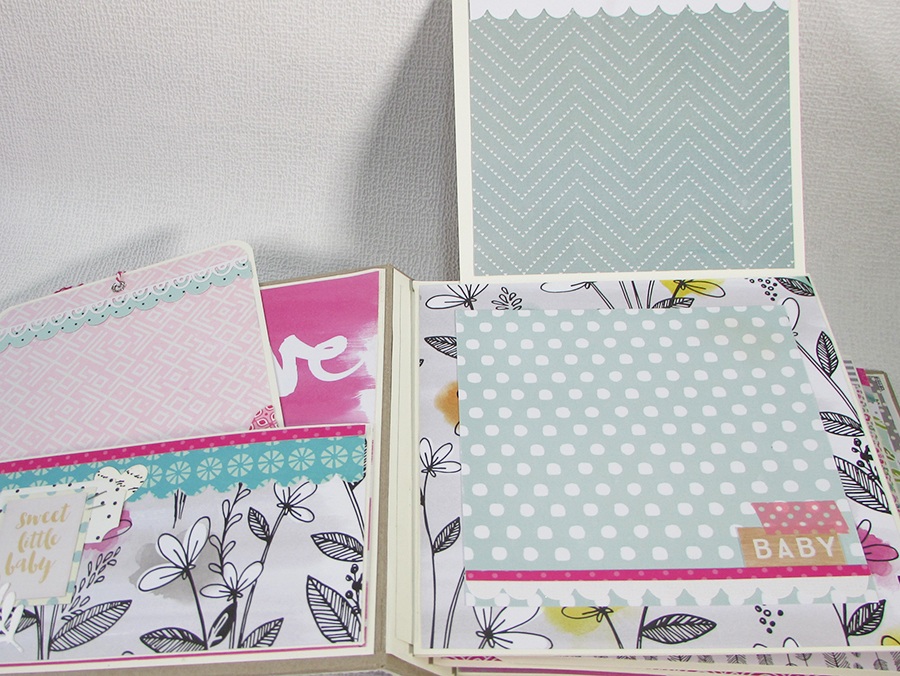
They all have hard covers and fabric spine binding, and inside lots of room for photos with flaps and fold outs which makes them really fun.

If you’d like to have an interactive album made for yourself then why not go to the web site and have a look. The link is here

Stay safe and I’ll be back soon

Jaine xx