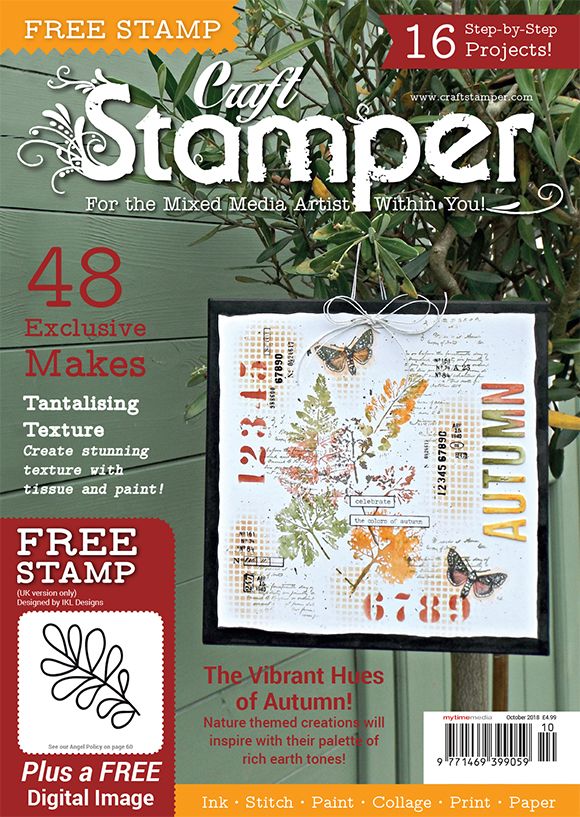
Going Back To What I love

Firstly, a very happy 2020 to everyone, I’ve had a tummy bug for the past 24 hours so not a great start to the year, but hey on the bright side I’ve lost those extra Christmas kilo’s! There’s always a bright side.
Remind me next Christmas not to bother with a December journal, even the smaller format didn’t help. I failed dismally and it lies unfinished (unstarted actually) in my box of Christmas crafting bits. I’ve closed the lid and put the box away not to be opened until Christmas 2020! Some you win, some you loose, just as long as I learn from it!

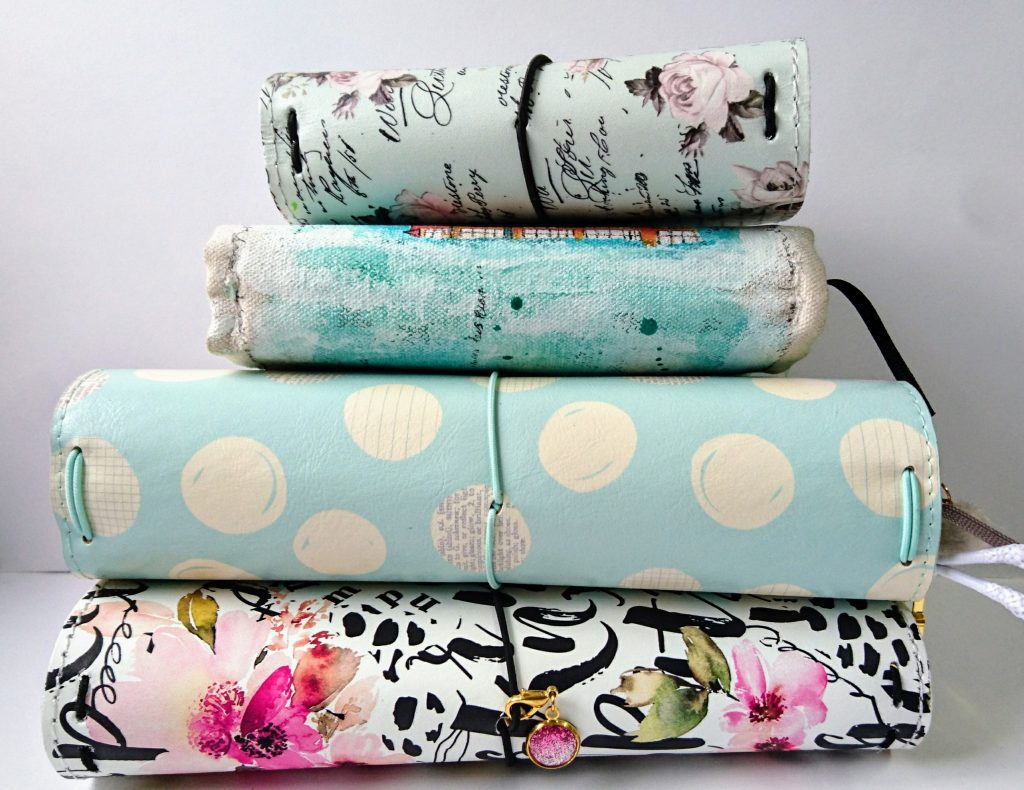
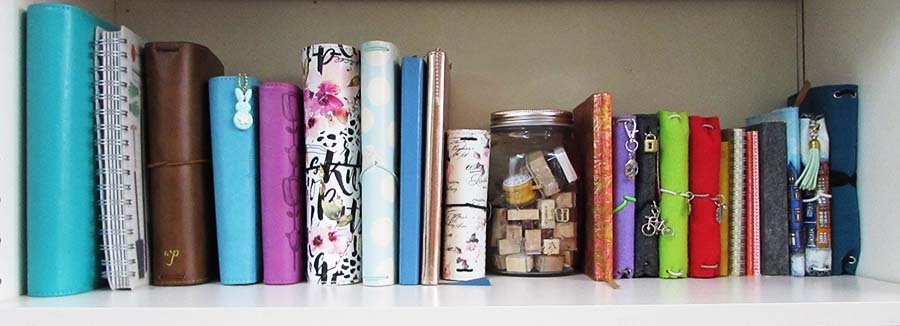
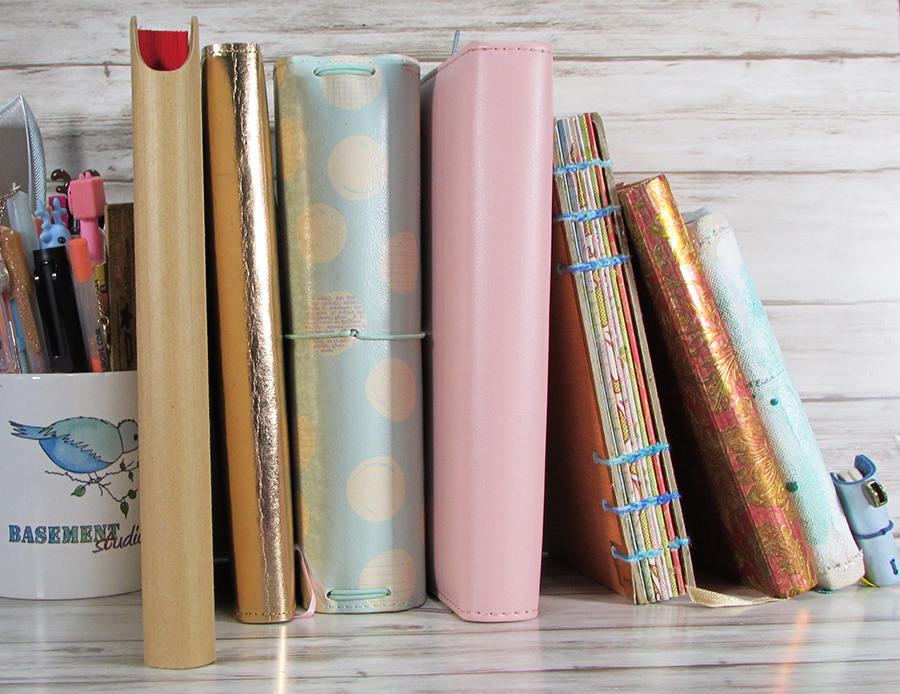
I think maybe this was why I took a long hard look at my planners and decided what it was I really wanted out of them and for a while now I’ve had a longing to go back to using an art journal. I’ve missed it as it used to be such a big part of my life. So in the above photo, on the left is a brand new Dylusions square journal all ready to be inked and painted in. It’ll probably take me a while to dirty the first page but once I have I’ll be off like a rocket.

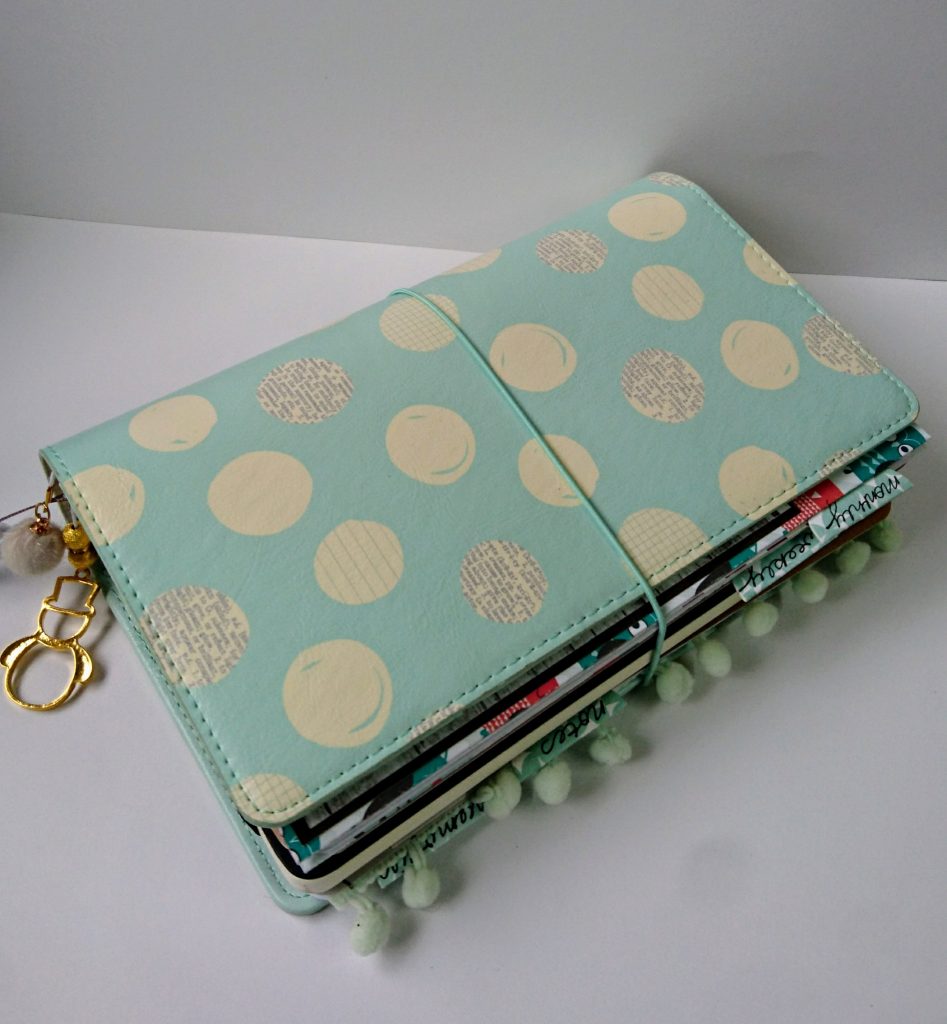
Next is a bullet journal for every day planning in a rose gold cover I made for it from some amazing paper fabric. The Simple Stories travelers notebook has two Moleskine sketchbooks in as the size is perfect for them. The pink case has a Basement Studio planner to keep me on track, and after that is a hand bound watercolour sketchbook for a bit of watercolour play as the Moleskine isn’t really up to the job. Next comes my calligraphy practice book. The last two books are an A6 bullet journal in a hand made cover for carrying around in my bag and a brand new itty bitty mini travelers notebook just because everyone should have one!

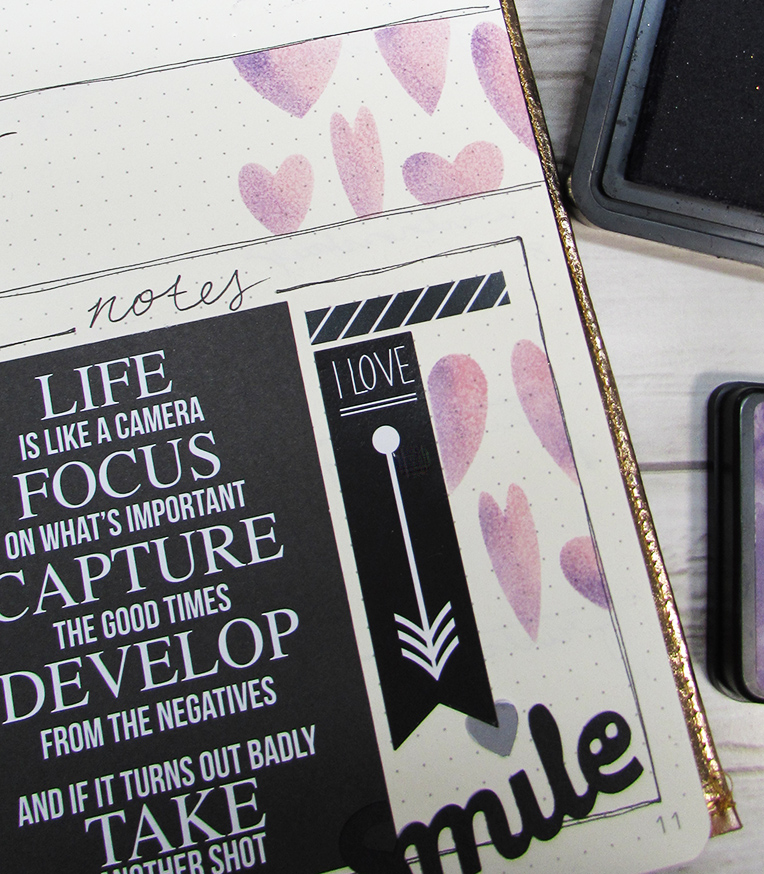
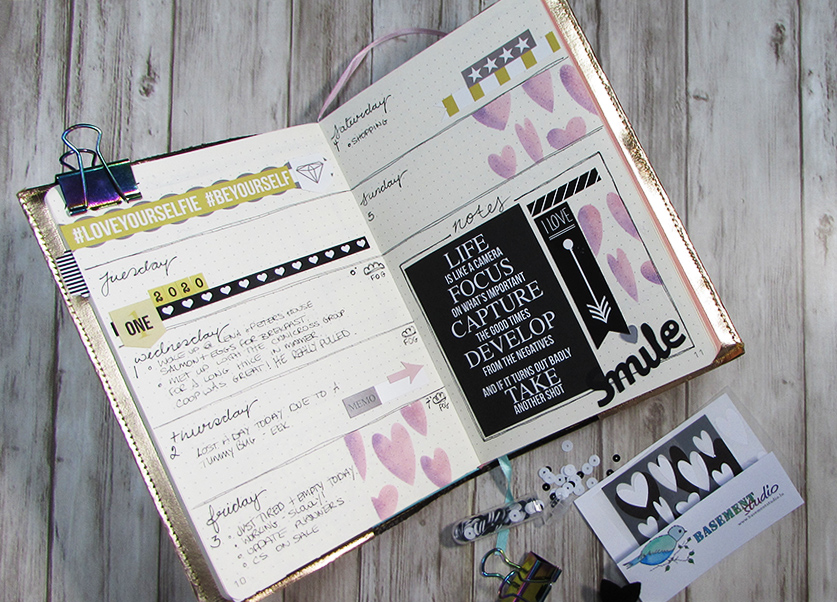
I’ve started the every day bullet journal and had the chance to use my Hearts stencil I designed for Paper Pen and Plan and their January Kit Box. I created this graphic design by simply masking with washi tape and using Distress inks through the stencil. I love how it worked out from such a simple design.

Well that’s all from me today, have a lovely weekend and I’ll be back soon trying to break out of my usual colour comfort zone!

Jaine xx

Happy 2019

Or…thoughts for the new year. 

Don’t you just love the new year, all shiny and clean? What ever happened in 2018 can jolly well stay there along with the remains of the turkey and crispy pine needles!

There’s something about the freshness and promise of January 1st that gets me so excited. I’ll be starting a new planner and a new planner style along with a new sketch book as I’ve actually filled up my old one at last. 

Planner Stack 2019
Carpe Diem My Main Squeeze

Going into 2019 I look forward to lots more exciting things to come with Craft Stamper magazine and getting to know alot more of how things work behind the scenes. I’ll be continuing to work with WOW! Embossing Powders and some exciting new products they have coming up, taking a bit of a step back with Canvas Corp Brands by joining their Alumni program and carrying on my work with Paper Pen and Plan as a Creative team member.

I have some big craft market plans too as this was something I really enjoyed in 2018 and one or two new ideas for the Basement Studio shop too. 

So, I’d better stop talking and start doing before the novelty of fresh starts and all things new wears off!

A very happy new year to everyone and may 2019 turn out to be the best yet. 

Jaine xxxx

Friday In The Studio And Big News

Morning everyone, well it’s been quite a week here in my little basement with a couple of projects on the table plus a bit of extra work which I’ve been keeping to myself for a few weeks now involving the Craft Stamper Magazine.

I’ve been contributing to this awesome magazine for quite a few years now as well as three of its sister magazines in the past. As well as designing for this amazing magazine I’ve now joined the team as Assistant editor. I’m absolutely thrilled and proud that Trish has such confidence in my abilities. I look forward to the exciting times ahead in this new role.

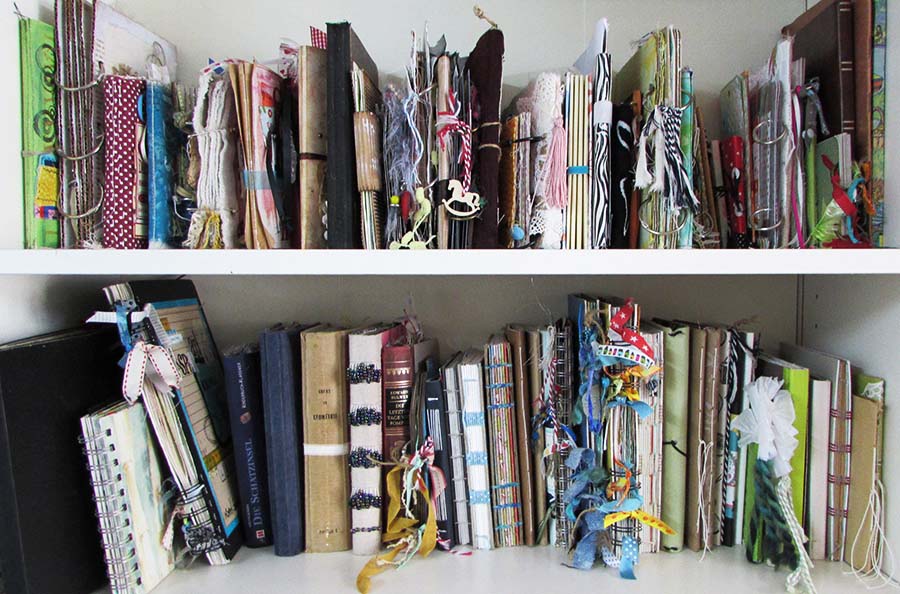
There’s nothing like a new start to make you have a jolly good tidy up and boy did my basement need one!  I went through my shelves of handmade journals and photo albums and picked out my favourites. Some of them had been completely taken over by …..stuff!!  This is what the tidied version looks like.

The Planner Shelf

I think the planner shelf looks a whole lot better too. At least I can get things in order now.

Have a good weekend

Jaine xx

Meet My Latest Obsession

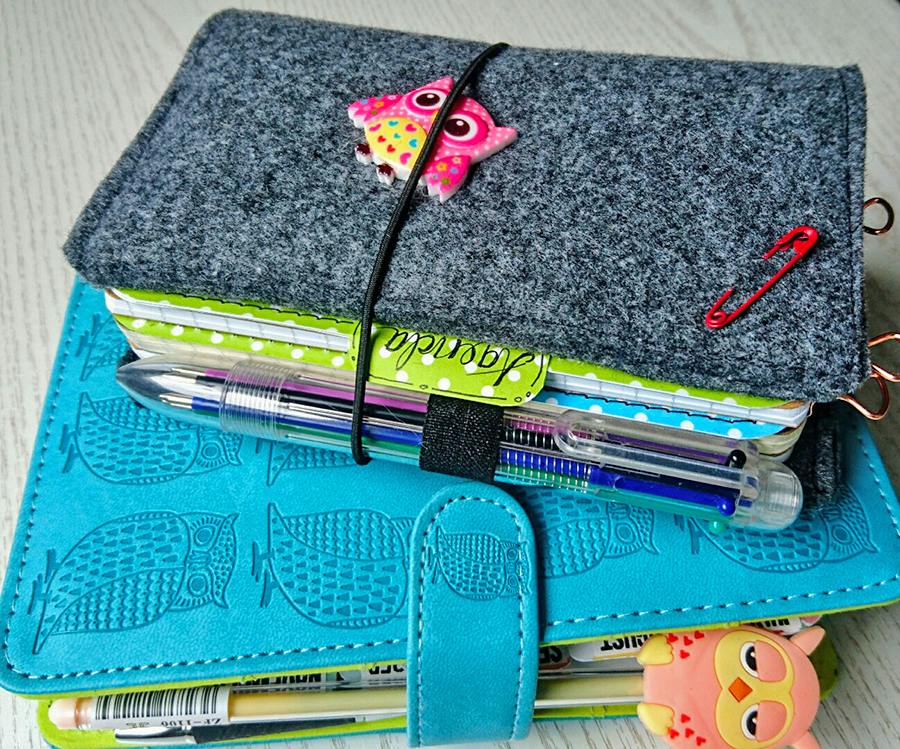
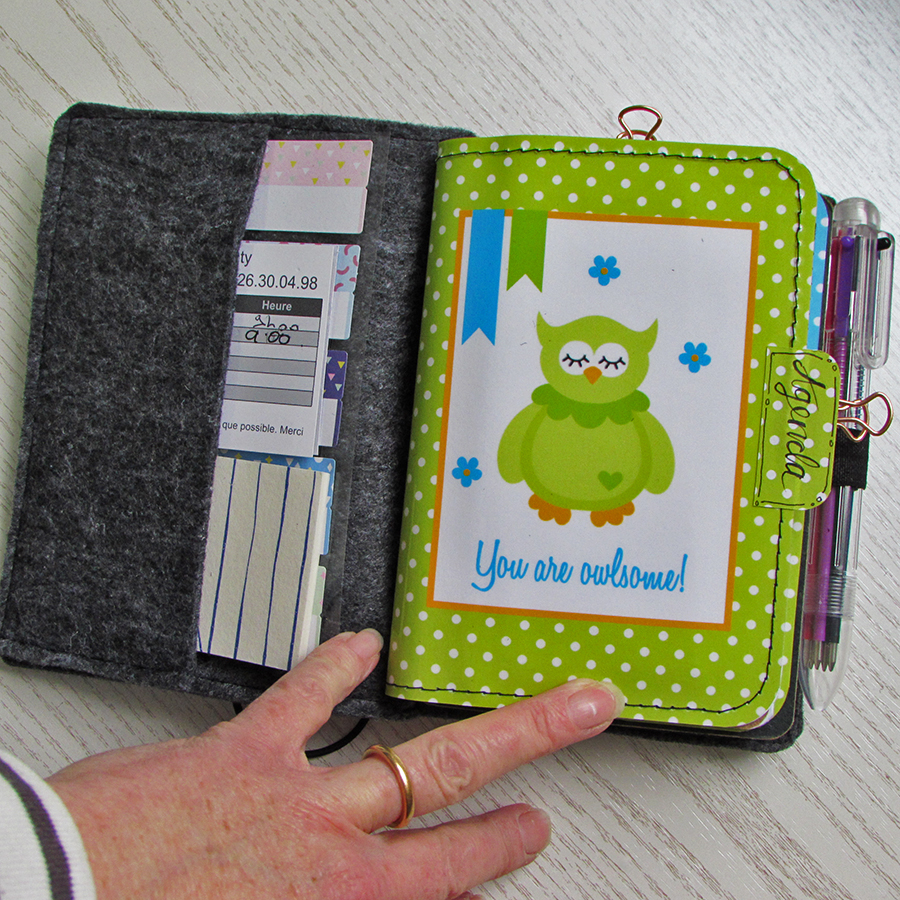
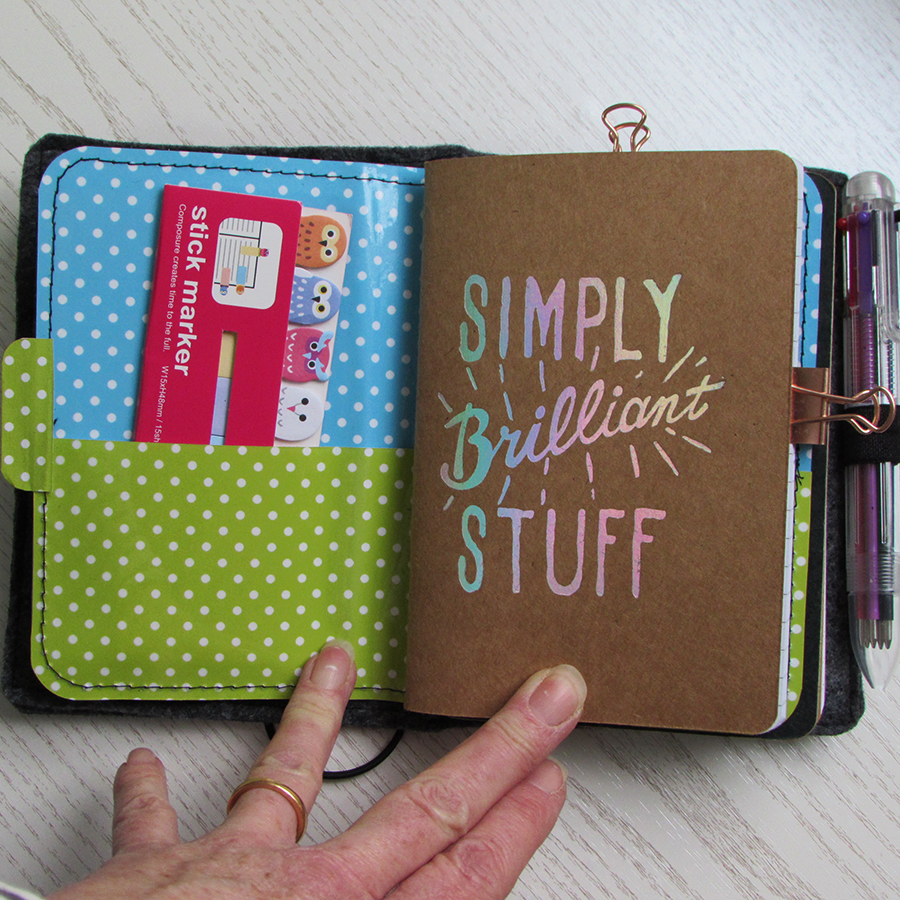
Meet my latest obsession, this little passport sized travelers notebook. It’s become my handbag companion containing my mini agenda, notebook plus two other blank books which I’ve yet to decide what to use for. I always had a little notebook in my bag for list writing and jotting down notes on the go but everything else was in my personal size agenda. Since buying this gorgeous turquoise and green planner from Paperchase recently and filling it with owl pretties from Paperpenandplan I didn’t really want to have it thrown into the bottom of my bag to get dirty and beaten up like the old one had been so I thought I’d have a go at making my own travelers notebook style from felt.

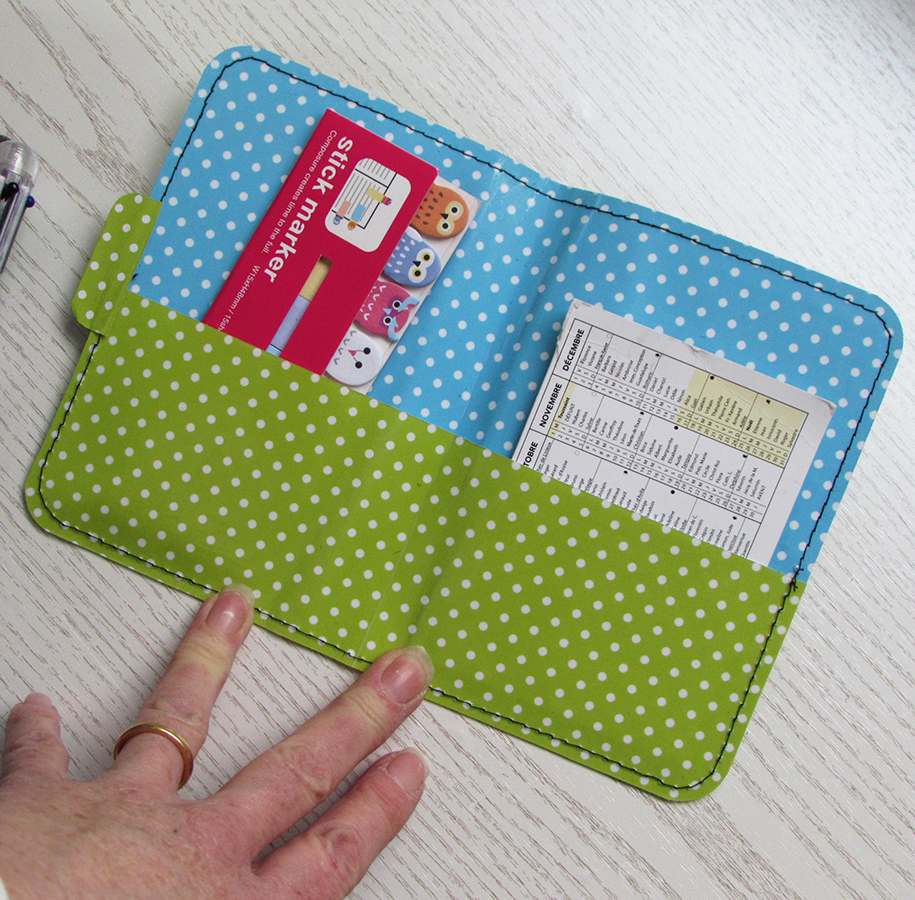
I also made a dashboard insert with a pocket using the digital papers from the March Sweet Treat box from Paperpenandplan. 

I wrapped it around one of my notebooks and the pockets are perfect for page markers and stickers.

It’s super easy to make your own so here’s how I did it.

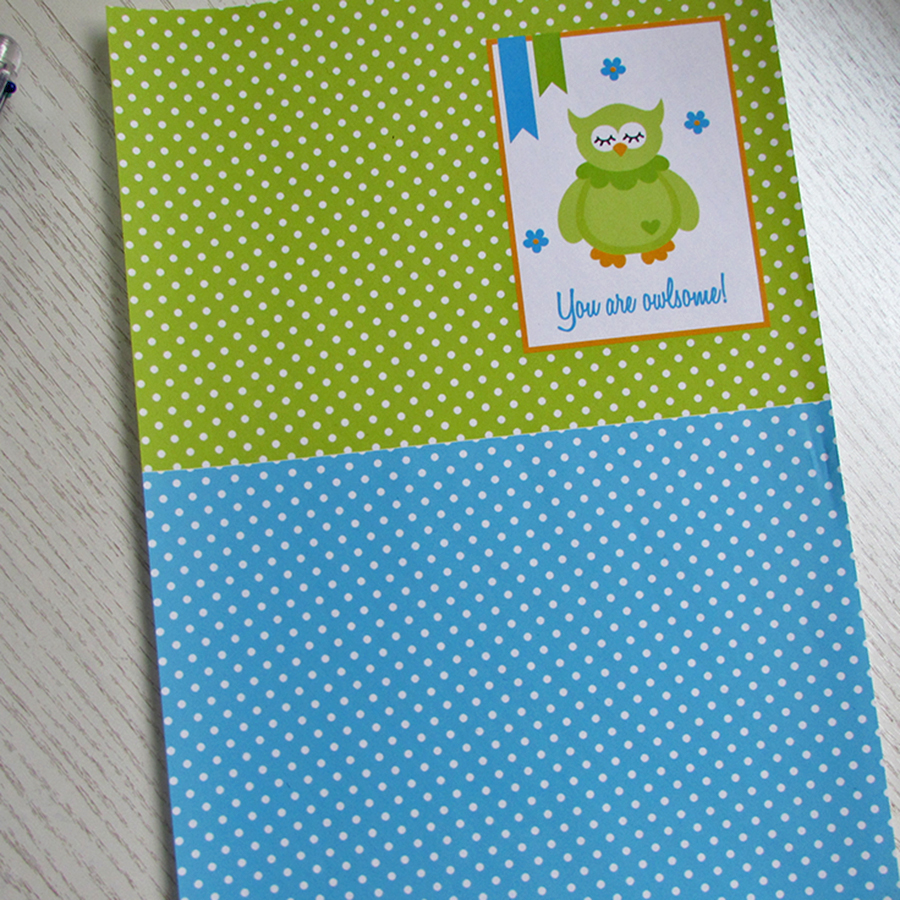
I have a digital image manipulating program so I was able to put the two spotty papers on one A4 sheet and drag the owl journal card on the top right hand side. If you aren’t able to do that on your computer, don’t worry, just print all of the pieces out separately and cut them to size.

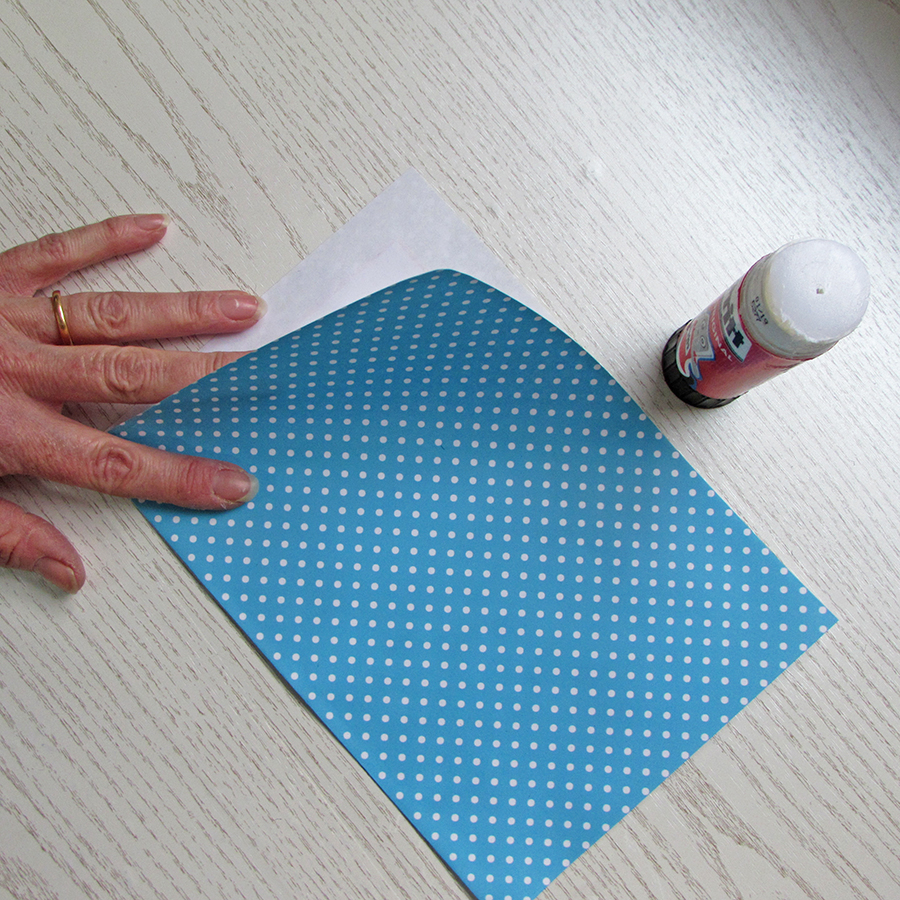
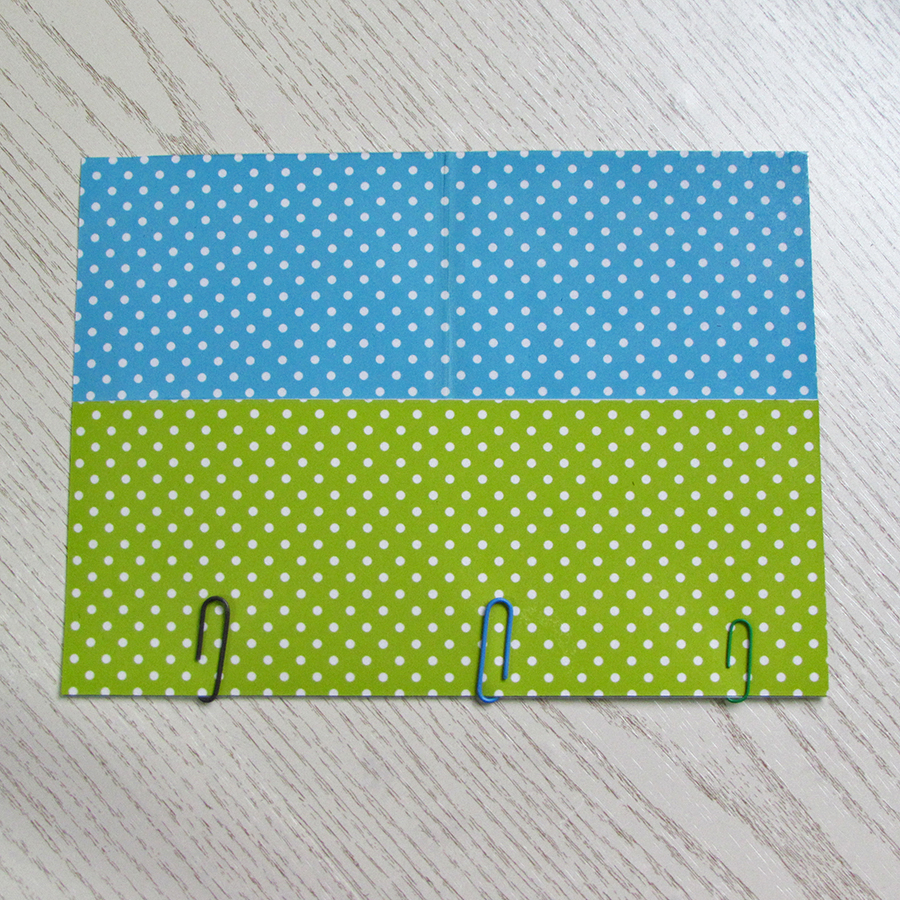
Without cutting the two halves apart, I folded them in half and glued them together. I find doing this is more accurate than trying to glue one piece on top of another separately.

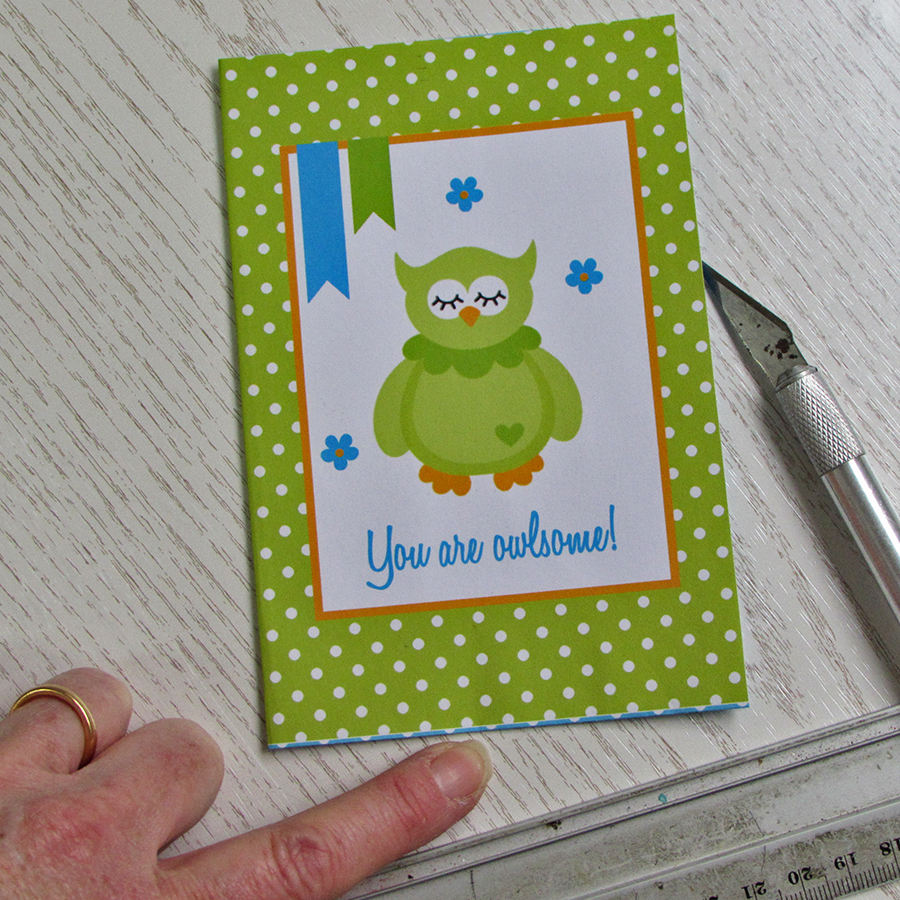
Fold your dashboard in half again widthways and trim off any overhang from the top or bottom.

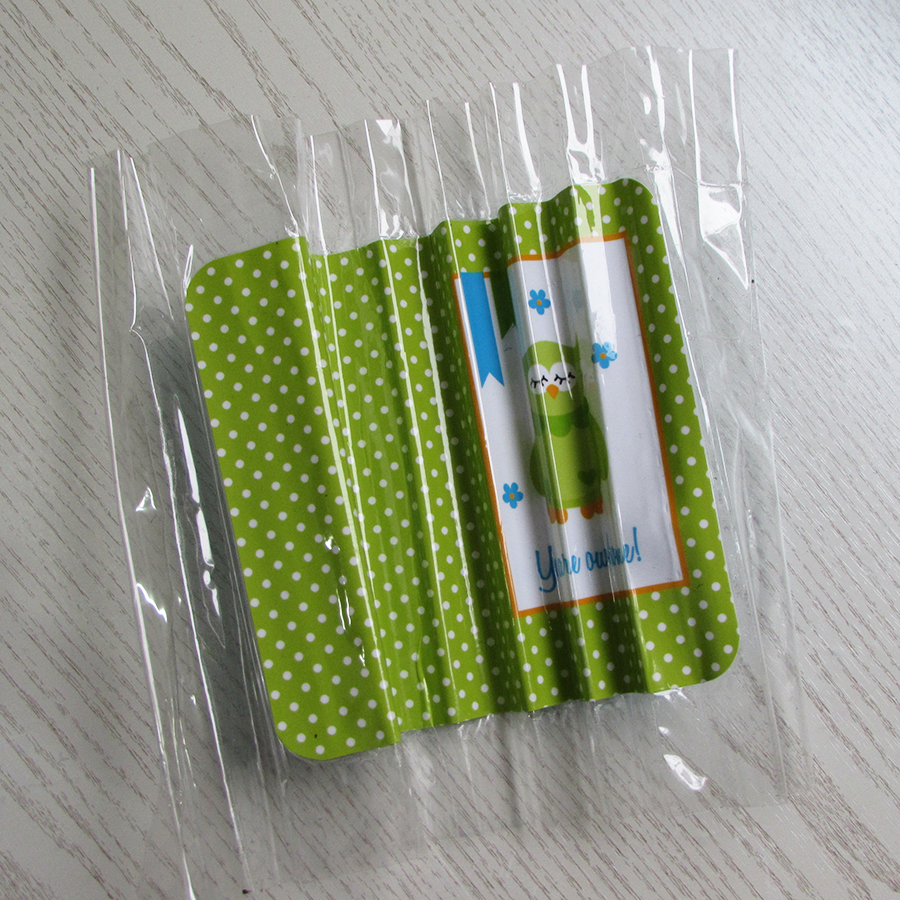
For the next step, I was going to laminate my dashboard but this is what happens when laminating goes bad!!

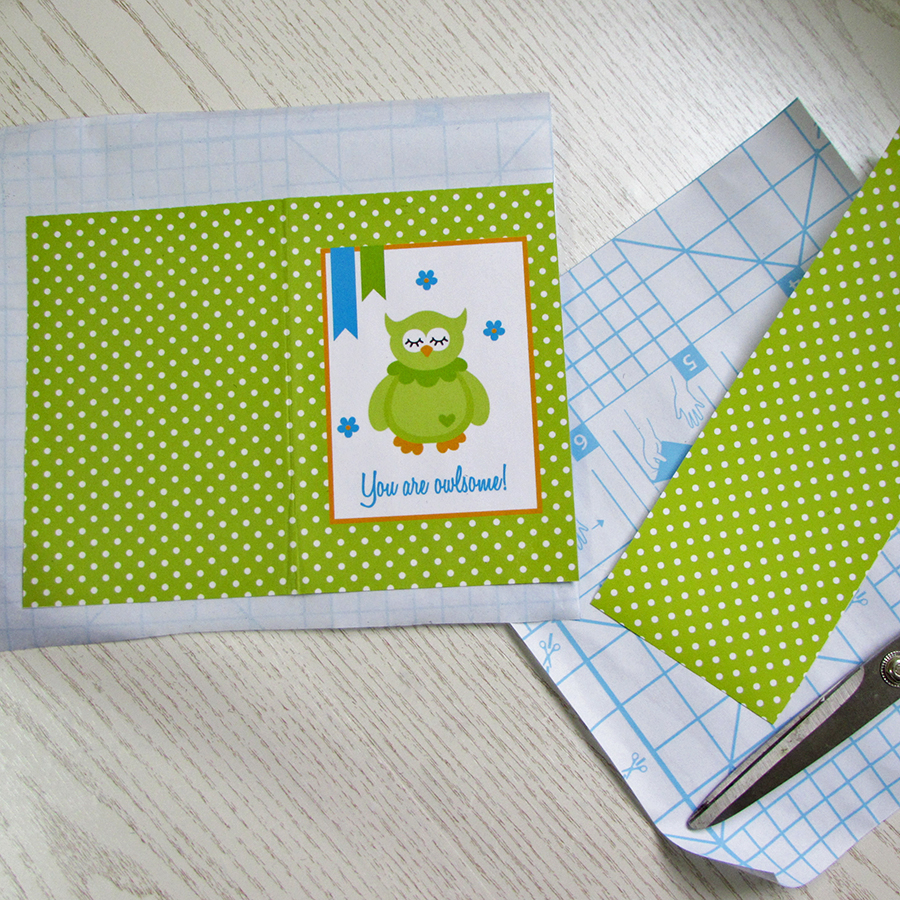
So without a laminator I resorted to using sticky plastic to cover my dashboard. I’ve also cut a strip from another piece of green paper to become my pocket.

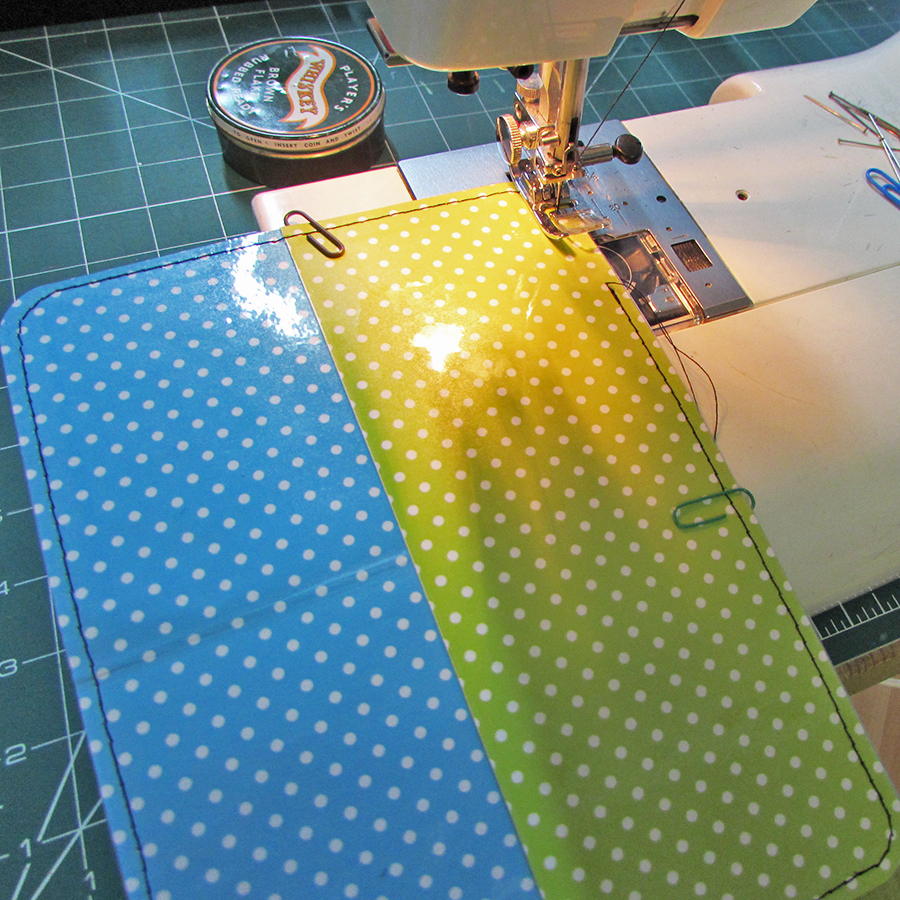
With the both sides covered with plastic I used my sewing machine to attach the pocket to the dashboard plus it just gives it a decorative finish. You could use hand stitches with embroidery thread in the same way, just pierce the holes with a paper piercer.

When I use my sewing machine I always use a jeans needle and go very slowly. I also rounded the corners for a neater finish.

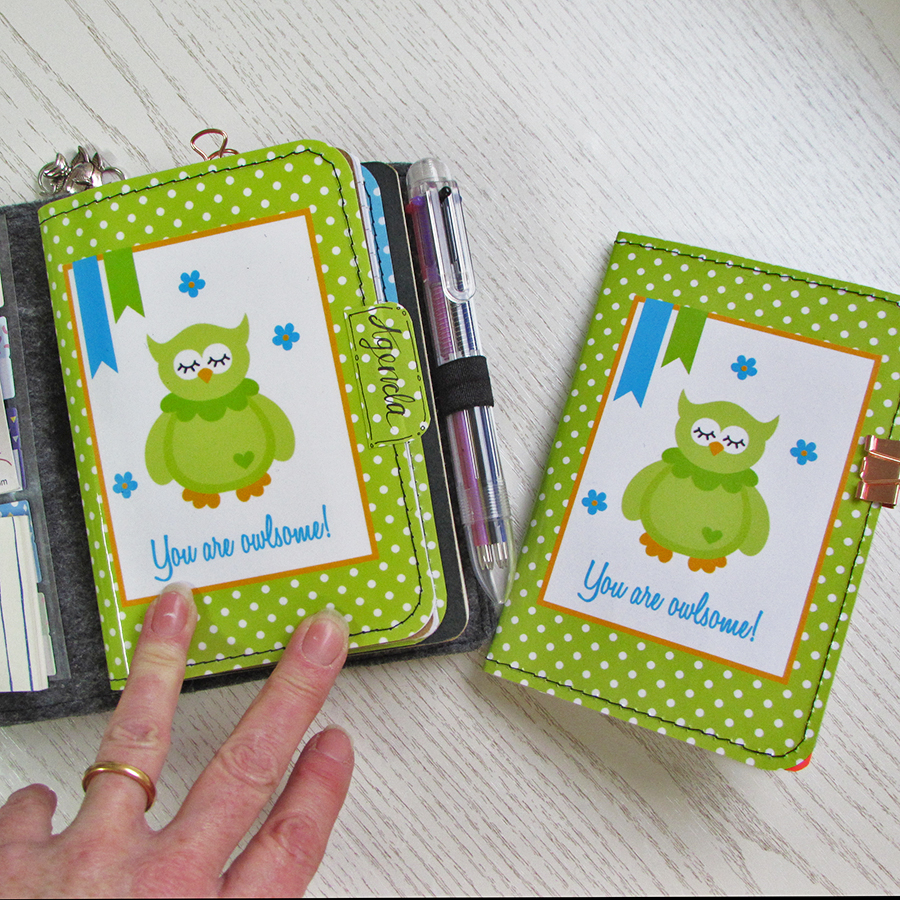
So here it is.

On the original I added a small tab with some spare green dot paper which I ended up covering too with plastic to protect it.

If you love my owl themed bits you can find these and goodies just like them at Paperpenandplan and if you quote JAINE10 at checkout you’ll get 10% off your order.

Happy Sunday

Jaine xx